-
Book Overview & Buying
-
Table Of Contents

-
Feedback & Rating

Unity 2022 by Example
By :
Unity 2022 by Example
By:
Overview of this book
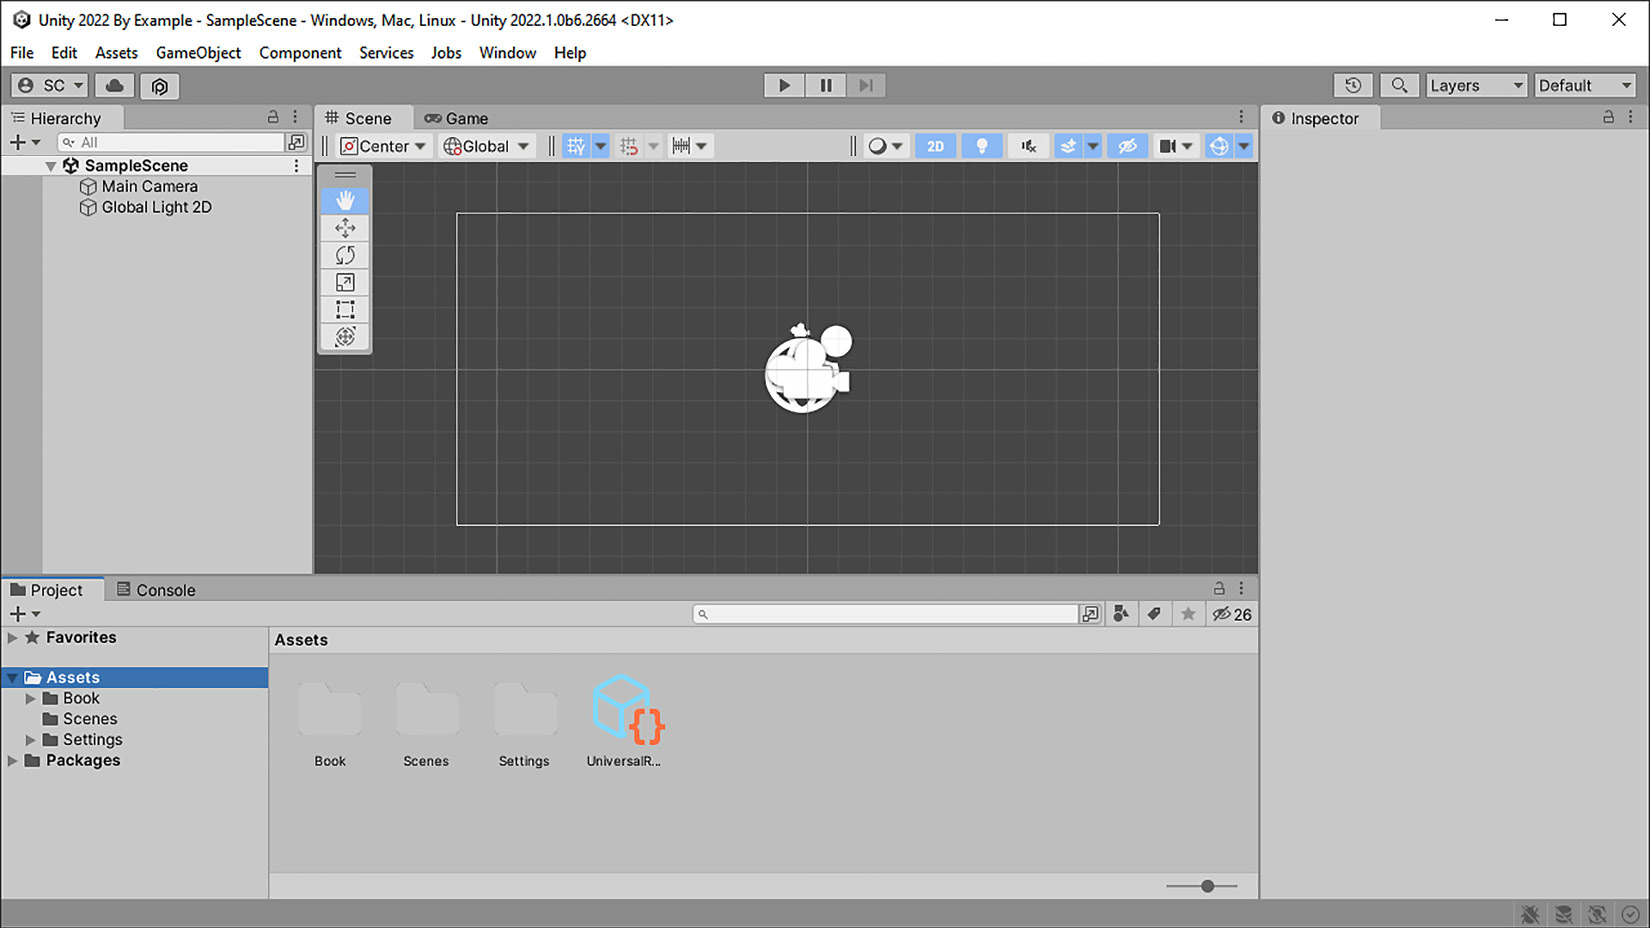
Unity 2022 by Example is a complete introduction to building games in Unity following a project-based approach. You’ll be introduced to the Unity game engine and the tools available for building and customizing a game exactly the way you want it, while maintaining a good code foundation to build upon.
Once you get to grips with the fundamentals of Unity game development, you'll start creating a 2D collection game and an adventure game, followed by a 3D first person shooter game. Next, you’ll explore advanced topics, such as using machine learning to create AI-based enemy behavior, virtual reality for extending the first-person game, and augmented reality for developing a farming simulation game in a real-world setting. The book will help you gain hands-on knowledge of these topics as you build projects using the latest game tool kits. You'll also learn how to commercialize your game by publishing it to a distribution platform and maintain and support it throughout its lifespan. As you progress, you’ll gain real-world knowledge and experience by taking your games from conceptual design to completion.
By the end of this Unity book, you’ll have strong foundational knowledge of how to structure a Unity project that is both maintainable and extensible for commercially released games.
Table of Contents (23 chapters)
Preface

Part 1: Introduction to Unity
 Free Chapter
Chapter 1: Foundational Knowledge of Unity 2022
Part 2: 2D Game Design
Chapter 2: Creating a 2D Collection Game
Chapter 3: Completing the Collection Game
Part 3: 2D Game Design Continued
Chapter 4: Creating a 2D Adventure Game
Chapter 5: Continuing the Adventure Game
Chapter 6: Introduction to Object Pooling in Unity 2022
Chapter 7: Polishing the Player’s Actions and Enemy Behavior
Chapter 8: Extending the Adventure Game
Chapter 9: Completing the Adventure Game
Part 4: 3D Game Design
Chapter 10: Creating a 3D First Person Shooter (FPS)
Chapter 11: Continuing the FPS Game
Chapter 12: Enhancing the FPS Game with Audio
Part 5: Enhancing and Finishing Games
Chapter 13: Implementing AI with Sensors, Behavior Trees, and ML-Agents
Chapter 14: Entering Mixed Reality with the XR Interaction Toolkit
Chapter 15: Finishing Games with Commercial Viability
Index
Customer Reviews