-
Book Overview & Buying
-
Table Of Contents

-
Feedback & Rating

The Ultimate Roblox Game Building Cookbook
By :
The Ultimate Roblox Game Building Cookbook
By:
Overview of this book
Roblox is a massively popular online gaming platform, but it can be challenging to maneuver for beginners who don’t know where to start, as well as seasoned developers who tend to struggle with limited scripting tools that make transitioning from other platforms such as Unity more difficult.
The Ultimate Roblox Game Building Cookbook is an invaluable asset for any Roblox developer looking to take their skills to the next level. With a wide range of recipes, this Roblox book covers everything from the basics of game development on the platform to advanced techniques for creating immersive experiences.
As you progress through the chapters, you'll gain a deep understanding of the proper workflow and building methods that will enable you to create extraordinary virtual worlds. You'll gain insights into creating complex game mechanics, such as multiplayer games, working with textures, and special effects in games. This cookbook will also provide you with tips from top Roblox developers, as well as valuable guidance on how to monetize your games and stay up to date with the latest trends in the Roblox development community.
By the end of this book, you’ll have gained a comprehensive understanding of Roblox game development and design.
Table of Contents (13 chapters)
Preface

 Free Chapter
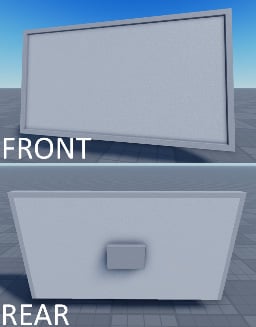
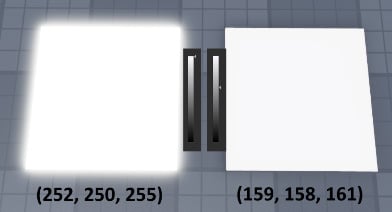
Chapter 1: Getting Started with Studio Modeling
Chapter 2: Introduction to Solid Modeling and CSG Tools
Chapter 3: Sculpting Terrain
Chapter 4: Learning to Use VFX
Chapter 5: Building a Multiplayer Obby
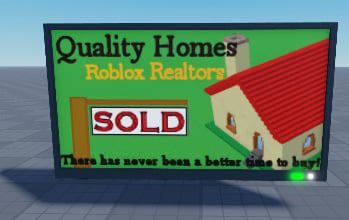
Chapter 6: Designing a House
Chapter 7: Single-Player Map Flow
Chapter 8: Building a PvP Map
Chapter 9: Monetizing Your Experience
Chapter 10: Extra Building Recipes
Index
Other Books You May Enjoy
Customer Reviews