-
Book Overview & Buying

-
Table Of Contents

-
Feedback & Rating

Photorealistic Materials and Textures in Blender Cycles
By :
Photorealistic Materials and Textures in Blender Cycles
By:
Overview of this book
Blender is one of the most versatile tools in the 3D software industry, and with a growing audience and constantly expanding set of features, it has become more powerful, useful, and in demand than ever before. This updated fourth edition of Photorealistic Materials and Textures in Blender Cycles is an all-inclusive guide to procedural texturing, rendering, and designing materials in Blender, covering all aspects of the 3D texturing workflow.
The book begins by introducing you to Blender’s material nodes and material property functions, and then helps you create photorealistic textures by understanding texture maps and mapping them to 3D models. As you advance, you’ll learn to design high-quality environments and lighting using HDRIs and Blender’s lighting options. By exploring, breaking down, and studying the underlying mechanics that allow you to develop these elements, you’ll create any material, texture, or environment and use it to improve your artwork and present them in a professional way. Finally, you’ll discover how to correctly set up scenes and render settings, and get to grips with the key elements of achieving realism.
By the end of this book, you’ll have gained a solid understanding of materials, textures, shading, lighting, rendering, and all the critical aspects of achieving the highest quality with your 3D artwork.
Table of Contents (21 chapters)
Preface

Chapter 1: Creating Materials in Blender
Chapter 2: Introducing Material Nodes
Chapter 3: Mapping Images with Nodes
Part 2: Understanding Realistic Texturing
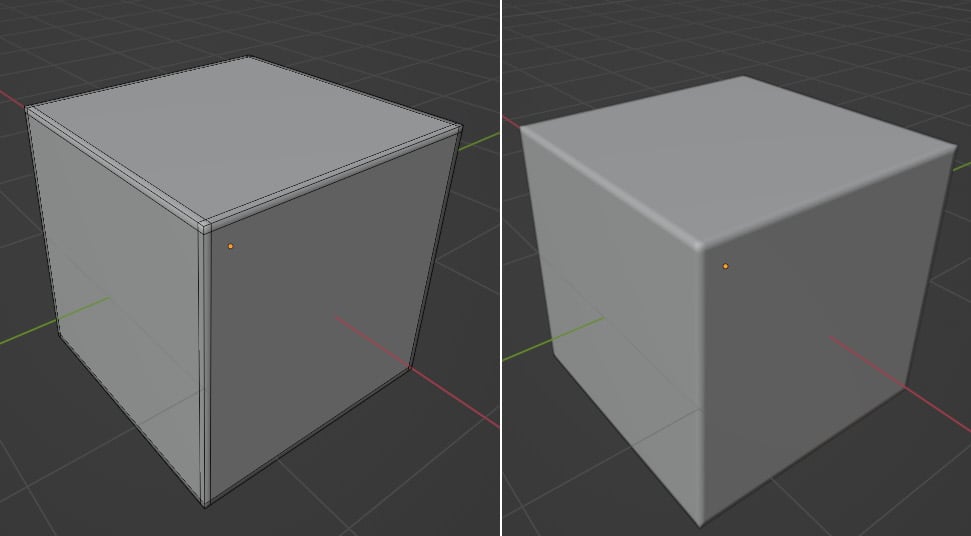
Chapter 4: Achieving Realism with Texture Maps
Chapter 5: Generating Texture Maps with Cycles
Chapter 6: Creating Bumpy Surfaces with Displacement Maps
Part 3: UV Mapping and Texture Painting
Chapter 7: UV-Unwrapping 3D Models for Texturing
Chapter 8: Baking Ambient Occlusion Maps
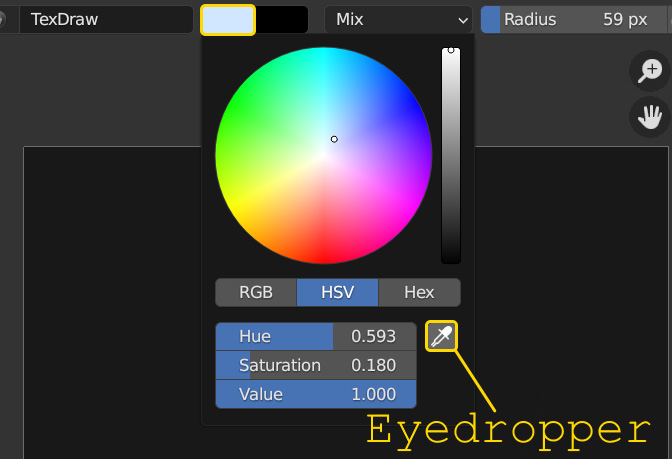
Chapter 9: Introducing Texture Painting
Chapter 10: Creating Photorealistic Textures on a 3D Model
Part 4: Lighting and Rendering
Chapter 11: Lighting a Scene in Cycles
Chapter 12: Creating Photorealistic Environments with HDRIs
Chapter 13: Preparing the Camera for Rendering
Chapter 14: Rendering with Cycles
Index
Customer Reviews