


-
Book Overview & Buying
-
Table Of Contents

-
Feedback & Rating

Unity UI Cookbook
By :
Unity UI Cookbook
By:
Overview of this book
With the increasing interest in game development, it's essential to design and implement a UI that reflects the game settings and shows the right information to the player. The Unity system is used to create complex and aesthetically pleasing user interfaces in order to give a professional look and feel to a game. Although the new Unity UI system is powerful and quite easy to use, by integrating it with C# scripts, it's possible to realize the potential of this system and bring an impressive UI to games.
This guide is an invaluable collection of recipes if you are planning to use Unity to develop a game. Starting with the basic concepts of the UI components, we’ll take you all the way through to creating complex interfaces by including animations and dynamics elements.
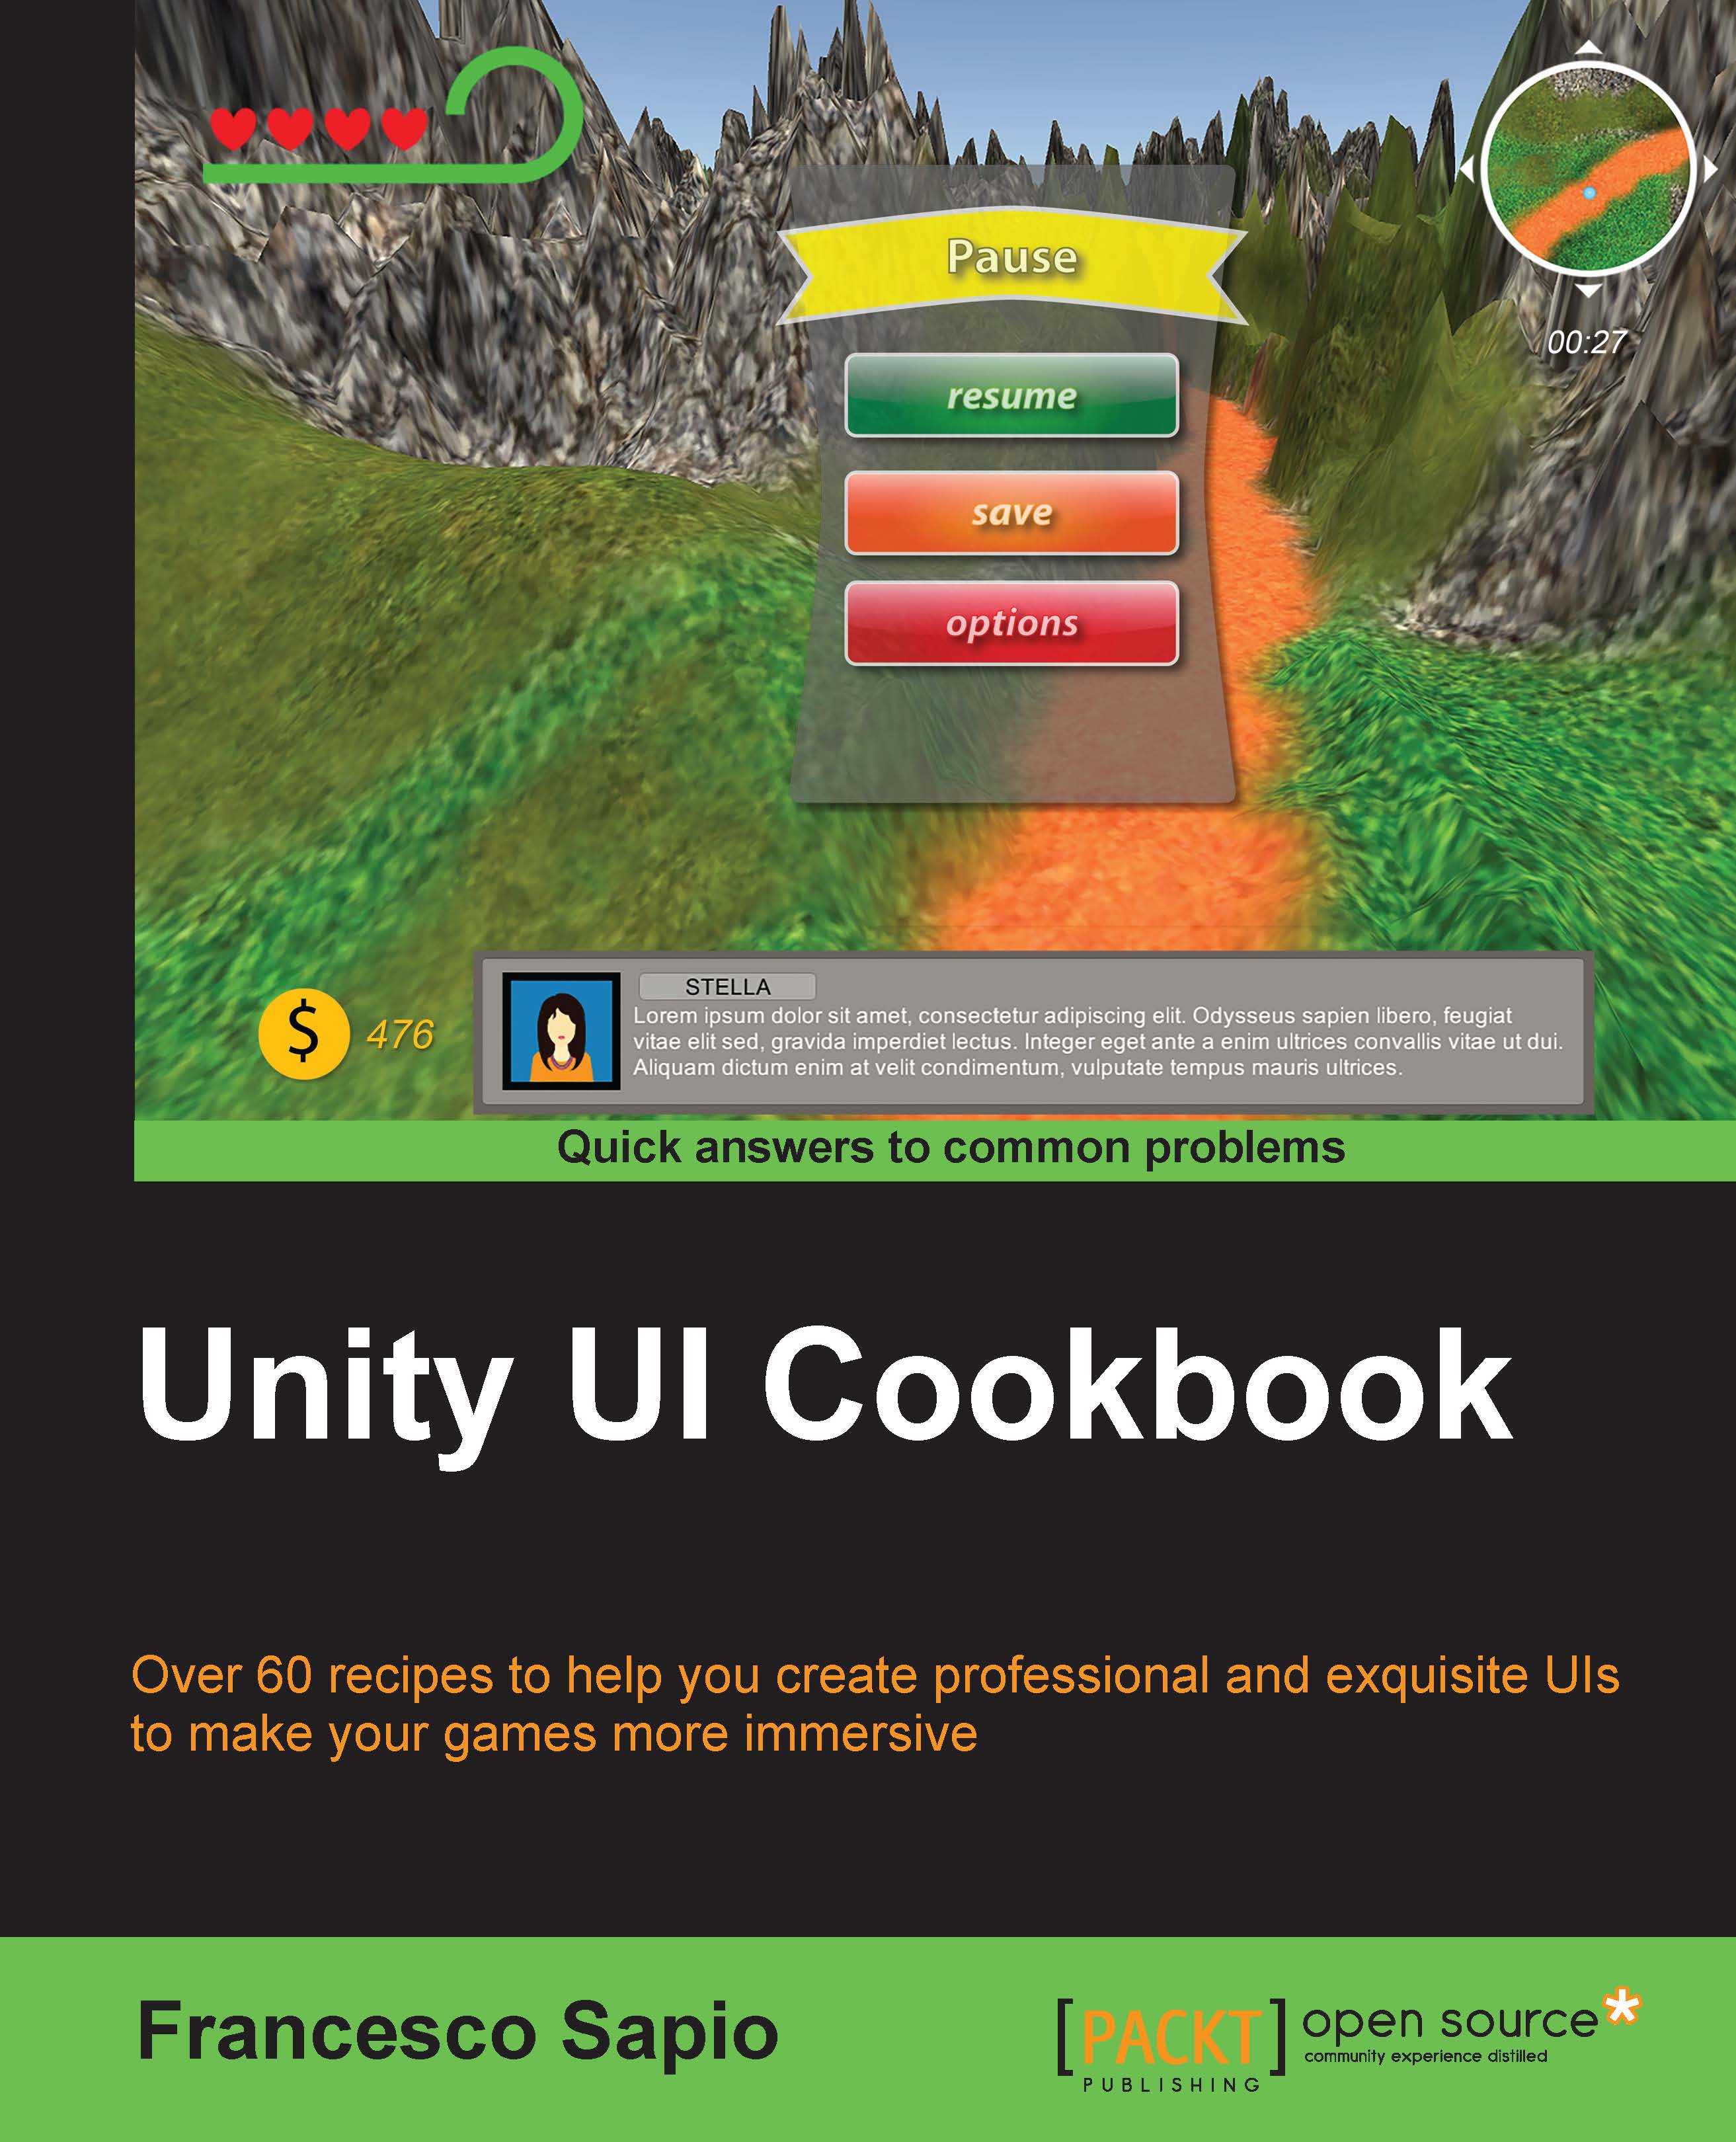
Based on real-world problems, these recipes will start by showing you how to make common UI elements such as counters and healthbars. You will then get a walkthrough of how to manage time using timers, and will learn how to format them. You will move on to decorating and animating the UI elements to vivify them and give them a professional touch. Furthermore, you will be guided into the 3D UI world and into HUD scripting. Finally, you will discover how to implement complex minimaps in the interface.
Table of Contents (12 chapters)
Preface
 Free Chapter
1. UI Essentials
2. Implementing Counters and Health Bars
3. Implementing Timers
4. Creating Panels for Menus
5. Decorating the UI
6. Animating the UI
7. Applying Runtime Customizations
8. Implementing Advance HUDs
9. Diving into 3D UIs
10. Creating Minimaps
Index
Customer Reviews


