Before we go any further, let’s test out our webcams and microphones to ensure everything is in working order. We will also look at how Character Animator saves projects, which is different from most mainstream animation software. At the end of this section, we will have covered the following:
- Creating a new project
- Saving project versions
- Loading and renaming project versions
- Testing and calibrating your webcam and microphone
Launch the Character Animator app. Once loaded, if opening the app for the first time, a welcome screen showcasing sample files and other options will display. If you don’t see this, click on the Home button on the top left:
Figure 1.10: The Home button is always on the top left in case you get lost
Now, let’s create a new project and dive deeper.
Creating a new project
While playing with Sample Files is beneficial, let’s focus on the webcam and microphone settings first:
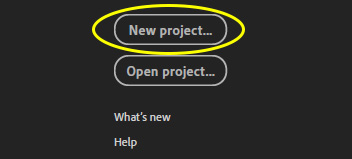
- Click on the New Project button and it will prompt you to save the project file.
Figure 1.11: You can easily open or create new projects from the home screen
- Locate a safe place on your computer and save the file as
ch_book_project.
- Once saved, a new blank workspace will pop up.
We will use this one project file for the duration of this chapter.
Saving project versions
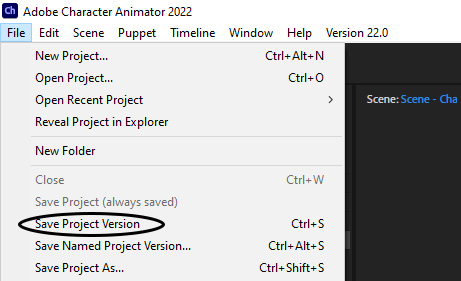
Character Animator saves automatically any time we change the project file. While this offers peace of mind on some level, you may find it beneficial now and then to save a state in the History panel by going to File > Save Project Version (Ctrl + S or ⌘ + S).
Figure 1.12: Manually saving a project version
This will create a saved state of the project in the History panel that you can jump back to at any point.
Loading and renaming project versions
Let’s take a closer look at the History panel:
- To access the History panel, go to Window > History. We can reinstate the versions saved here.
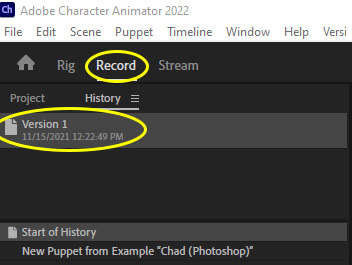
- To load a state, simply double-click on it. Using versions is a great way to create backups or states of your file in case future changes cause errors or undesired results.
Figure 1.13: Double-clicking on any saved version will restore that file’s state
- You can right-click on Version 1 and choose Rename “Version 1” from the list if you wish to create a more descriptive save state.
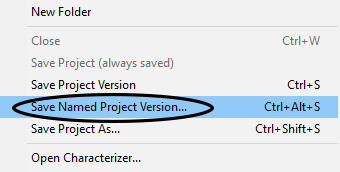
- You can also create a save state with a new name by going to File > Save Named Project Version (Ctrl + Alt + S or ⌘ + ⌥ + S).
If you prefer to separate project files entirely as you save backups, you can also duplicate the project file itself by going to File > Save Project As (Ctrl + Shift + S or ⌘ + Shift + S).
Figure 1.14: Creating a backup with a new name in one step
For the main project in this book, we will use one project file with several versions available via the History panel. This will allow you to go through the rigging and recording example files step by step as we call them out in the book. It’s also less messy than creating multiple project files.
Testing your webcam
Getting back to our new file, this blank screen we are looking at is the Record tab. It’s blank because we have yet to insert any puppets into this project. We will get there in due course:
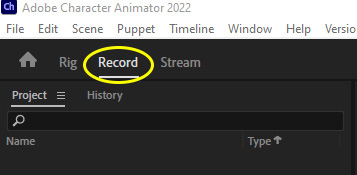
- If you’re not on the Record tab, you can access it by clicking Record in the top left:
Figure 1.15: The Record tab is always accessible at the top
- Direct your attention to the top right. The Camera & Microphone tab should be visible. If not, go to Window > Camera & Microphone.
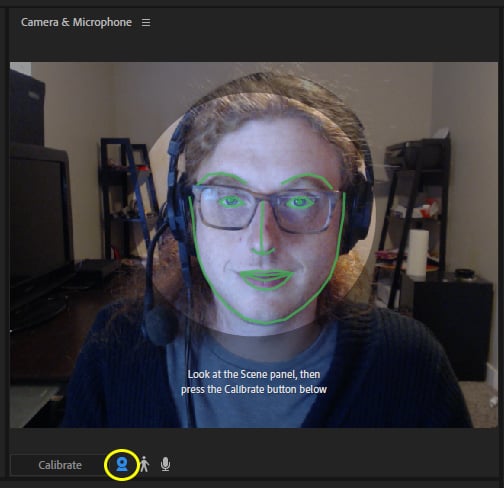
- Click on the Webcam button at the bottom of the panel. This should activate your connected webcam and show a preview in the window:
Figure 1.16: Previewing by clicking the webcam icon
- What’s important next is situating your face within the highlighted area. You will also want to look straight at the camera, keeping your expression relaxed and neutral.
- Once you have situated yourself, click the Calibrate button below the preview window:
Figure 1.17: The Calibrate button lies below the preview window
- This will allow the app to detect your face more accurately and know when it should be neutral during your emotions and actions. Rest Pose is used to refer to this neutral state, as well.
Test the camera by turning your head left and right and moving your head within the preview space. Blinking, raising and lowering your eyebrows, and opening and closing your mouth should also track. If the green tracking lines follow along, calibration is complete!
Testing your microphone
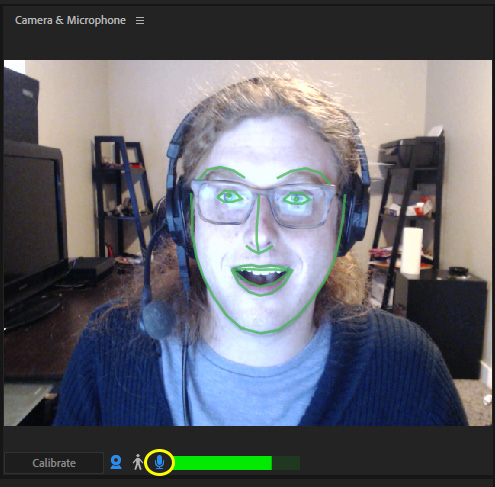
You can enable and disable your microphone by clicking on the microphone button at the bottom. Enabling it will allow you to preview your audio level on the histogram, but nothing else will happen since no puppets are present.
Figure 1.18: Clicking on the microphone will reveal the histogram, a meter used to judge audio levels
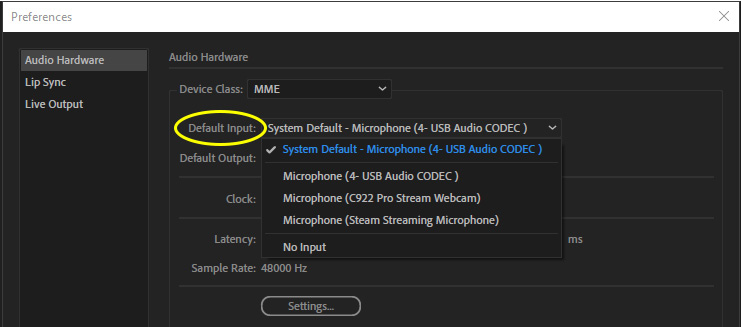
Now, let’s say you have multiple microphones or maybe something isn’t detecting correctly. You can configure your audio hardware by going to Edit > Preferences (Ctrl + K) on Windows or clicking on the Apple logo and choosing Preferences (⌘ + ,) on macOS. Audio Hardware, the top option on the left, will give you access to all audio equipment connected to the computer.
Figure 1.19: Setting up your audio hardware
Once you have selected your desired input and output audio choices, click OK and try to test the mic again to ensure the histogram below the preview is detecting audio. With your equipment now detected and calibrated, let’s play with some sample files!


 Free Chapter


