-
Book Overview & Buying
-
Table Of Contents

-
Feedback & Rating

Unity 5.x By Example
By :
Unity 5.x By Example
By:
Overview of this book
Unity is an exciting and popular engine in the game industry. Throughout this book, you’ll learn how to use Unity by making four fun game projects, from shooters and platformers to exploration and adventure games.
Unity 5 By Example is an easy-to-follow guide for quickly learning how to use Unity in practical context, step by step, by making real-world game projects. Even if you have no previous experience of Unity, this book will help you understand the toolset in depth. You'll learn how to create a time-critical collection game, a twin-stick space shooter, a platformer, and an action-fest game with intelligent enemies. In clear and accessible prose, this book will present you with step-by-step tutorials for making four interesting games in Unity 5 and explain all the fundamental concepts along the way. Starting from the ground up and moving toward an intermediate level, this book will help you establish a strong foundation in making games with Unity 5.
Table of Contents (10 chapters)
Preface

 Free Chapter
1. The Coin Collection Game – Part 1
2. Project A – the Collection Game Continued
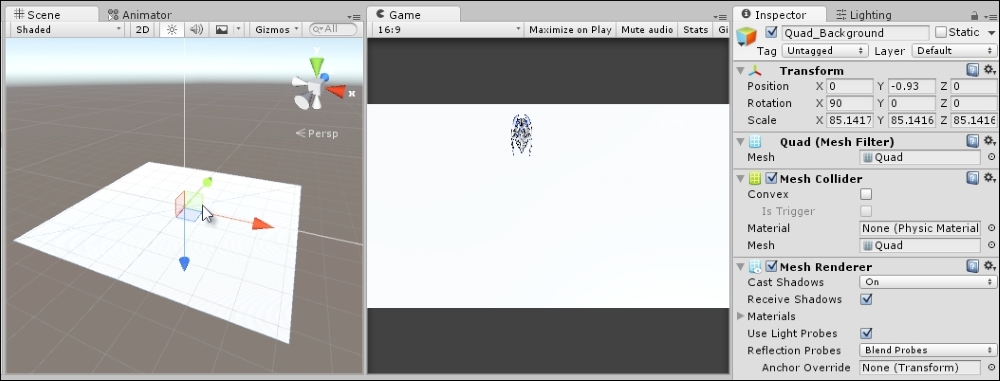
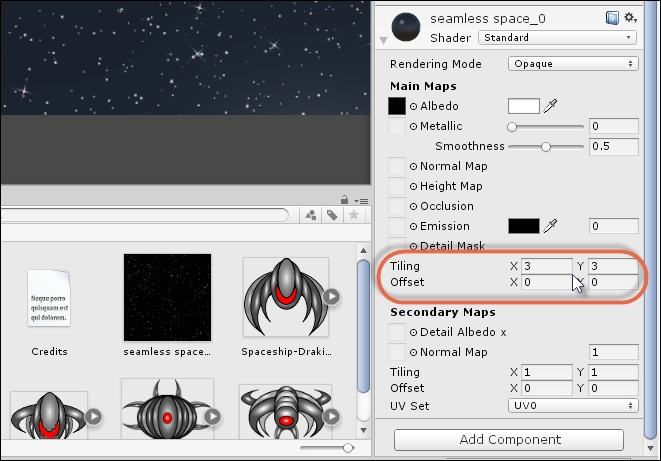
3. Project B – the Space Shooter
4. Continuing the Space Shooter
5. Project C – a 2D Adventure
6. Continuing the 2D Adventure
7. Project D – Intelligent Enemies
8. Continuing with Intelligent Enemies
Index
Customer Reviews