-
Book Overview & Buying

-
Table Of Contents

-
Feedback & Rating

Design Better and Build Your Brand in Canva
By :
Design Better and Build Your Brand in Canva
By:
Overview of this book
If you're constantly frustrated by how long it takes to create a design in Canva, then you've come to the right place. This book will get you up and running quickly with creating professional branded graphics in Canva.
You’ll learn how to set up a Canva account, both free and pro and create a brand kit while understanding the importance of branding. Next, you’ll discover all the features and tools as well as how to put everything together to build a brand you love and graphics that work for your business. As you progress, the chapters will show you how to organize your account, create presentations, use videos and animation within your marketing materials and more.
By the end of this book, you’ll have a solid understanding of what Canva is and what it does and be able to confidently and easily create a branded design from scratch.
Table of Contents (18 chapters)
Preface

Part 1: Getting Started, Templates, and Features
 Free Chapter
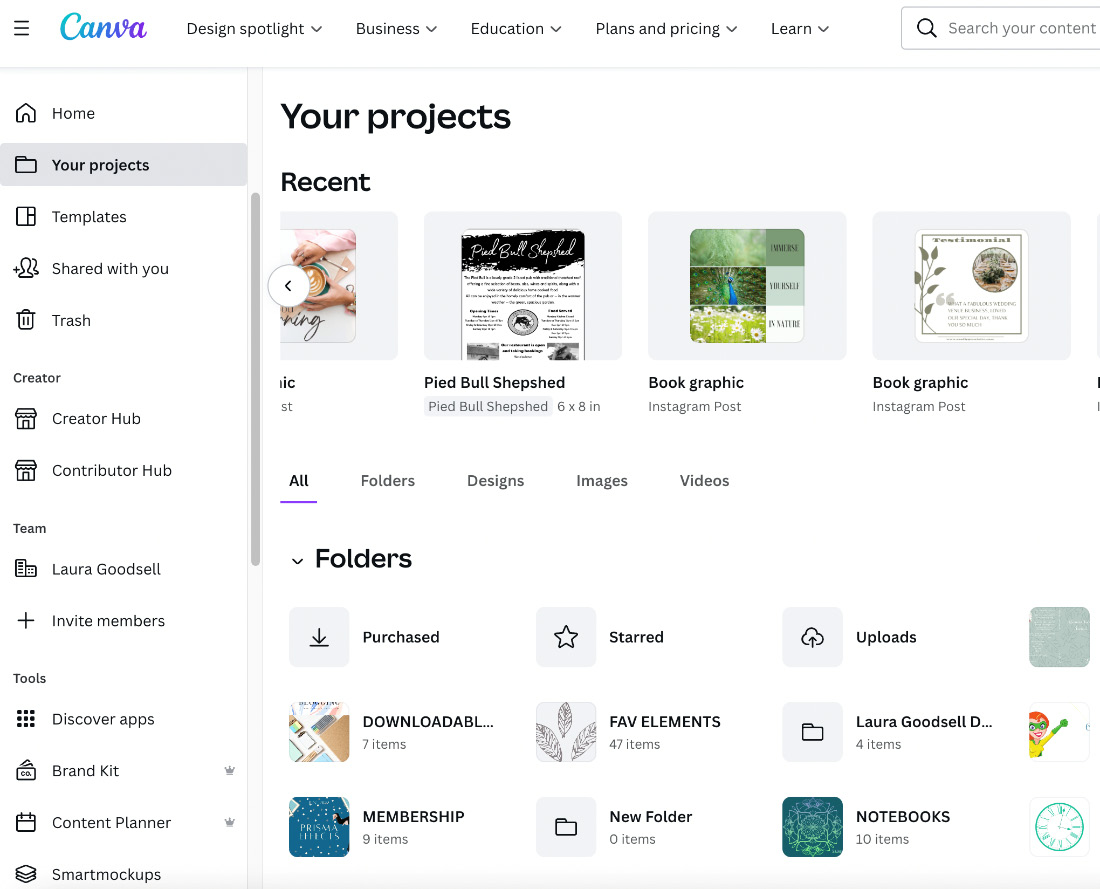
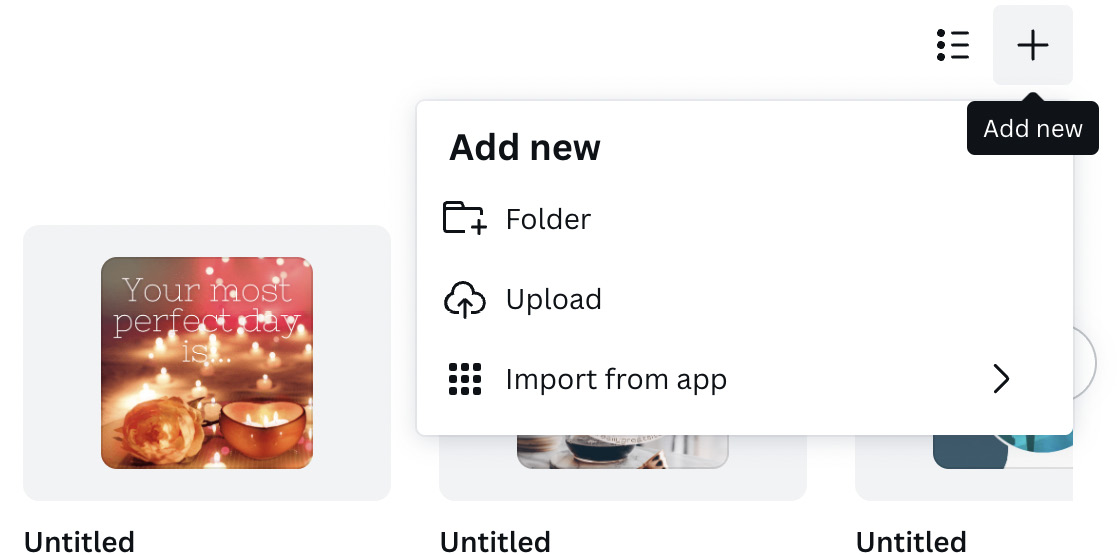
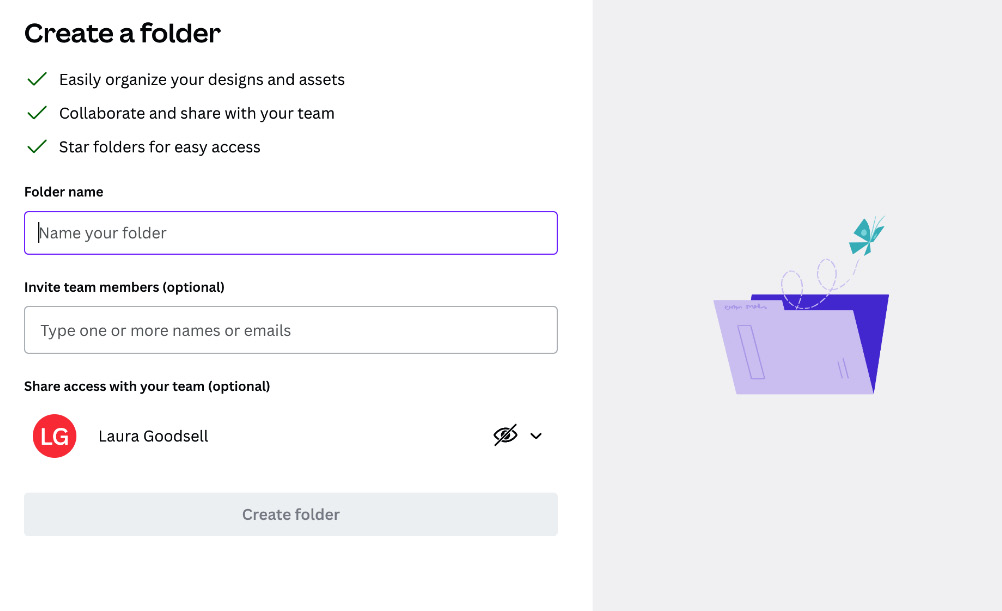
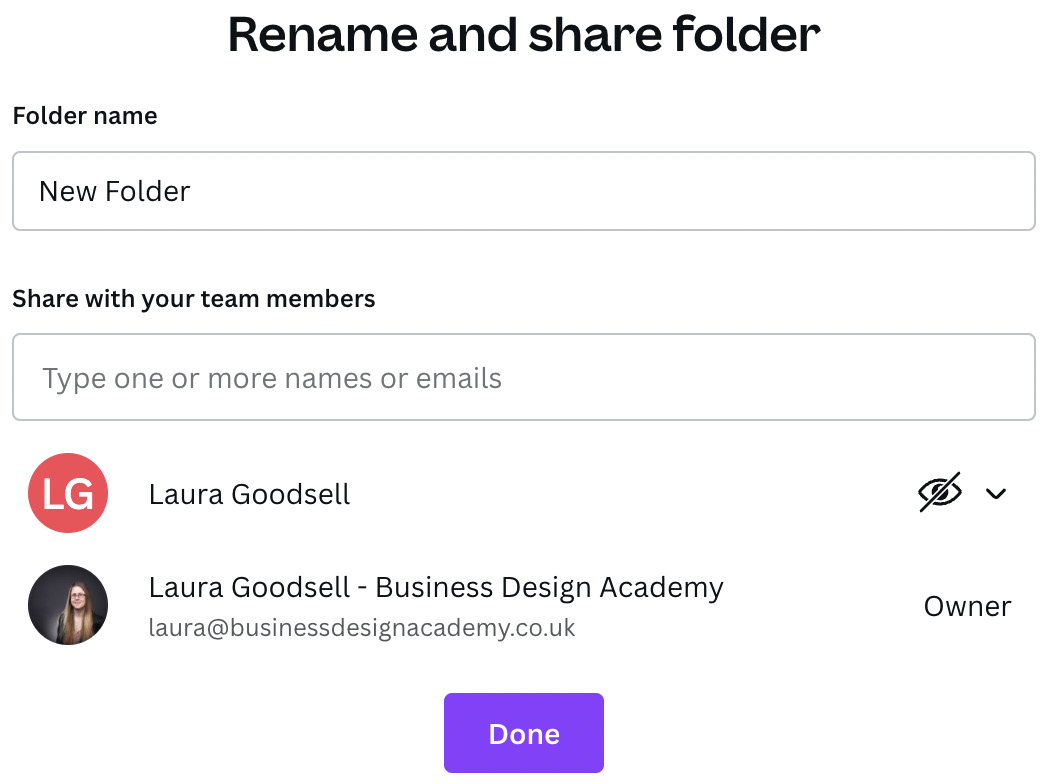
Chapter 1: Setting Up Canva on Desktop and Mobile
Chapter 2: Discovering and Editing Templates
Chapter 3: Tools and Features for Using Elements and Images
Chapter 4: Designing Eye-Catching Graphics through Useful Features
Part 2: Creating Your Brand and Design Tips
Chapter 5: Exploring the Awesome Creative Tools for Branding
Chapter 6: Expert Hacks to Create Your Own Professional-Looking Designs
Chapter 7: Five Graphic Design Principles You Need to Know
Part 3: Let’s Get Creating
Chapter 8: Creating Your Perfect Logo
Chapter 9: Making Social Media Graphics with Canva
Chapter 10: Leveraging Video and Animation within Your Business Marketing
Chapter 11: Downloading and Sharing Your Designs
Chapter 12: Tips and Tricks for Printing
Index
Other Books You May Enjoy
Customer Reviews