


-
Book Overview & Buying
-
Table Of Contents

-
Feedback & Rating

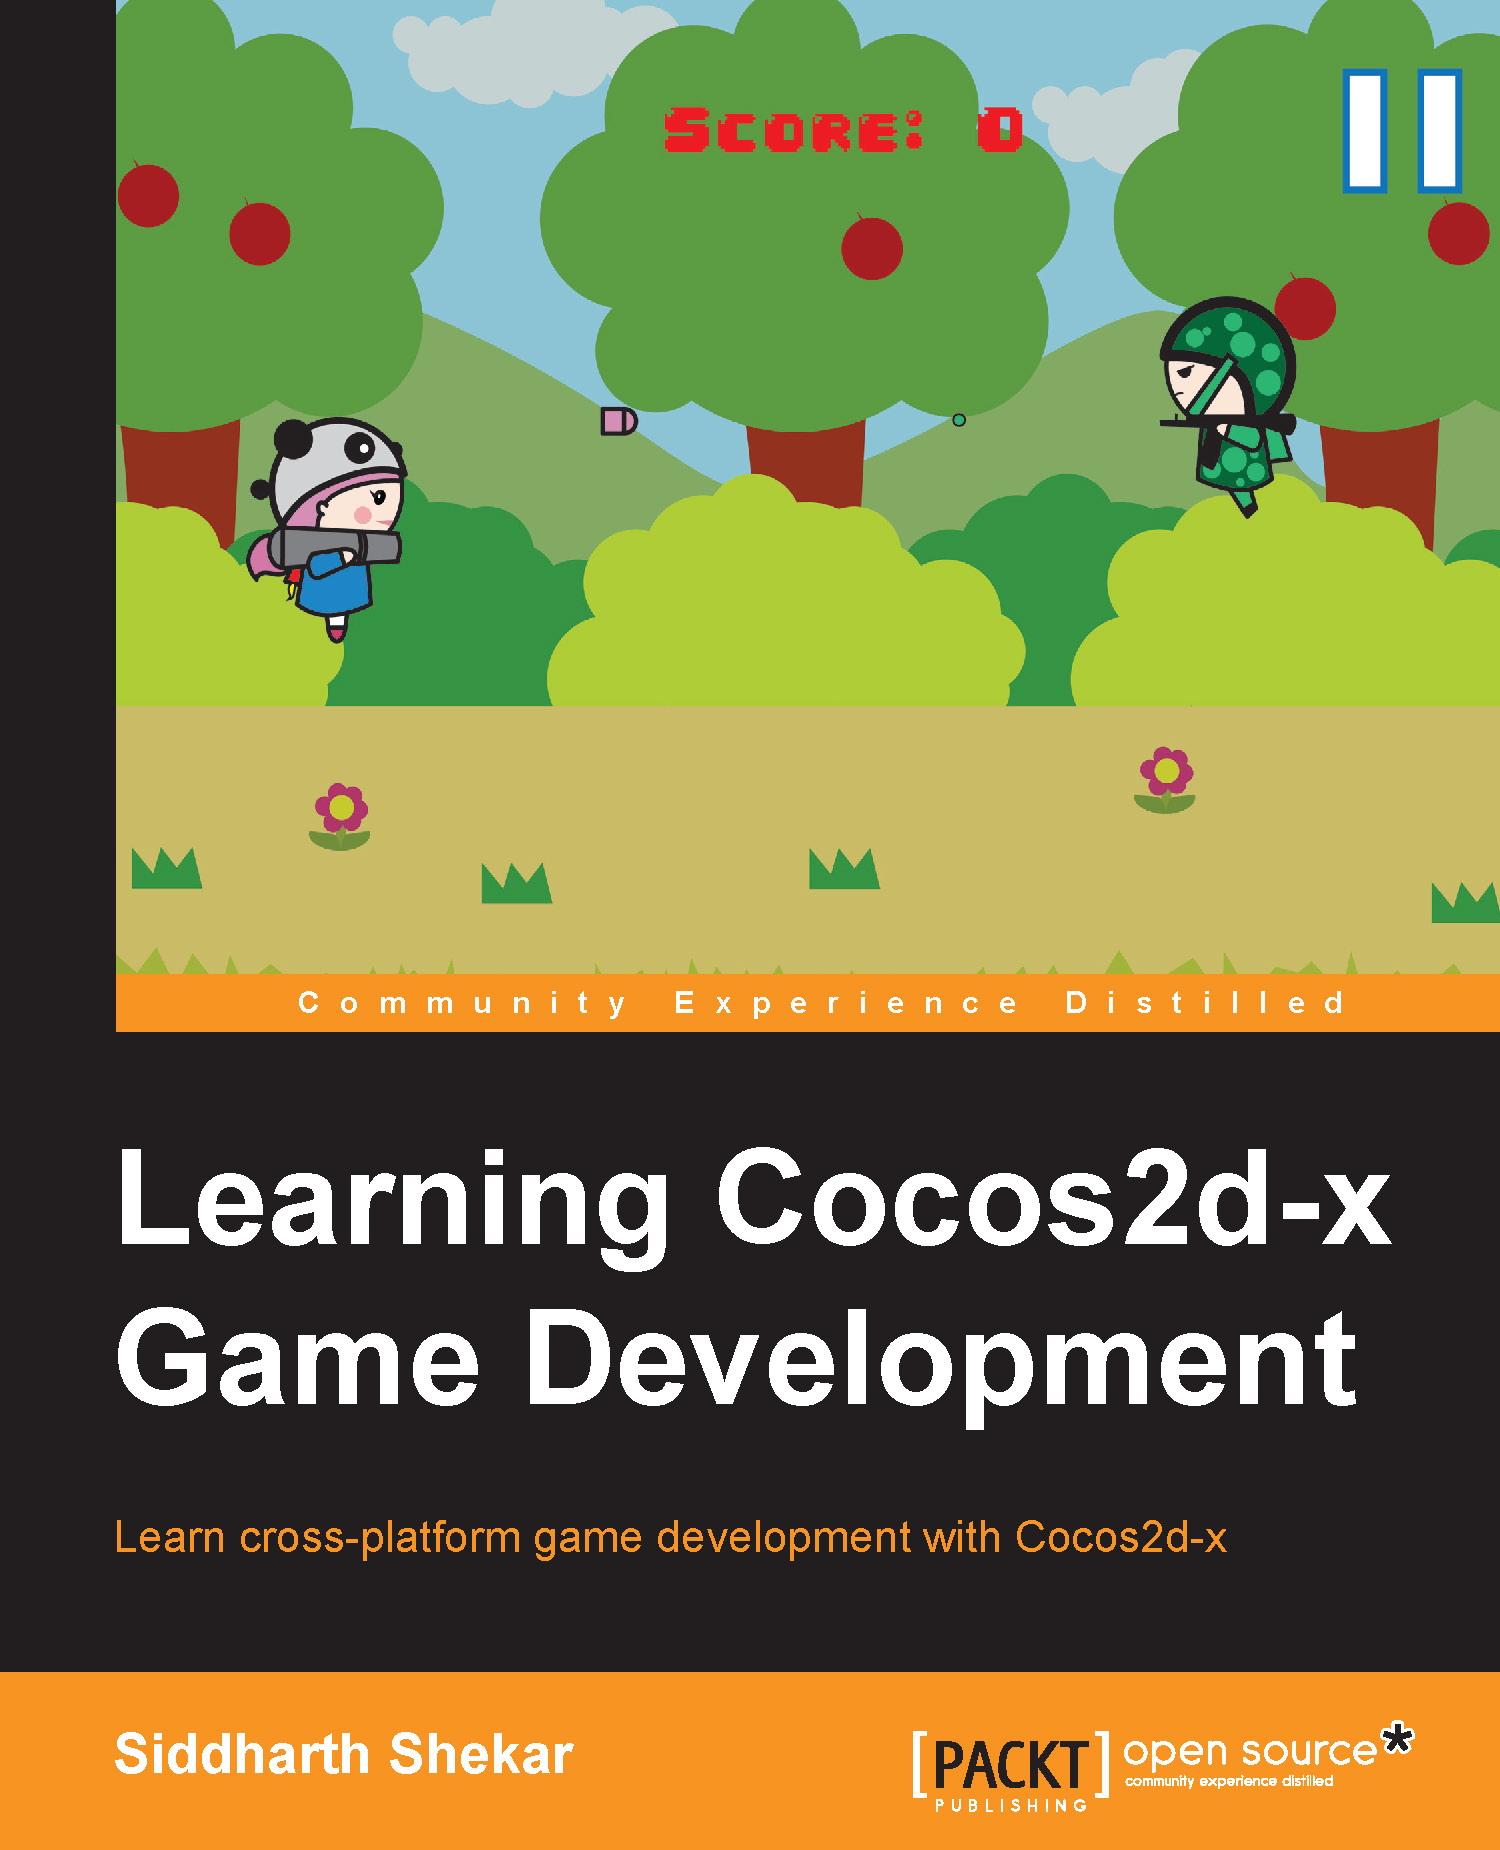
Learning Cocos2d-x Game Development
By :
Learning Cocos2d-x Game Development
By:
Overview of this book
If you are a hobbyist, novice game developer, or programmer who wants to learn about developing games/apps using Cocos2d-x, this book is ideal for you.
Table of Contents (13 chapters)
Preface

 Free Chapter
1. Getting Started
2. Displaying the Hero and Controls
3. Enemies and Controls
4. Collision Detection and Scoring
5. HUD, Parallax Background, and the Pause Button
6. Animations
7. Particle Systems
8. Adding Main and Option Menu Scenes
9. Adding Sounds and Effects
10. Publishing to the Windows Phone Store
11. Porting, References, and Final Remarks
Index
Customer Reviews


