-
Book Overview & Buying

-
Table Of Contents

-
Feedback & Rating

Up and Running with Affinity Designer
By :
Up and Running with Affinity Designer
By:
Overview of this book
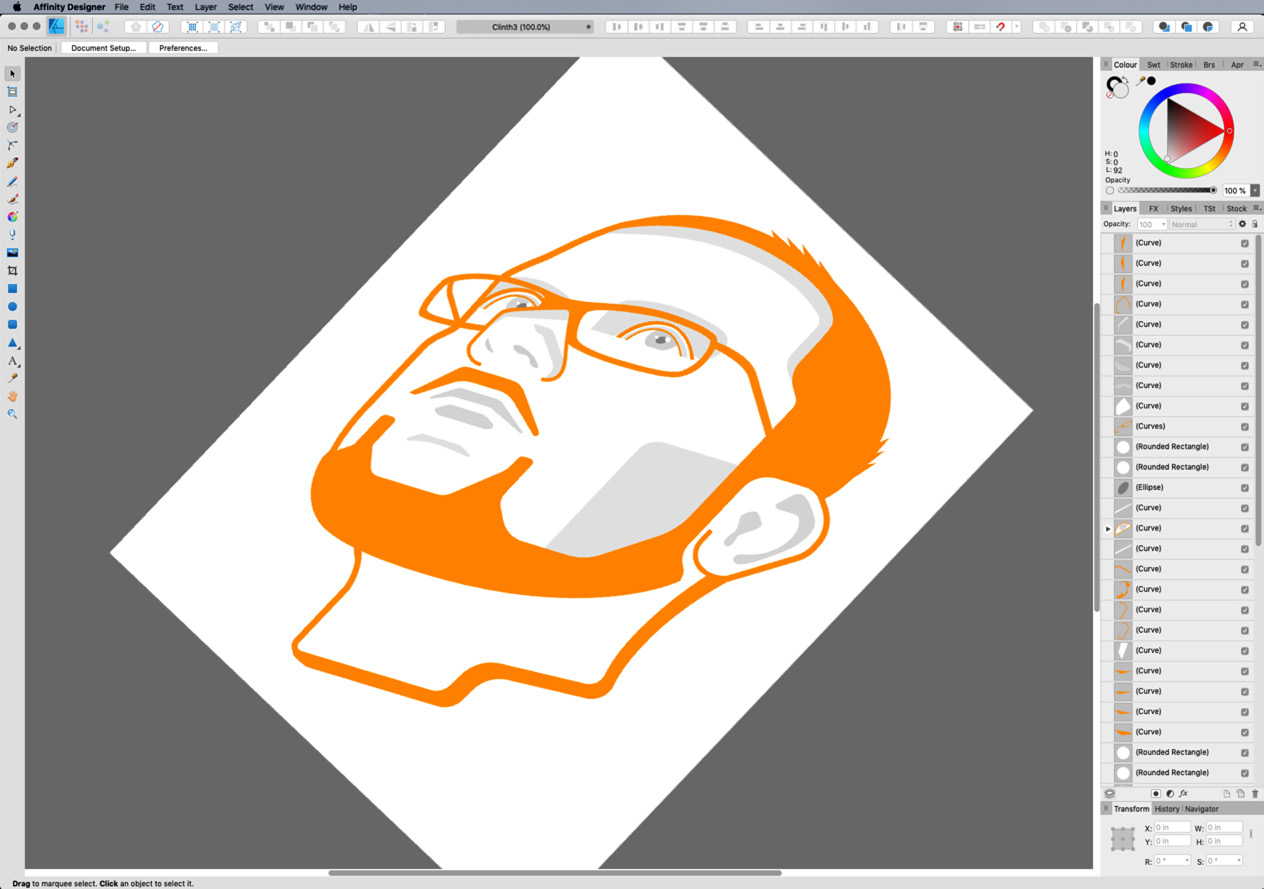
Affinity Designer is a widely adopted creative application, and in a reasonably short space of time, it has become a leading design and illustration application. Affinity Designer, along with Affinity Photo and Affinity Publisher, is part of a suite of award-winning creative software applications developed by Serif Europe. Built on the latest technologies, which make it fast and smooth, Affinity Designer is quickly becoming the go-to professional creative application for vector drawing and pixel-based painting.
Up and Running with Affinity Designer is a comprehensive hands-on guide to the Affinity Designer software. Whether you're new to the creative industry, a seasoned professional looking for a proven alternative, or an enthusiastic hobbyist, this book will help you get up to speed in no time. You’ll learn how to create documents and explore workflow best practices while working through practical exercises using the knowledge and skills developed in each chapter to solidify your understanding of the fundamentals. Finally, you’ll bring it all together with real-world practical applications by building a fun logo and professional illustration, forming a base for in-depth exploration in your own projects.
By the end of this Affinity Designer book, you'll have gained the knowledge and confidence to use Affinity Designer as part of your creative toolset.
Table of Contents (18 chapters)
Preface

Section 1: Getting Familiar with Affinity Designer's Interface and Layout
 Free Chapter
Chapter 1: Getting Familiar with the Affinity Designer's Interface
Chapter 2: Getting Familiar with the Three Personas of Affinity Designer
Chapter 3: How to Customize Your Affinity Designer Workspace
Section 2: Deeper Exploration of Affinity Designer's Documents, Tools, and Workflow
Chapter 4: Document Setup and Modification
Chapter 5: Main Studio Panels and Managers
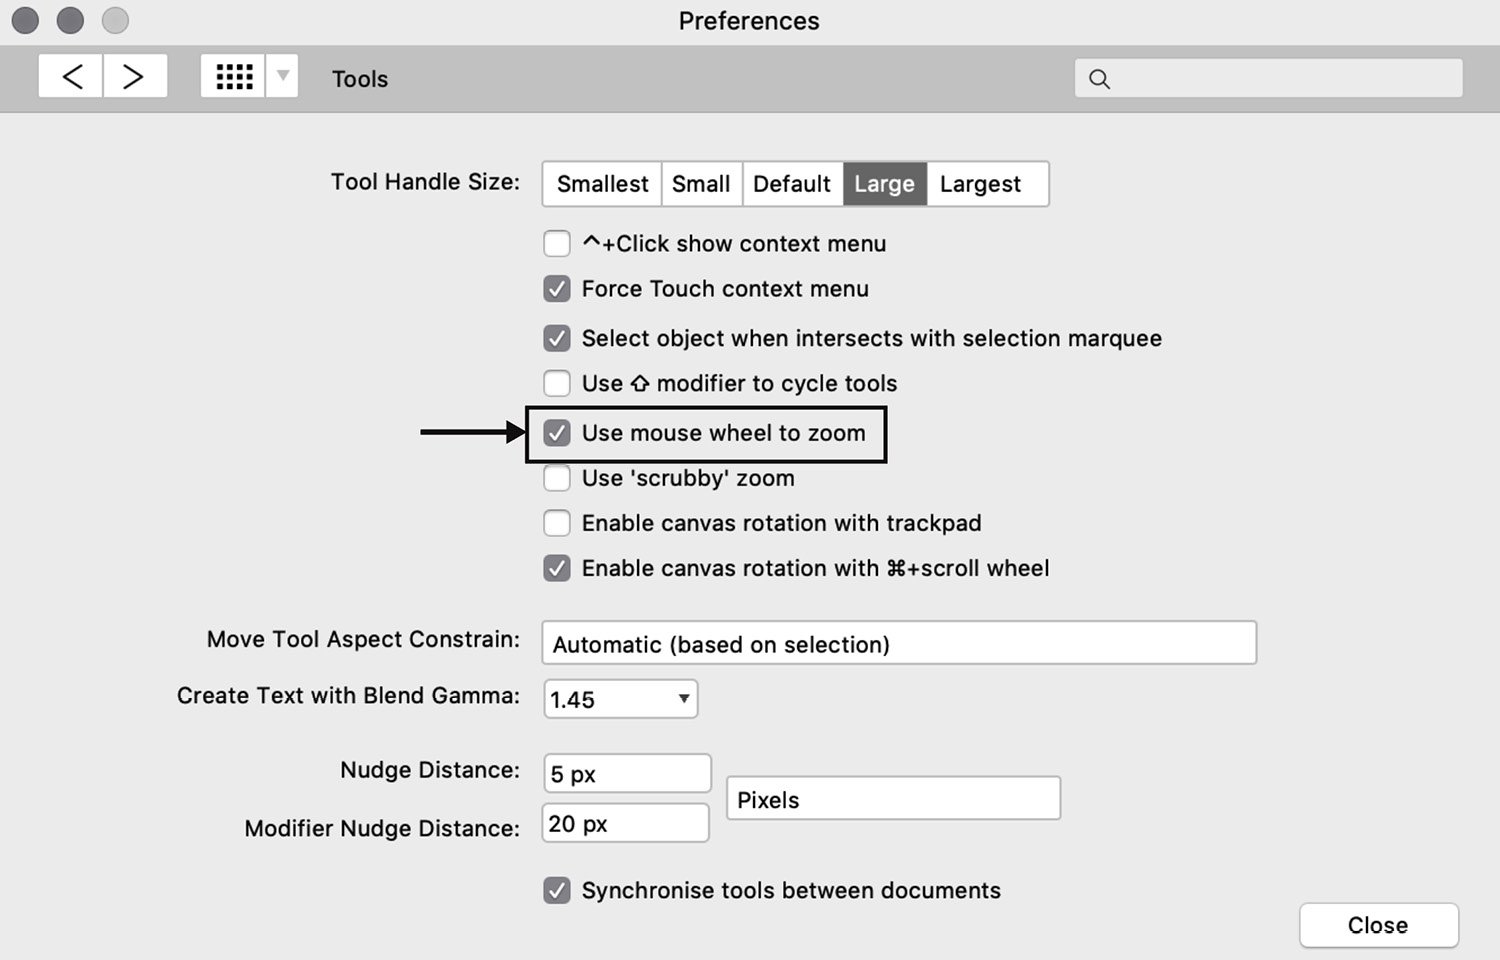
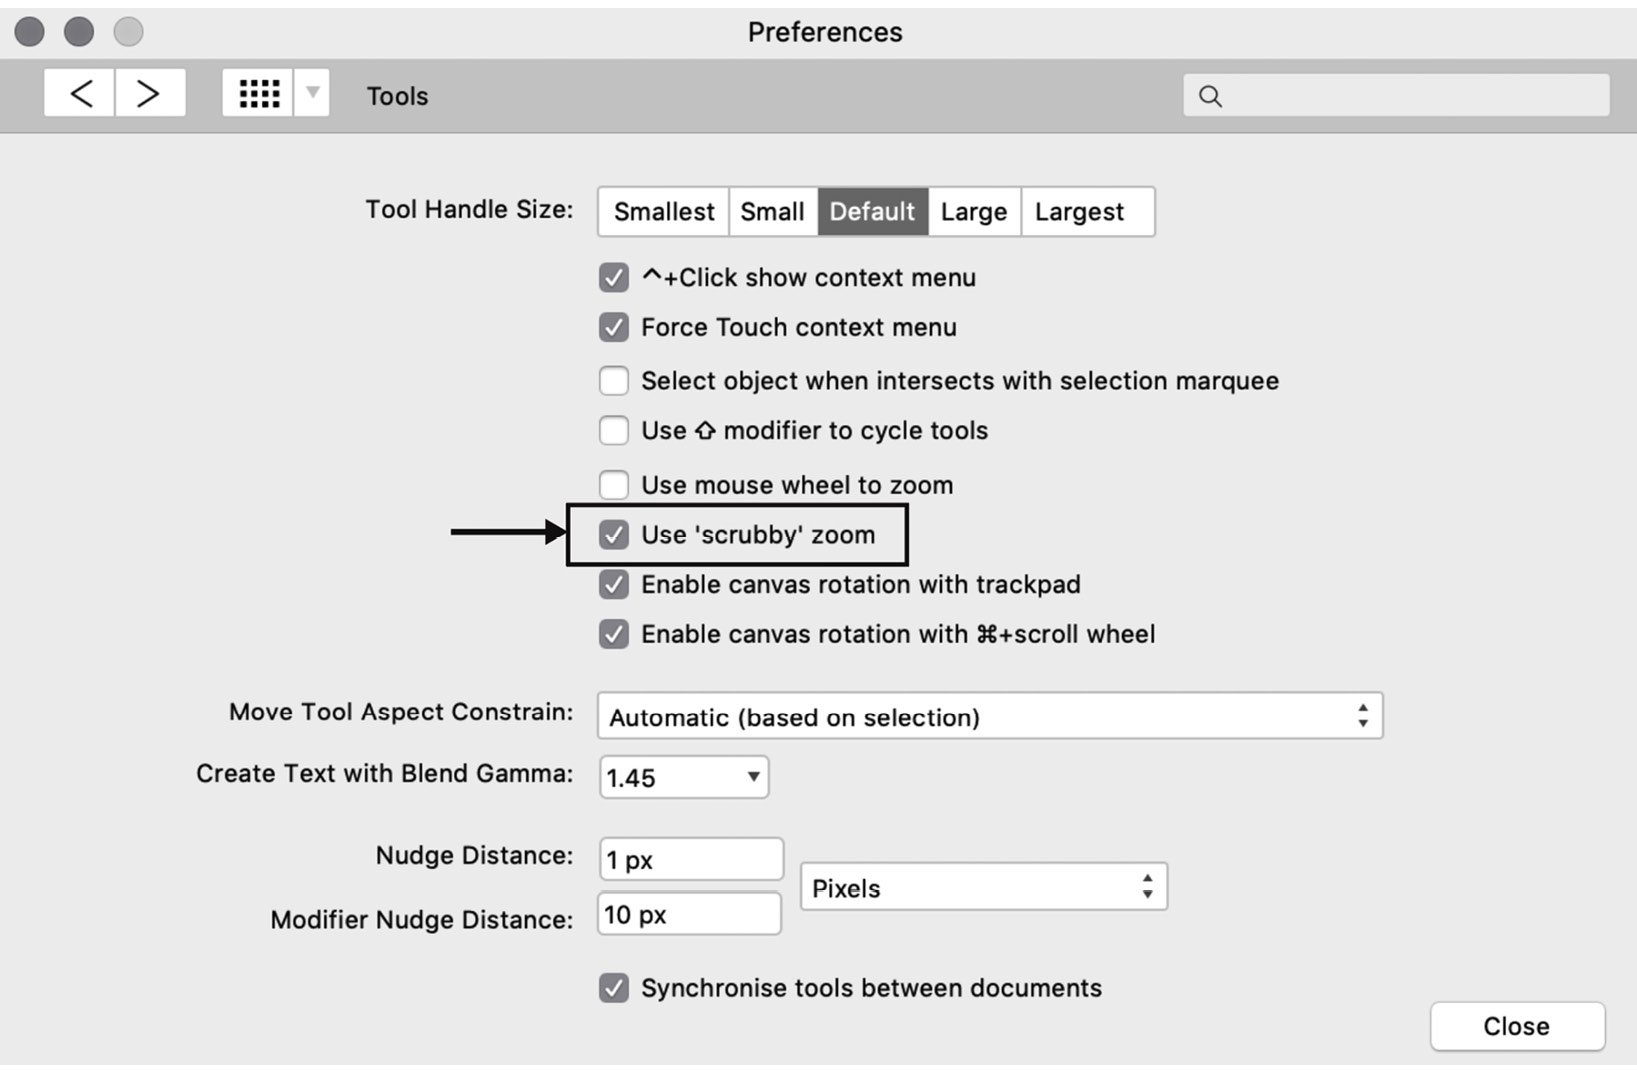
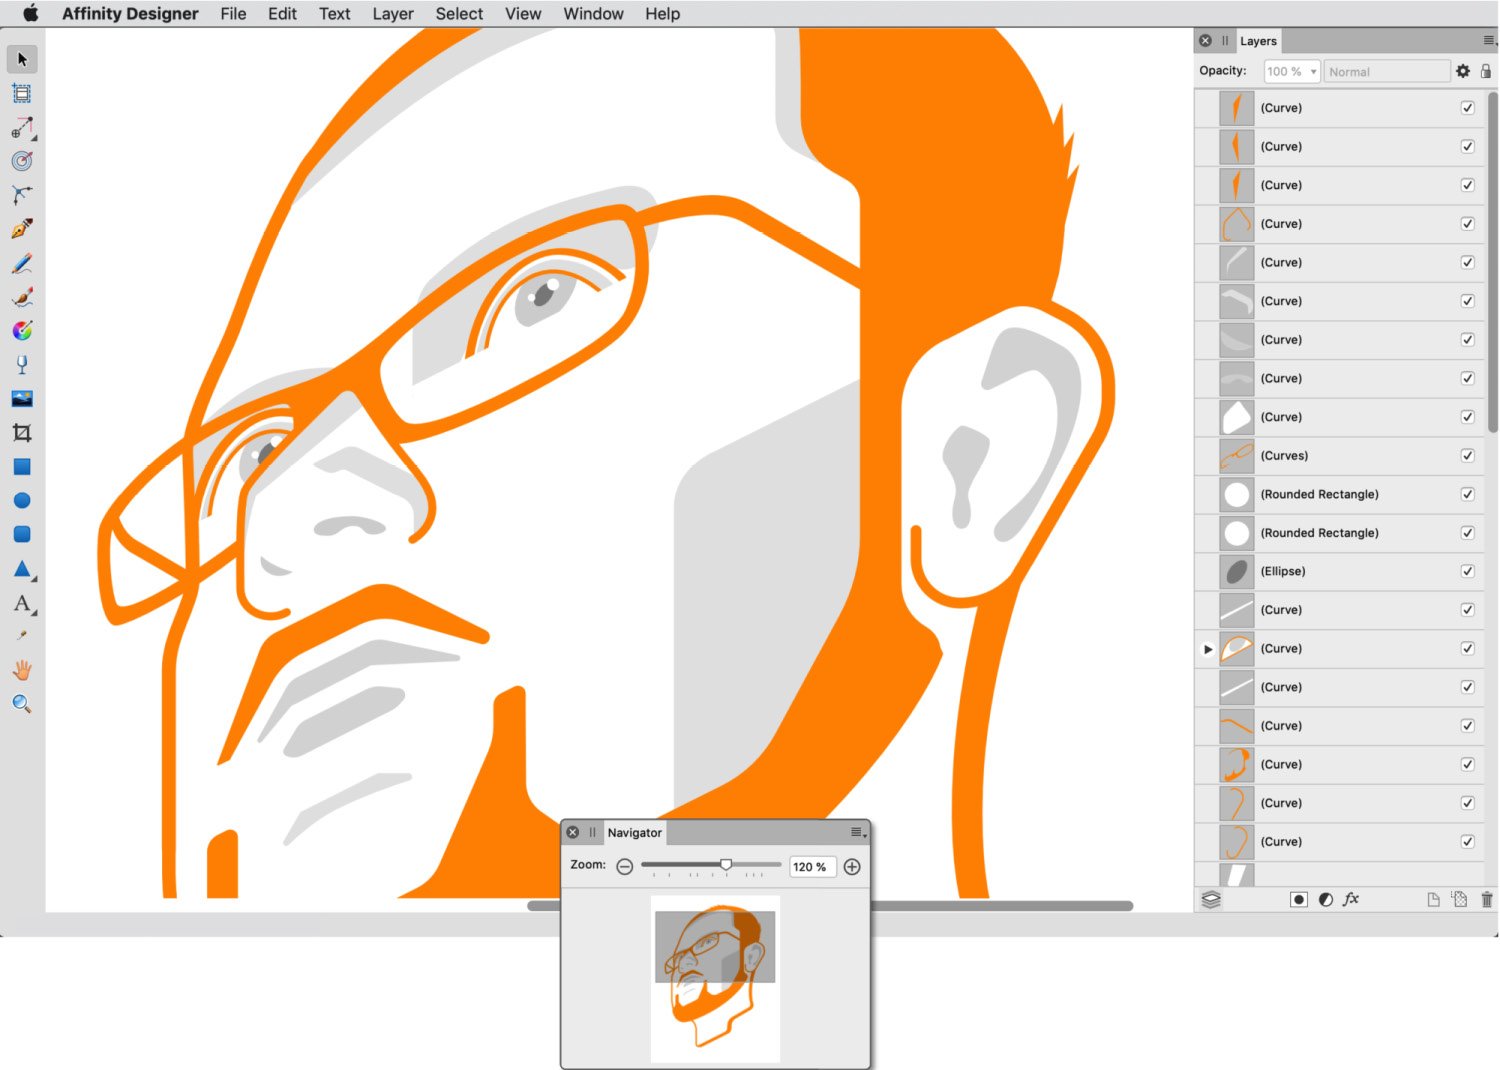
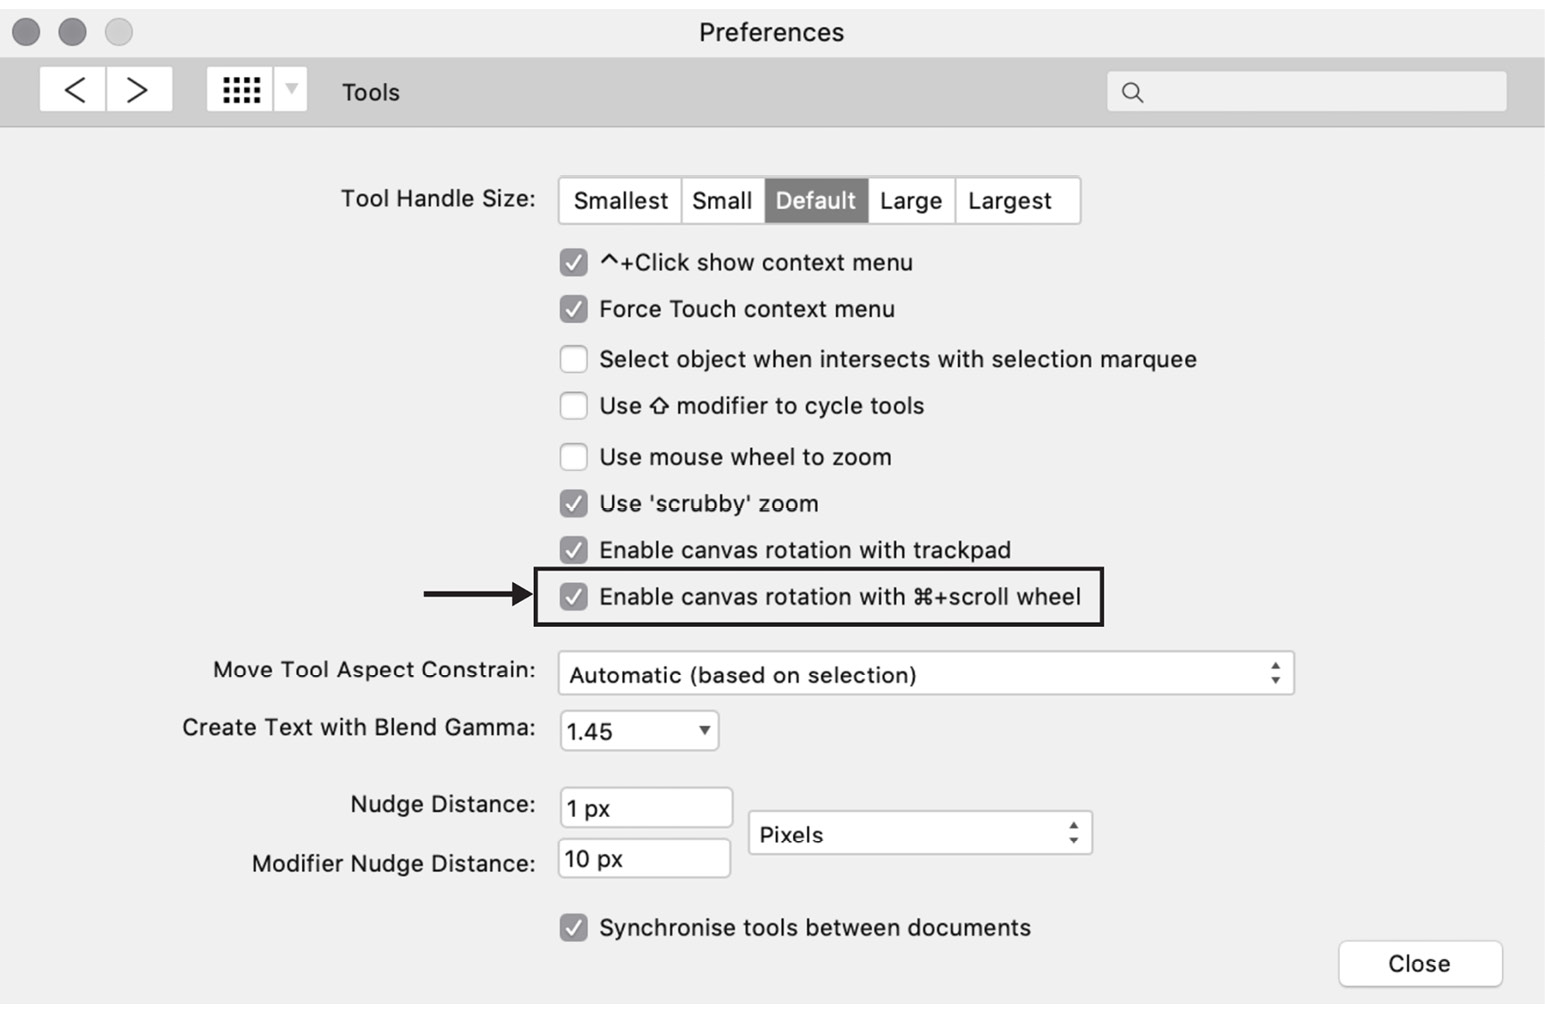
Chapter 6: Tools – Designer Persona
Chapter 7: Tools – Pixel Persona
Chapter 8: Tools, Panels, and Process – Export Persona
Chapter 9: Workflow: Layers and Objects
Chapter 10: Workflow: Symbols, Assets, and History
Section 3: Bringing It All together
Chapter 11: Creating a Professional Logo
Chapter 12: Creating Astronaut Ricky and Sidekick K9
Chapter 13: Rocketing into the Pixel Cosmos
Other Books You May Enjoy
Customer Reviews