-
Book Overview & Buying

-
Table Of Contents

-
Feedback & Rating

Mastering Kotlin for Android 14
By :
Mastering Kotlin for Android 14
By:
Overview of this book
Written with the best practices, this book will help you master Kotlin and use its powerful language features, libraries, tools, and APIs to elevate your Android apps.
As you progress, you'll use Jetpack Compose and Material Design 3 to build UIs for your app, explore how to architect and improve your app architecture, and use Jetpack Libraries like Room and DataStore to persist your data locally. Using a step-by-step approach, this book will teach you how to debug issues in your app, detect leaks, inspect network calls fired by your app, and inspect your Room database. You'll also add tests to your apps to detect and address code smells.
Toward the end, you’ll learn how to publish apps to the Google Play Store and see how to automate the process of deploying consecutive releases using GitHub actions, as well as learn how to distribute test builds to Firebase App Distribution. Additionally, the book covers tips on how to increase user engagement.
By the end of this Kotlin book, you’ll be able to develop market-ready apps, add tests to their codebase, address issues, and get them in front of the right audience.
Table of Contents (22 chapters)
Preface

Part 1: Building Your App
 Free Chapter
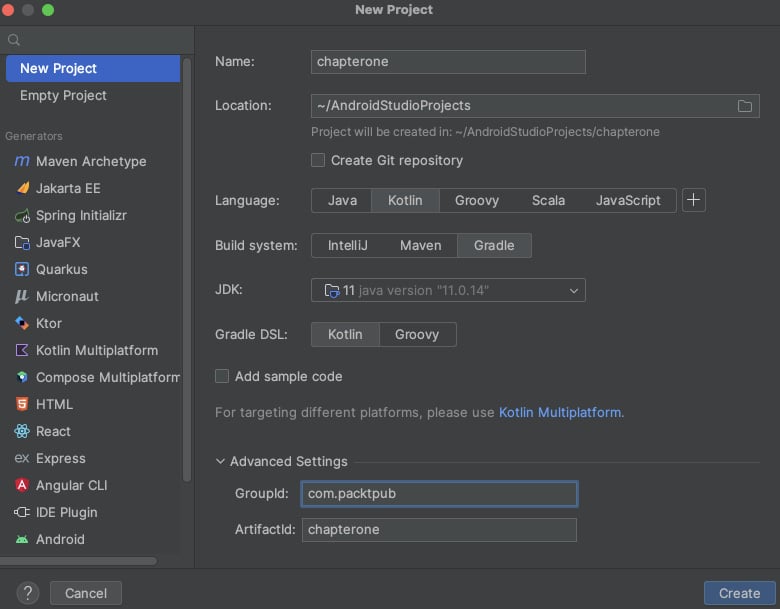
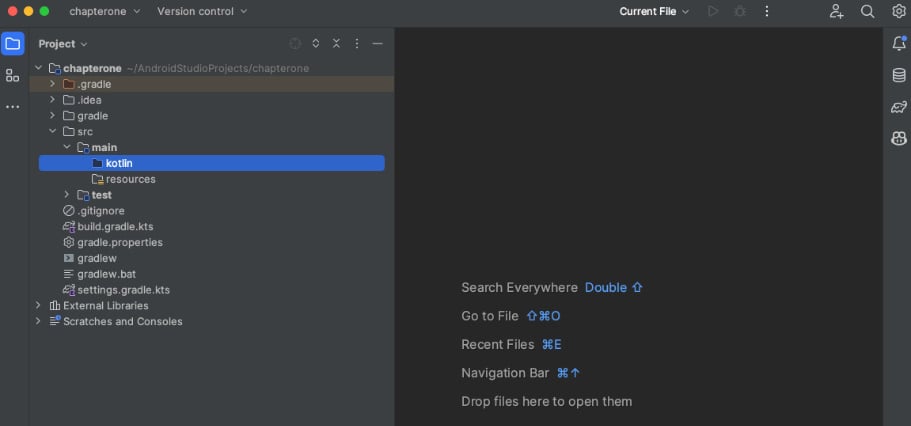
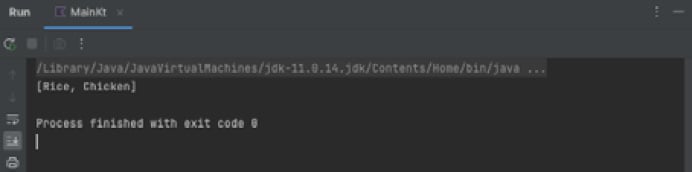
Chapter 1: Get Started with Kotlin Android Development
Chapter 2: Creating Your First Android App
Chapter 3: Jetpack Compose Layout Basics
Chapter 4: Design with Material Design 3
Part 2: Using Advanced Features
Chapter 5: Architect Your App
Chapter 6: Network Calls with Kotlin Coroutines
Chapter 7: Navigating within Your App
Chapter 8: Persisting Data Locally and Doing Background Work
Chapter 9: Runtime Permissions
Part 3: Code Analysis and Tests
Chapter 10: Debugging Your App
Chapter 11: Enhancing Code Quality
Chapter 12: Testing Your App
Part 4: Publishing Your App
Chapter 13: Publishing Your App
Chapter 14: Continuous Integration and Continuous Deployment
Chapter 15: Improving Your App
Index
Other Books You May Enjoy
Customer Reviews