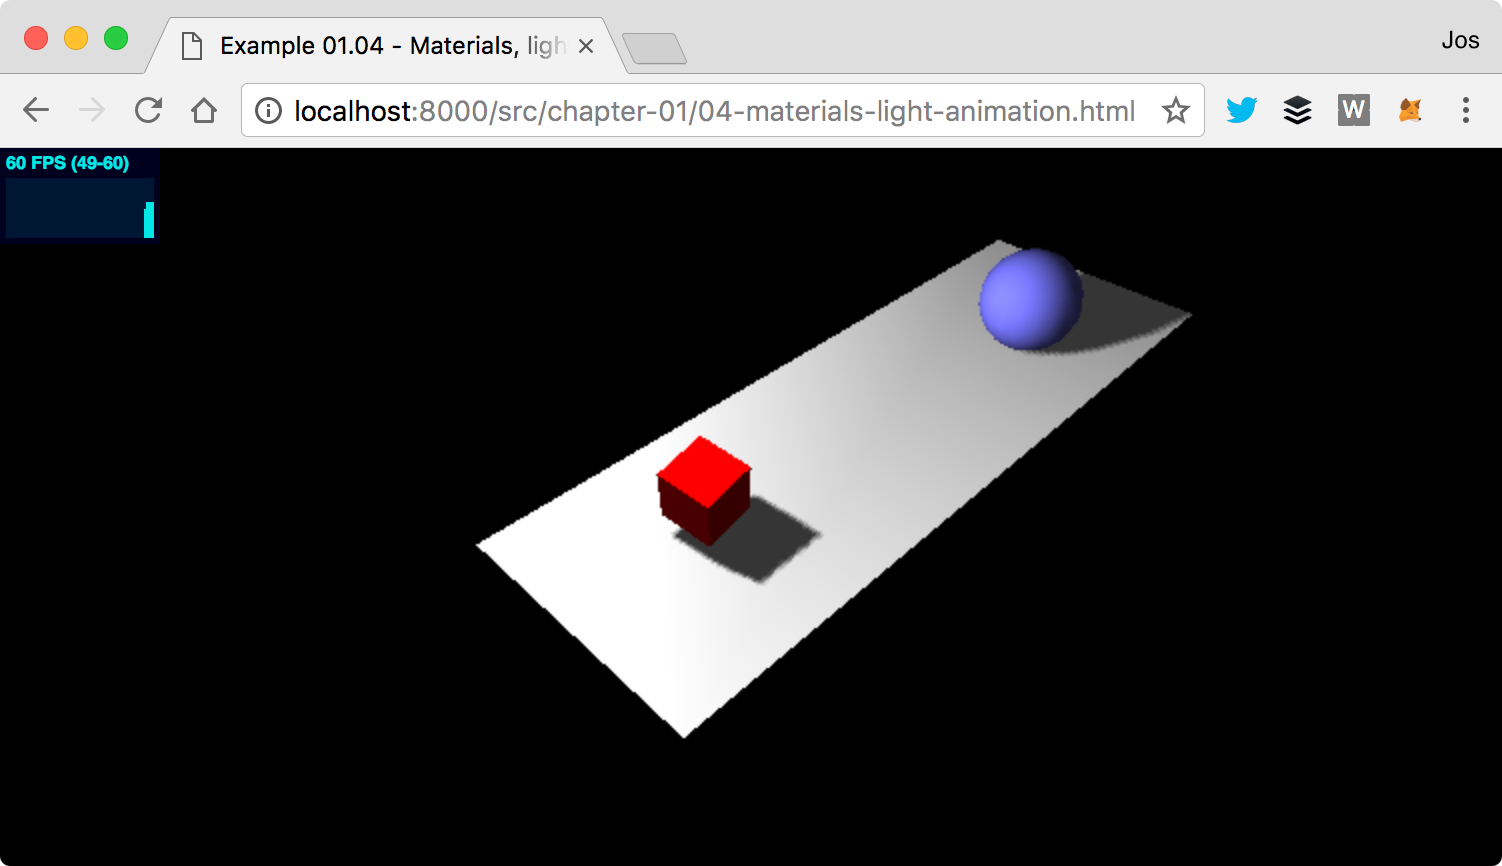
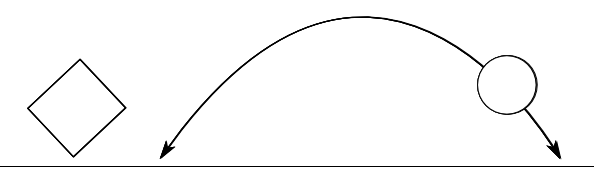
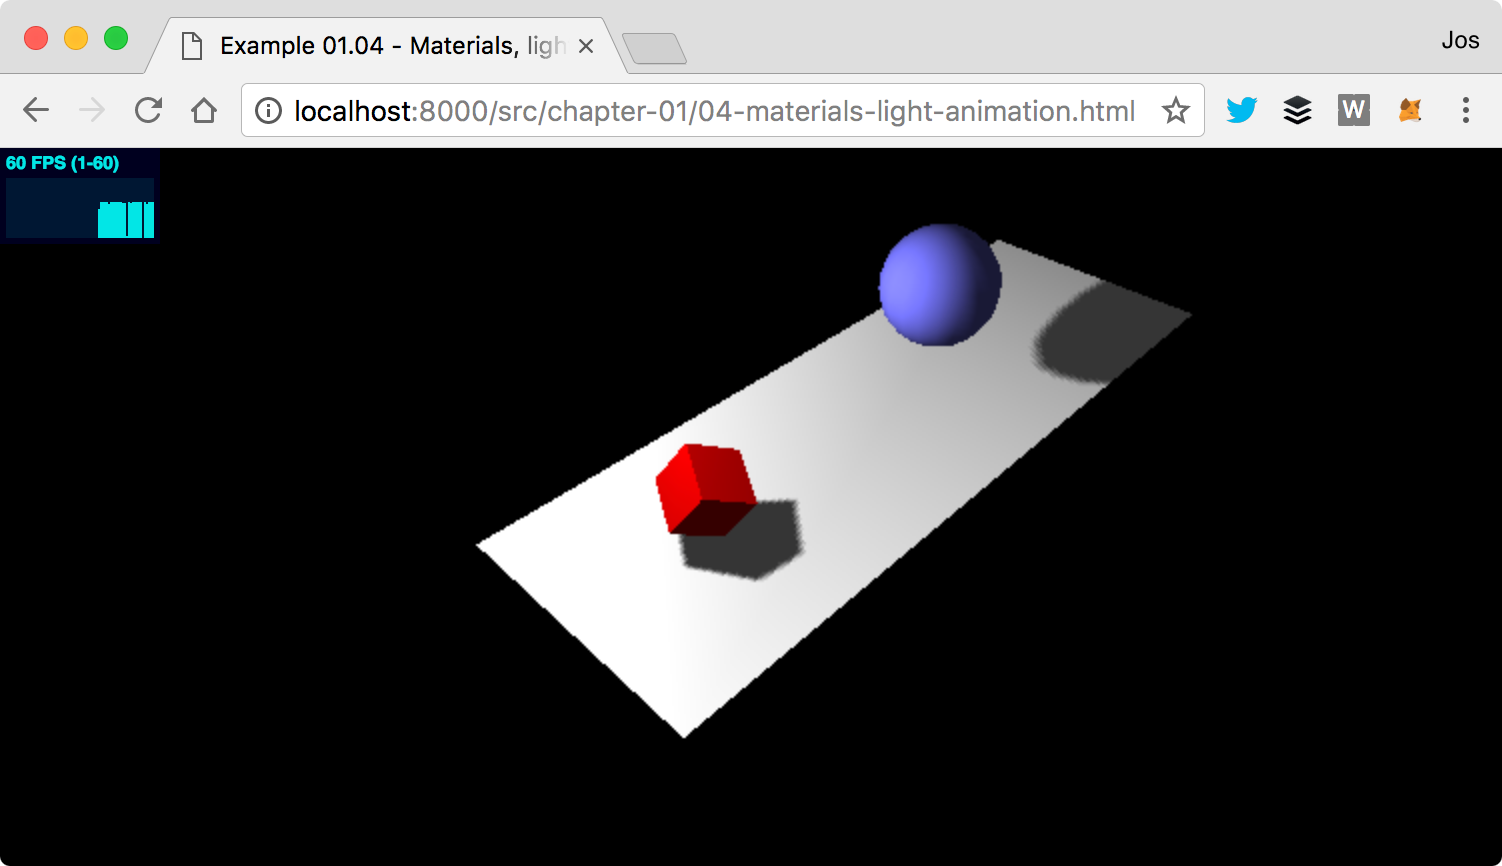
If we want to animate the scene, the first thing that we need to do is find some way to re-render the scene at a specific interval. Before HTML5 and the related JavaScript APIs came along, the way to do this was using the setInterval(function,interval) function. With setInterval, we could specify a function that, for instance, would be called every 100 milliseconds. The problem with this function is that it doesn't take into account what is happening in the browser. If you were browsing another tab, this function would still be fired every couple of milliseconds. Besides that, setInterval isn't synchronized with the redrawing of the screen. This can lead to higher CPU usage, flickering, and generally poor performance.
-
Book Overview & Buying
-
Table Of Contents

-
Feedback & Rating

Learn Three.js
By :
Learn Three.js
By:
Overview of this book
WebGL makes it possible to create 3D graphics in the browser without having to use plugins such as Flash and Java. Programming WebGL, however, is difficult and complex. With Three.js, it is possible to create stunning 3D graphics in an intuitive manner using JavaScript, without having to learn WebGL. With this book, you’ll learn how to create and animate beautiful looking 3D scenes directly in your browser-utilizing the full potential of WebGL and modern browsers. It starts with the basic concepts and building blocks used in Three.js. From there on, it will expand on these subjects using extensive examples and code samples. You will learn to create, or load, from externally created models, realistic looking 3D objects using materials and textures. You’ll find out how to easily control the camera using the Three.js built-in in camera controls, which will enable you to fly or walk around the 3D scene you created. You will then use the HTML5 video and canvas elements as a material for your 3D objects and to animate your models. Finally, you will learn to use morph and skeleton-based animation, and even how to add physics, such as gravity and collision detection, to your scene. After reading this book, you’ll know everything that is required to create 3D animated graphics using Three.js.
Table of Contents (14 chapters)
Preface
 Free Chapter
Creating Your First 3D Scene with Three.js
The Basic Components that Make Up a Three.js Application
Working with Light Sources in Three.js
Working with Three.js Materials
Learning to Work with Geometries
Advanced Geometries and Binary Operations
Points and Sprites
Creating and Loading Advanced Meshes and Geometries
Animations and Moving the Camera
Loading and Working with Textures
Render Postprocessing
Adding Physics and Sounds to Your Scene
Other Books You May Enjoy
Customer Reviews