-
Book Overview & Buying
-
Table Of Contents

-
Feedback & Rating

The Pro Tools 2023 Post-Audio Cookbook
By :
The Pro Tools 2023 Post-Audio Cookbook
By:
Overview of this book
Pro Tools has long been an industry-standard Digital Audio Workstation (DAW) for audio professionals, but it can often be overwhelming for new and experienced users alike. The Pro Tools 2023 Post-Audio Cookbook acts as a reference guide to the software and breaks down each stage of a project into manageable phases. From planning a session, editing a sequence, performing a mix to printing the final masters, you can approach this book either sequentially or peruse the self-contained recipes.
You’ll come to grips with workflows for music production, motion picture, and spoken word production, helping you gain expertise in the area of your choice. You'll learn aspects of music mixing like side chain processing to keep instruments from overshadowing each other and conforming for motion picture. The author’s expertise with Pro Tools will help you discover and incorporate different techniques into your workflows. You’ll also learn to build consistent and replicable workflows and templates by understanding what happens behind the scenes in Pro Tools. With this cookbook, you’ll be able to focus on the creative aspects of your audio production and not get mired by the technical hurdles.
By the end of this book, you’ll be well-equipped to handle even the most complex features of Pro Tools to deliver immaculate results for your clients.
Table of Contents (13 chapters)
Preface

Chapter 1: Planning and Preparing Sessions
 Free Chapter
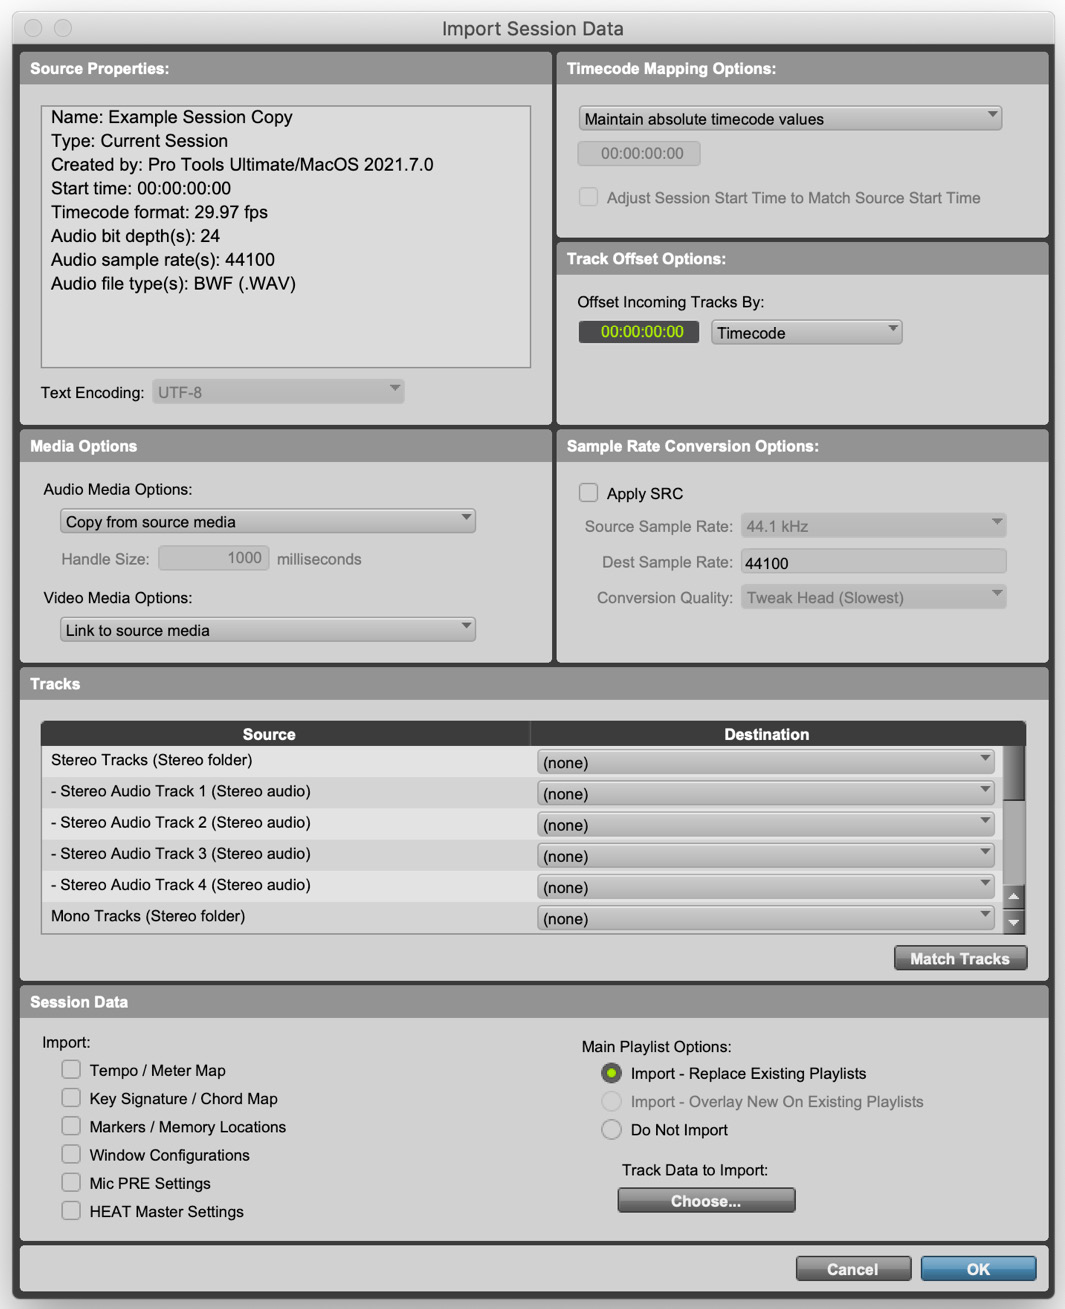
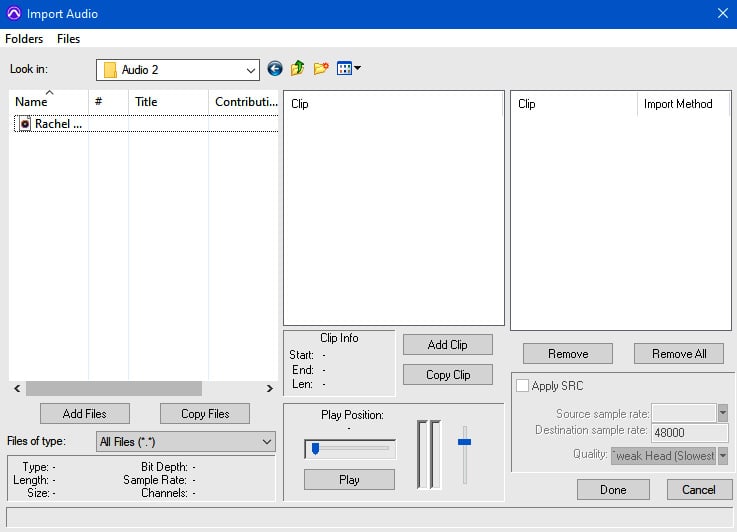
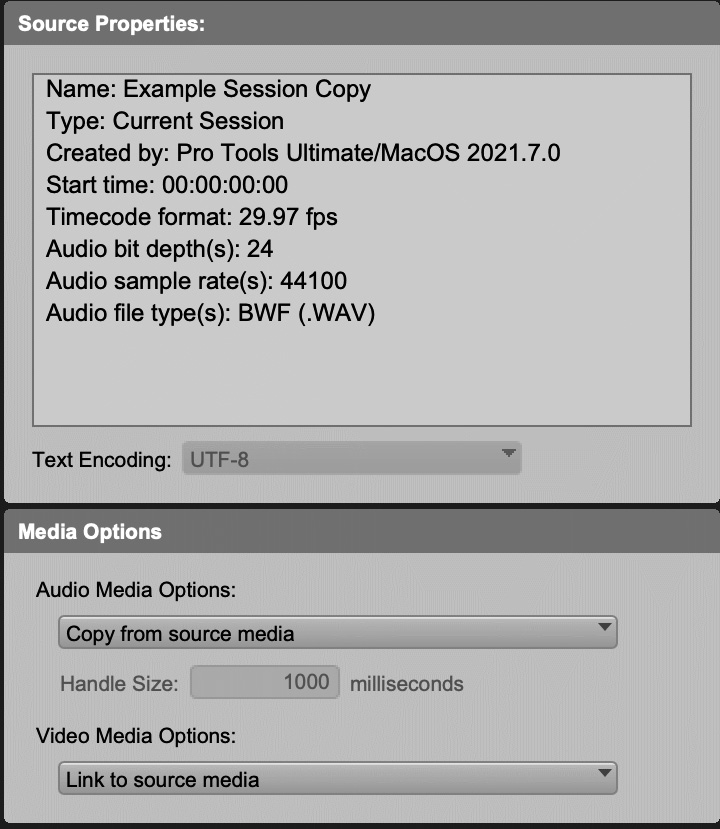
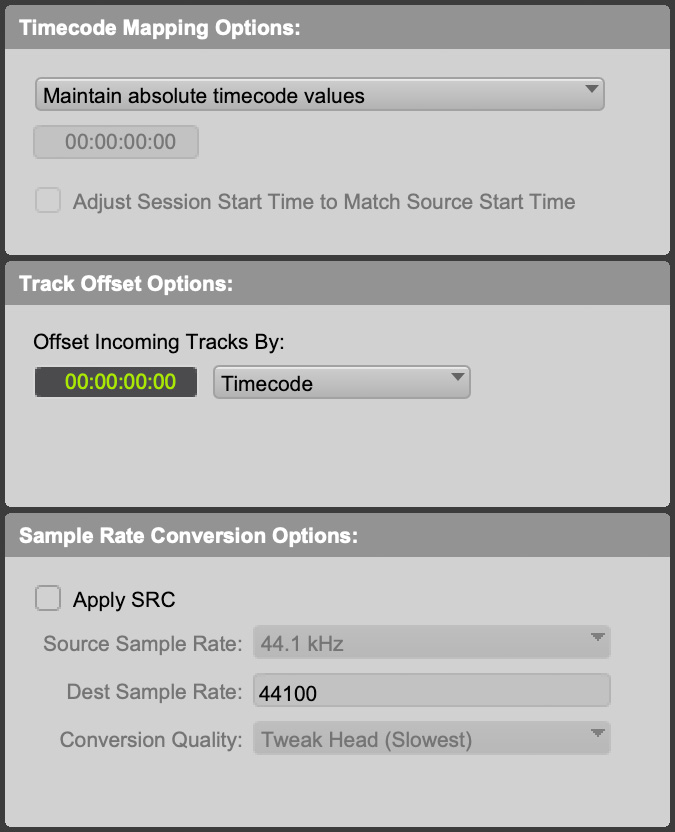
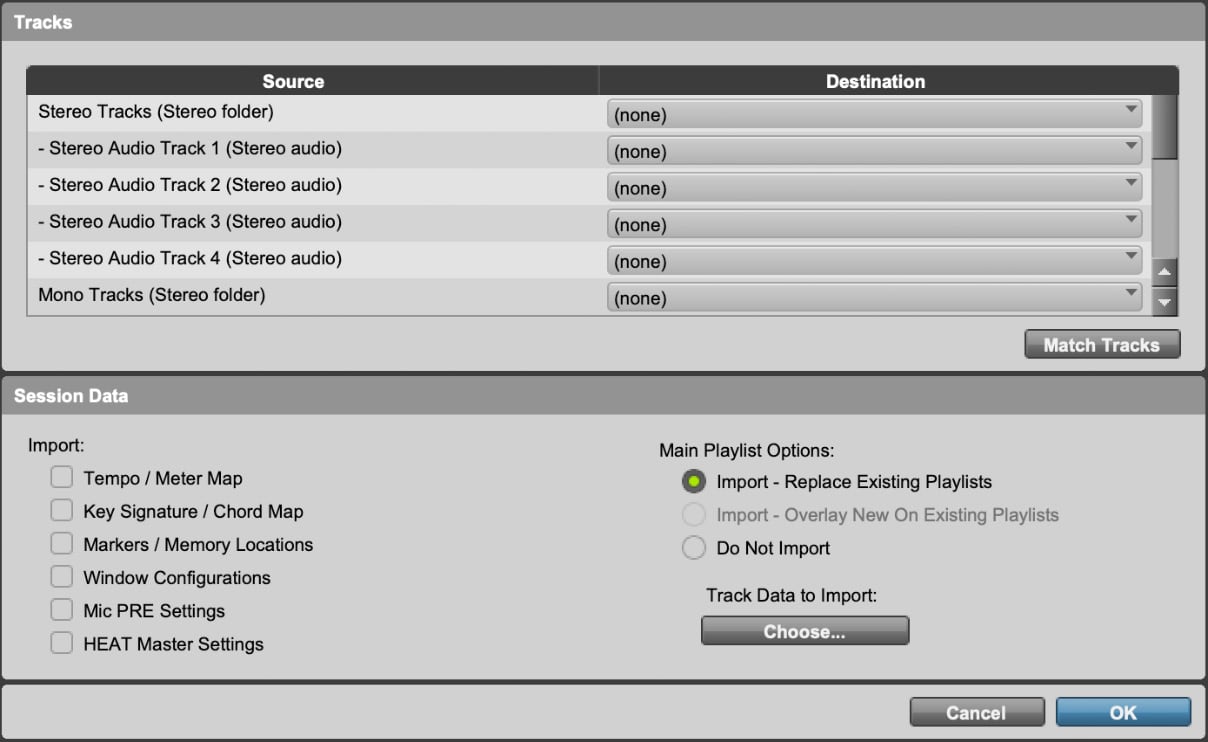
Chapter 2: Importing and Organizing Audio
Chapter 3: Faster Editing Techniques
Chapter 4: The Mechanics of Mixing
Chapter 5: Shaping Sounds with Plugins and Effects
Chapter 6: Finishing a Project and Creating Deliverables
Chapter 7: Considerations for Music Production
Chapter 8: Post Production for Motion Pictures
Chapter 9: Spoken Word and Podcasts
Index
Other Books You May Enjoy
Customer Reviews