

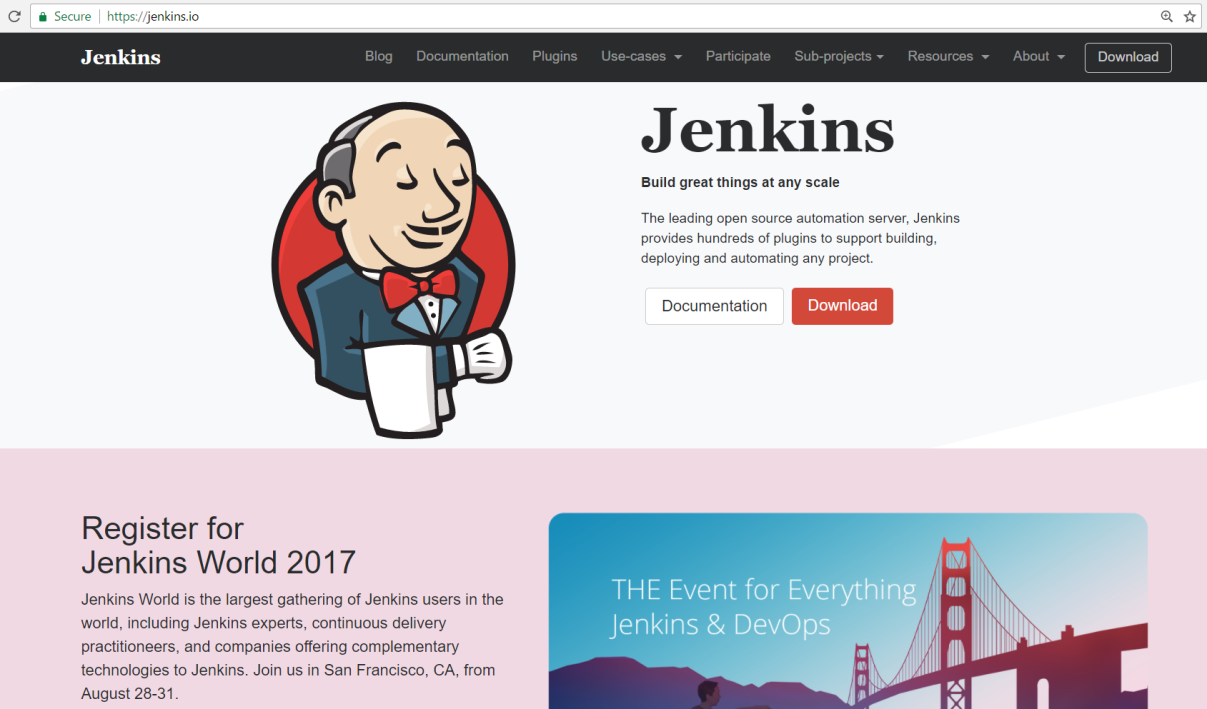
Let's start with Jenkins 2.x installation. Go to https://jenkins.io/ and click on the Download button to download packages for installation of Jenkins:
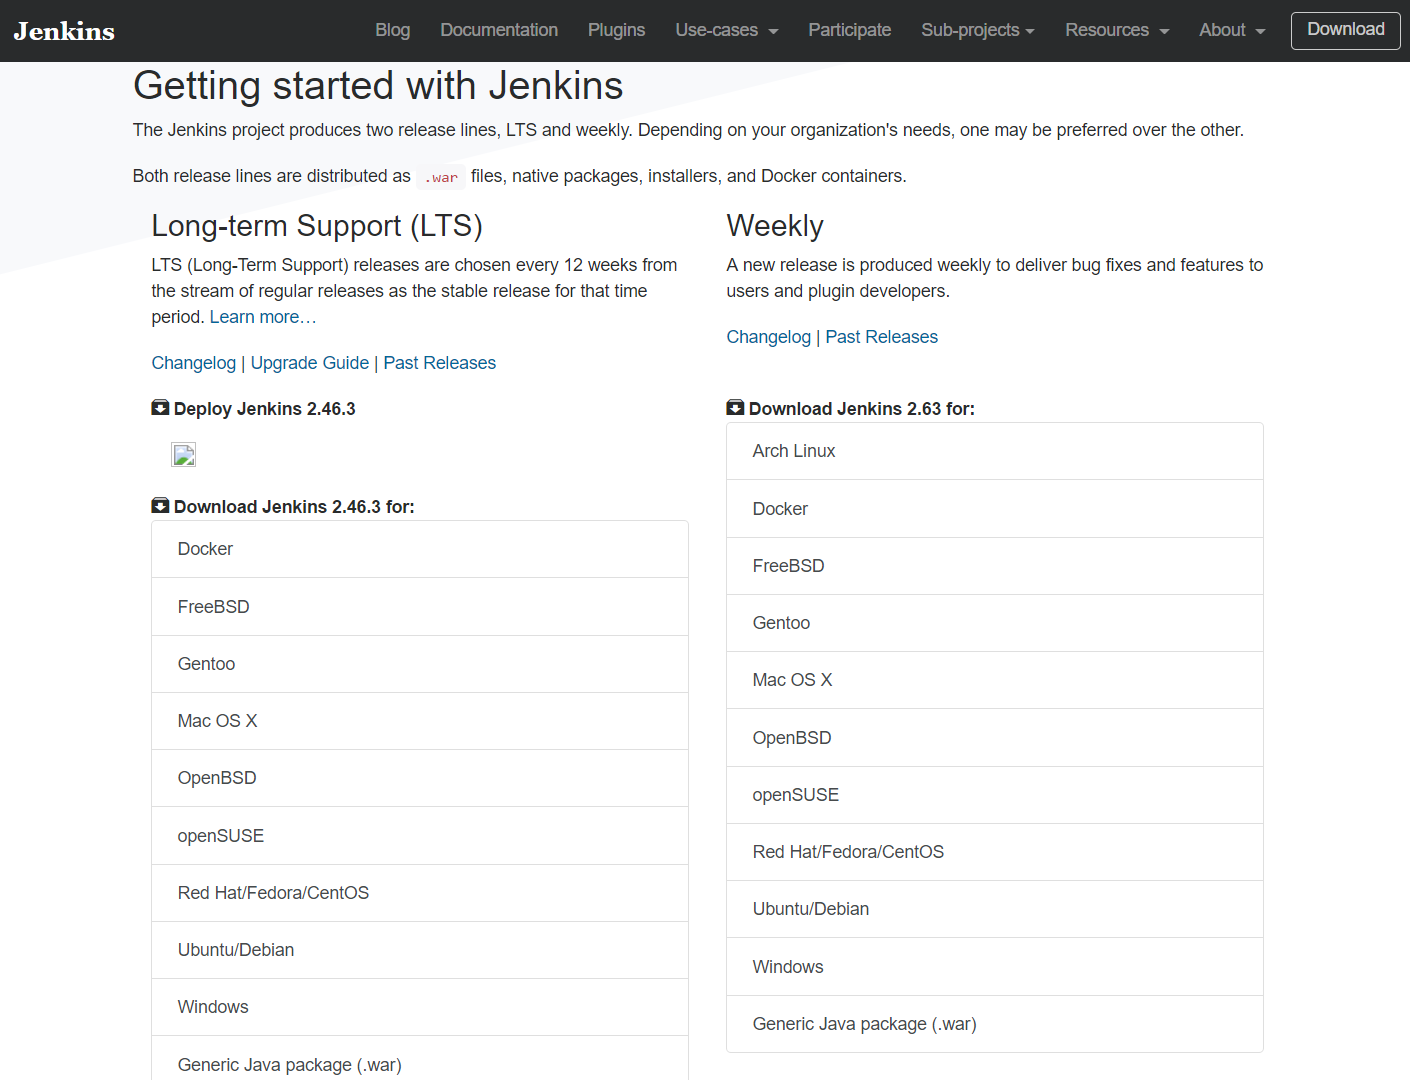
At https://jenkins.io/download/, we get two sections. One is for Long-term Support (LTS) that is selected after every 12 weeks from regular releases as the stable release from that duration.
Another section is Weekly release, which has bug fixes and is made available to users and developers.
We will use the Generic Java Package (.war) file in our installation of Jenkins as shown in the following screenshot.
The reason for selecting the .war file for the Jenkins installation is its ease of use across operating systems. Jenkins is written in Java, and in any case, to execute Jenkins we need the latest Java version installed on our system. For Jenkins Installation, Java 8 is recommended. It is recommended to have 1-GB of memory.
Verify the Java installation by using the java -version command in the command prompt or terminal based on the operating system.
Download Generic Java Package (.war) from https://jenkins.io/download/ on the local system as follows:
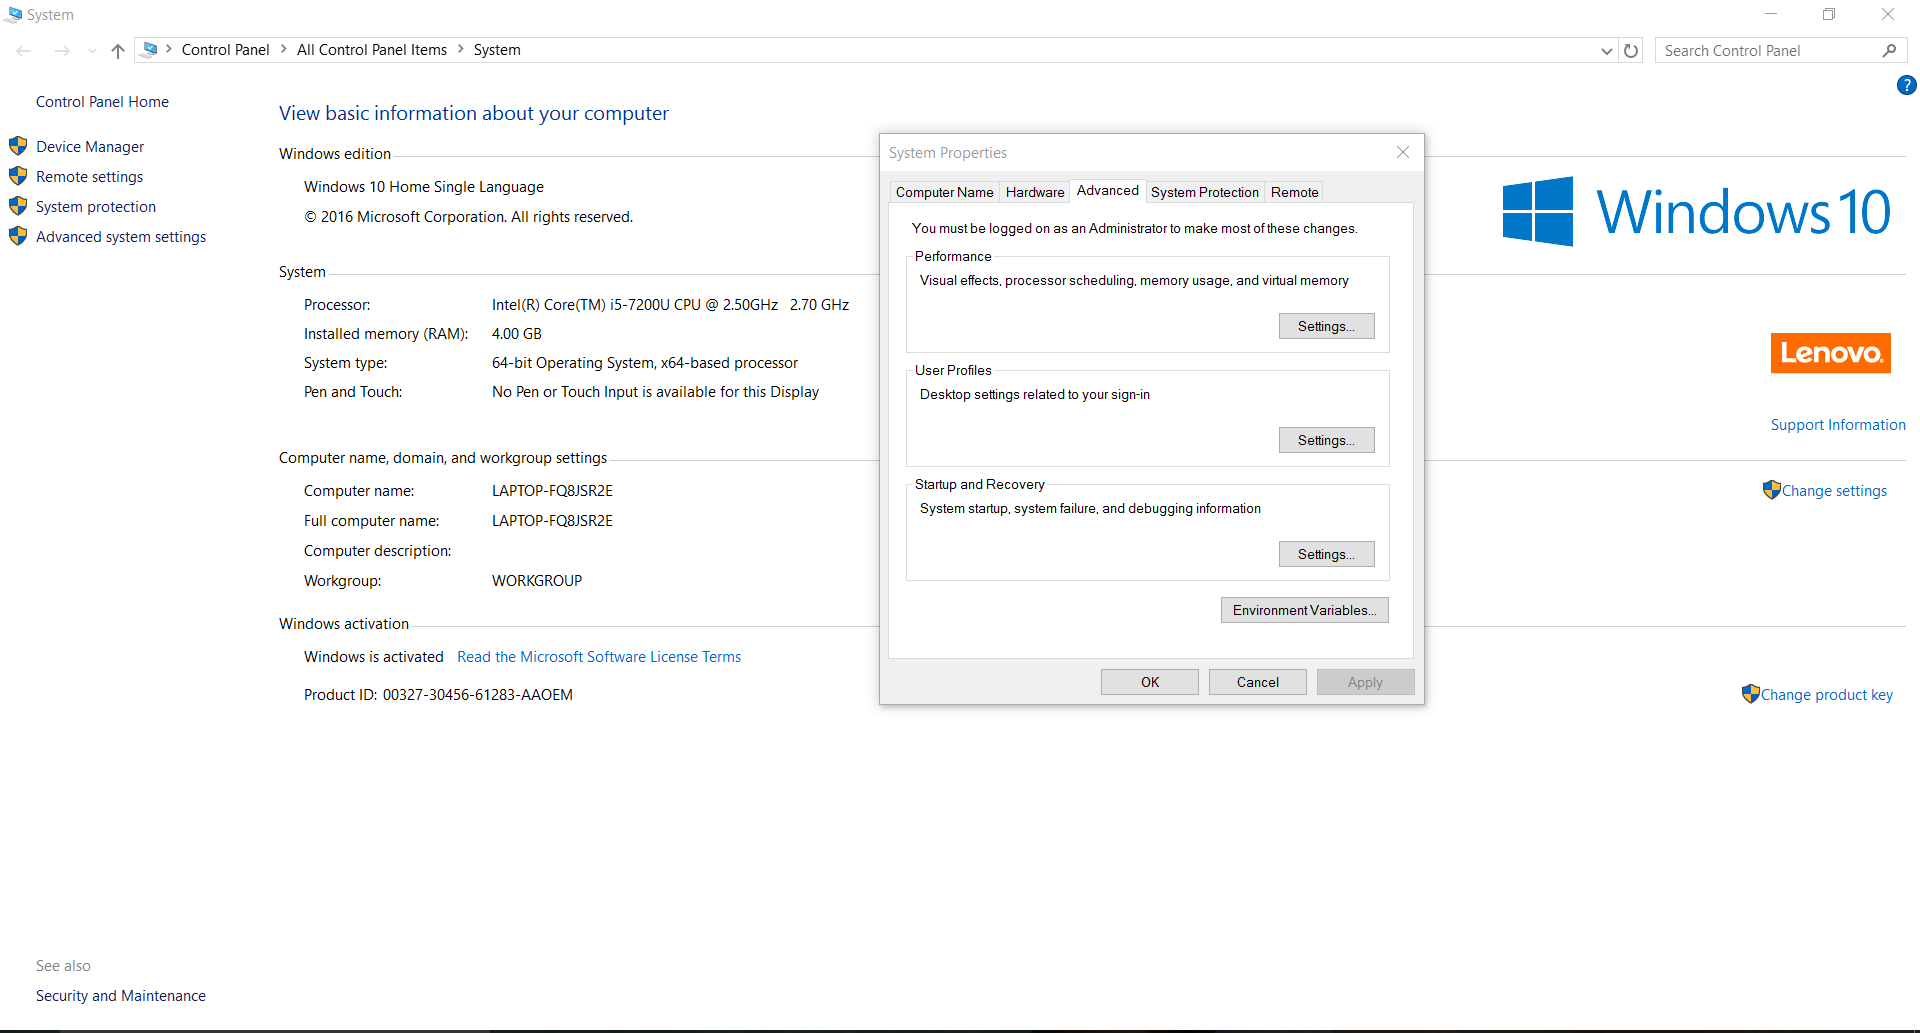
Before we start Jenkins, we will set the JENKINS_HOME environment variable. When we install and configure Jenkins, all the files reside in the jenkins directory by default. We often need to change the default location for our convenience. We can do that by setting the JENKINS_HOME environment variable. Follow the following steps:
- To set the
JENKINS_HOMEenvironment variable in Windows 10, go toControl Panel|All Control Panel Items | Systemand click onAdvanced system settings|Advanced|Environment Variables...Please see the manual for other operating systems to setEnvironment Variables...:
- Click on
New. Enter the variable name and location and clickOK:
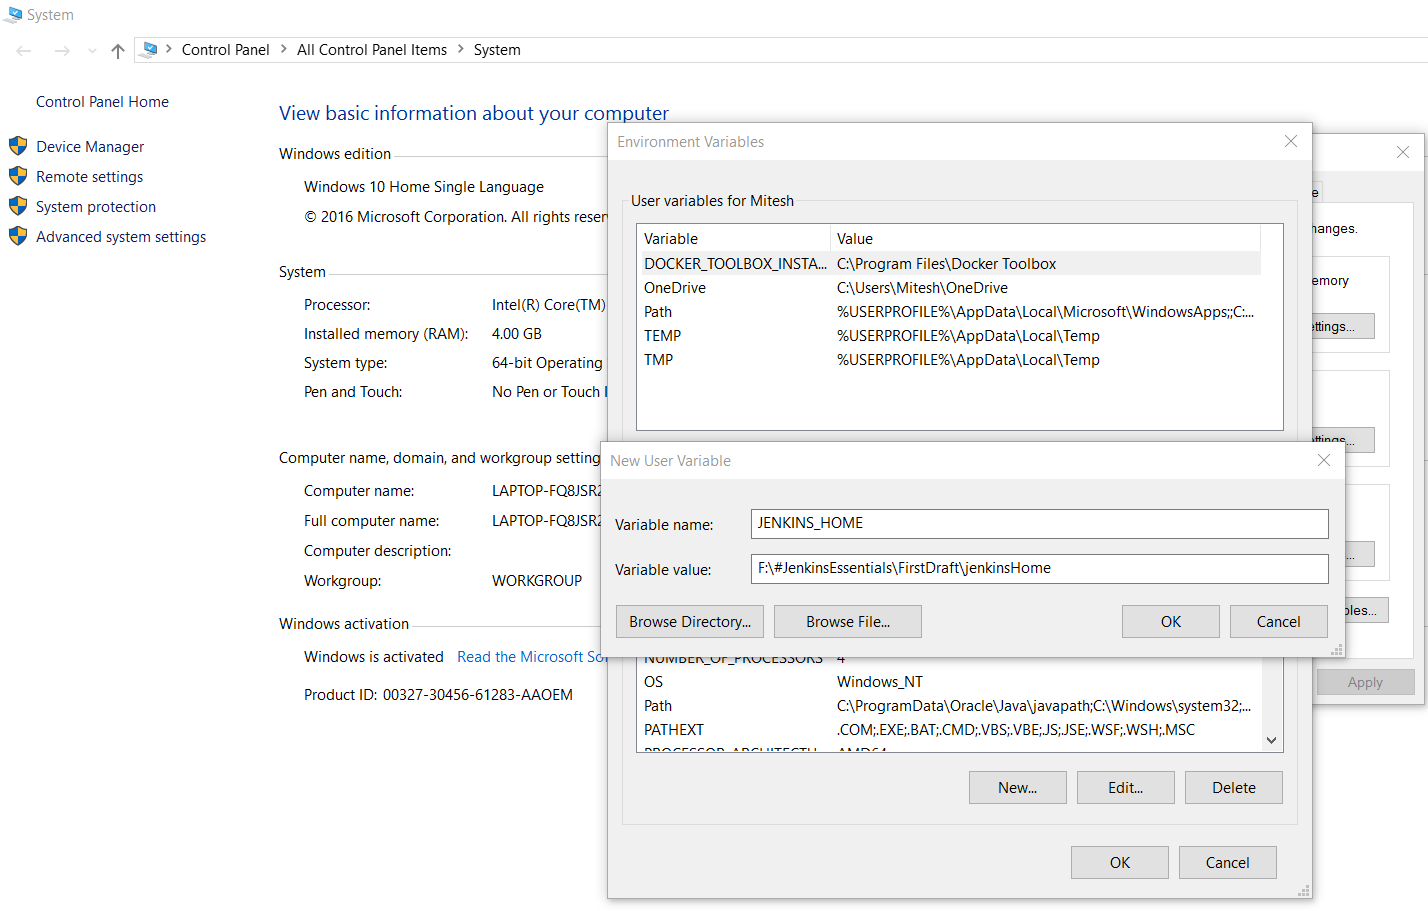
- Now our
JENKINS_HOMEis set so Jenkins will use that directory to store all configuration files. - Open the command prompt or terminal (depending on your operating system) and execute the following command:
Java -jar Jenkins.war
- This is a fresh installation of Jenkins, so initial setup is required. Note the password:
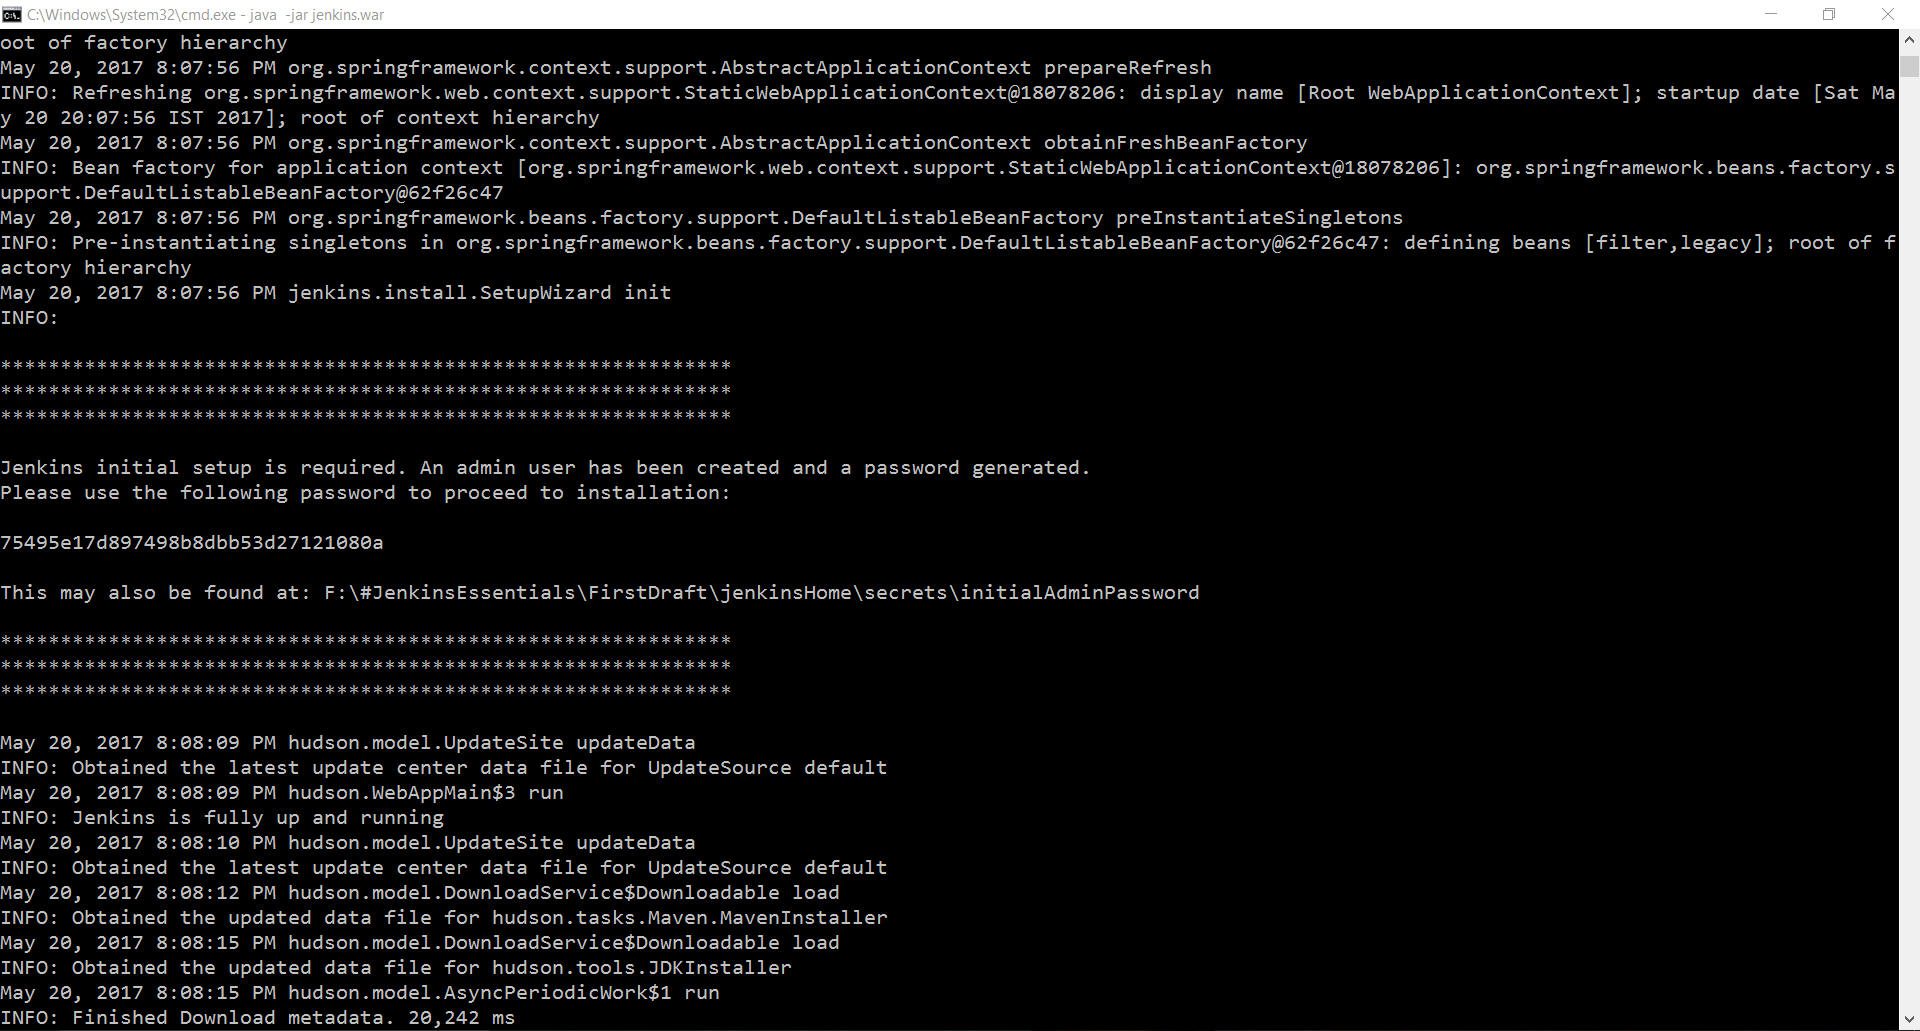
- Once Jenkins is fully up and running, visit
http://localhost:8080and it will open theGetting Startedpage toUnlock Jenkins. Give the password we copied from the terminal or go to the location given in the dialog box. Copy the password from there and click onContinue:

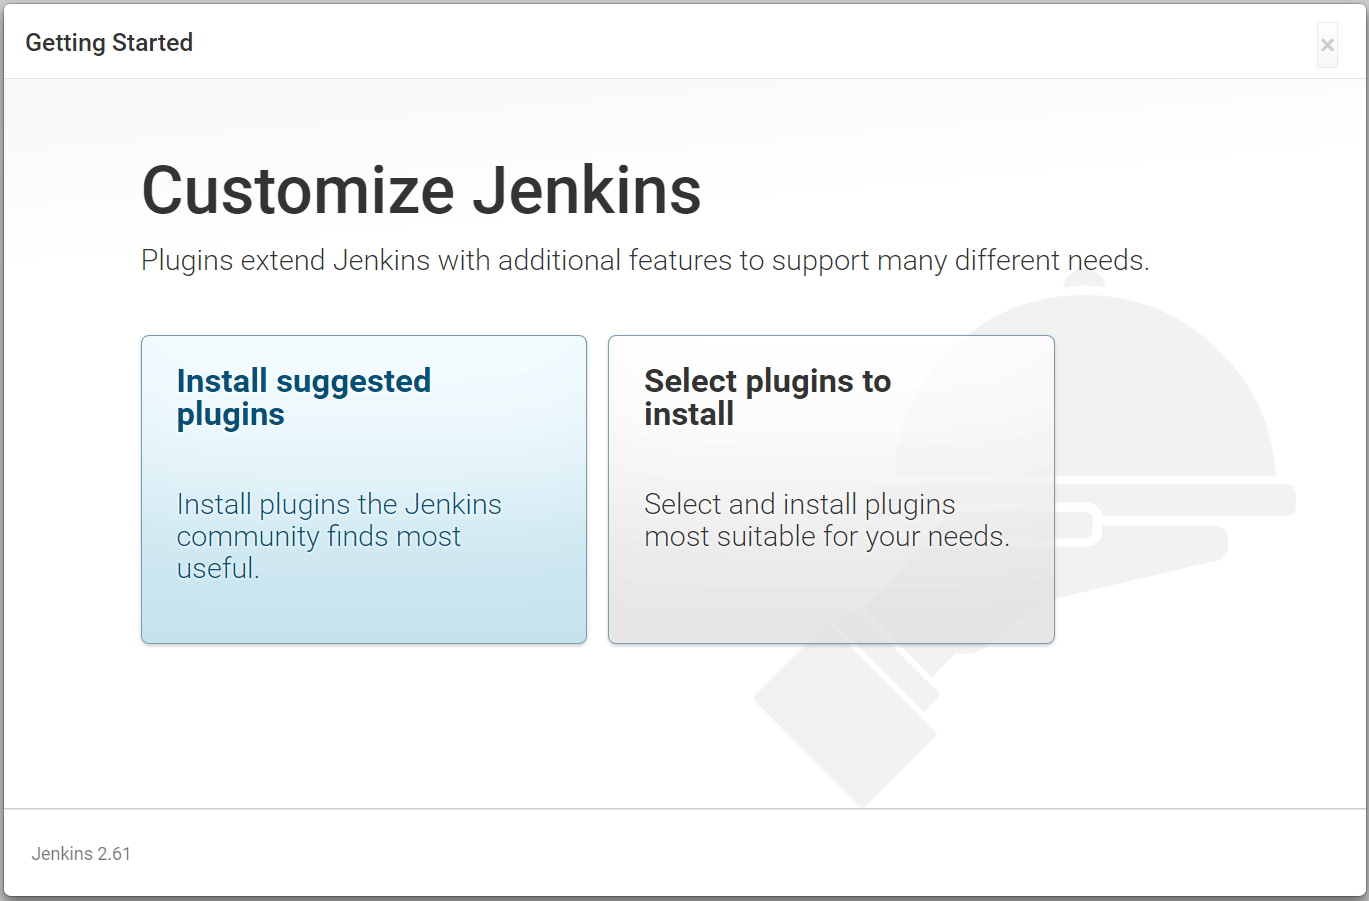
- Click on
Installto see the suggested plugins. If we are behind the proxy, then another dialog box will pop up before this page to provide proxy details:
- Wait while all the plugins are installed properly:
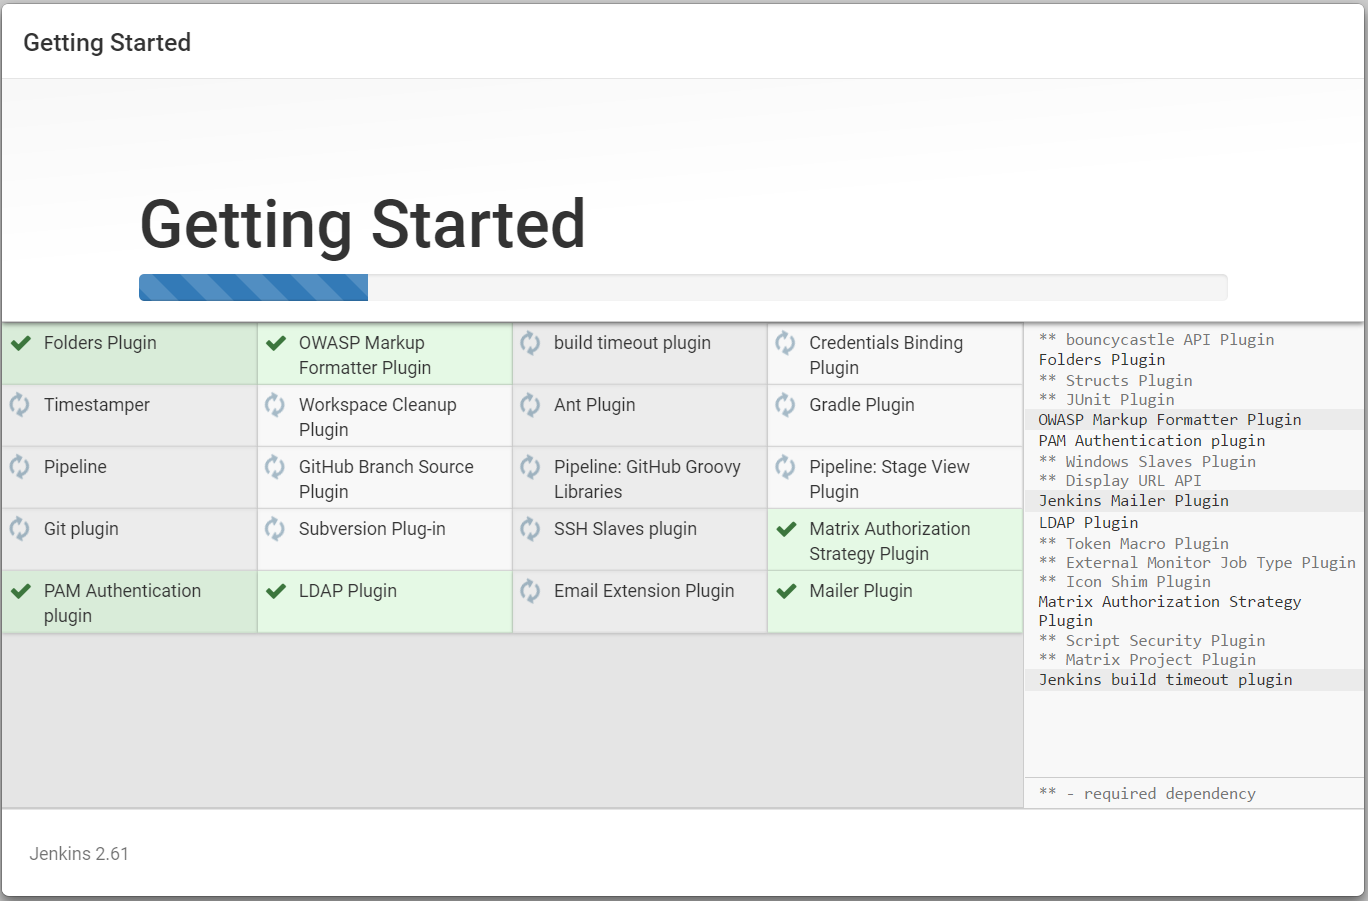
- Verify the green tick boxes for all the plugins that have been installed successfully:

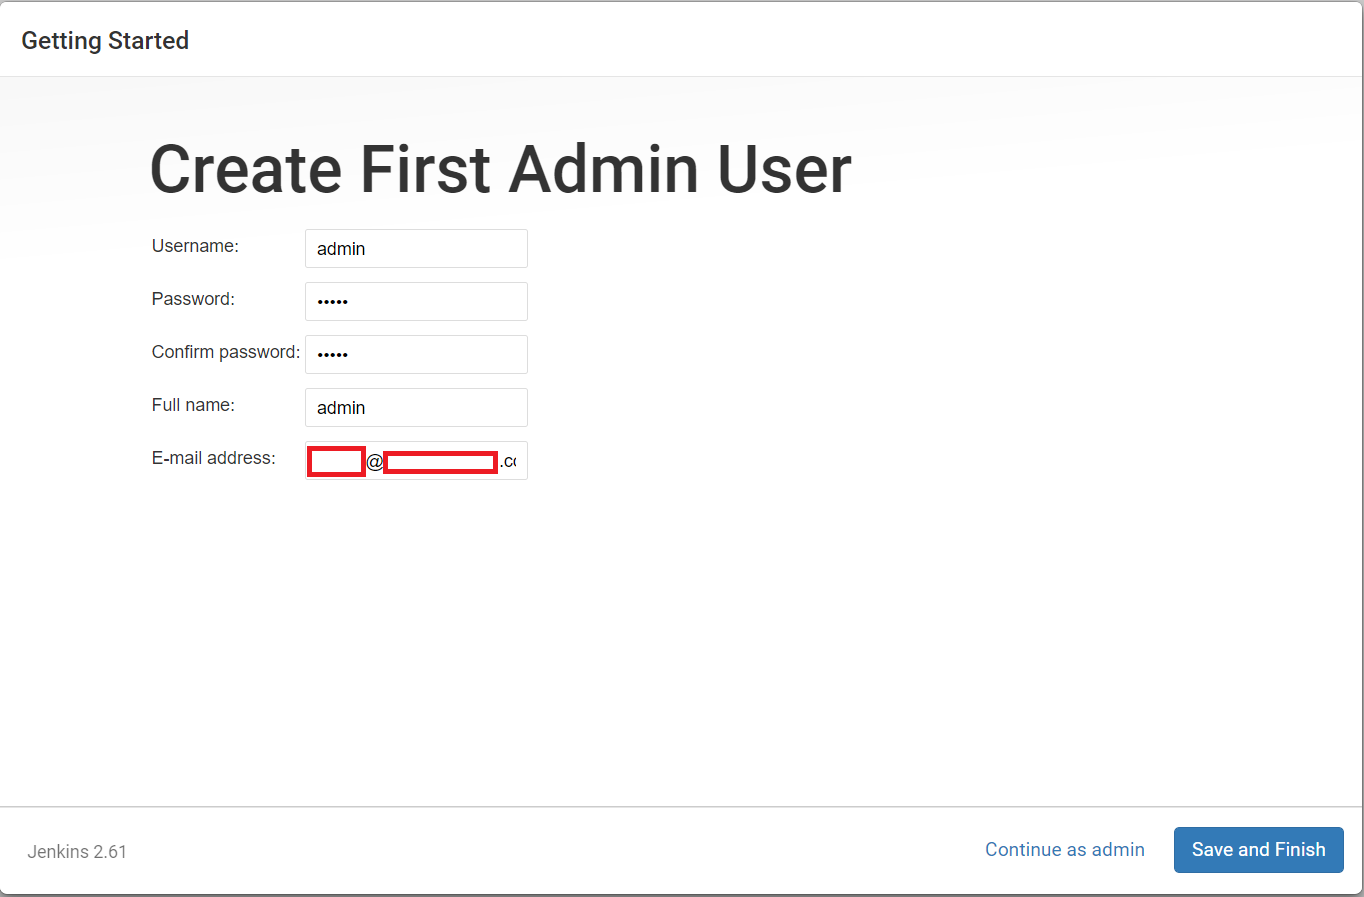
- Once all plugins are installed successfully, create the first admin user and click on
Save and Finish:
- Click on
Start using Jenkins:

In the next section, we will see details of the Jenkins dashboard.