-
Book Overview & Buying
-
Table Of Contents

-
Feedback & Rating

PowerShell 7 Workshop
By :
PowerShell 7 Workshop
By:
Overview of this book
Discover the capabilities of PowerShell 7 for your everyday tasks with this carefully paced tutorial that will help you master this versatile programming language.
The first set of chapters will show you where to find and how to install the latest version of PowerShell, providing insights into the distinctive features that set PowerShell apart from other languages. You’ll then learn essential programming concepts such as variables and control flow, progressing to their applications. As you advance, you’ll work with files and APIs, writing scripts, functions, and modules. You’ll also gain proficiency in securing your PowerShell environment before venturing into different operating systems.
Enriched with detailed practical examples tailored for Windows, Linux, macOS, and Raspberry Pi, each chapter weaves real-world scenarios to ignite your imagination and cement the principles you learn. You’ll be able to reinforce your understanding through self-assessment questions and delve deeper into the principles using comprehensive reading lists.
By the end of this book, you’ll have the confidence to use PowerShell for physical computing and writing scripts for Windows administration.
Table of Contents (23 chapters)
Preface

Part 1: PowerShell Fundamentals
 Free Chapter
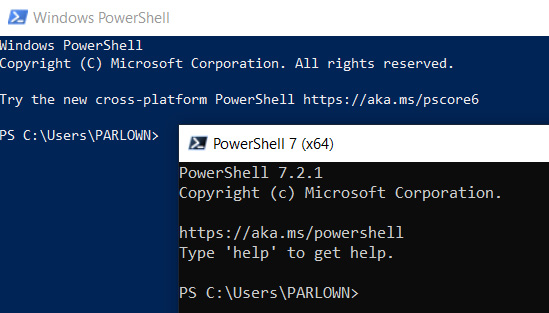
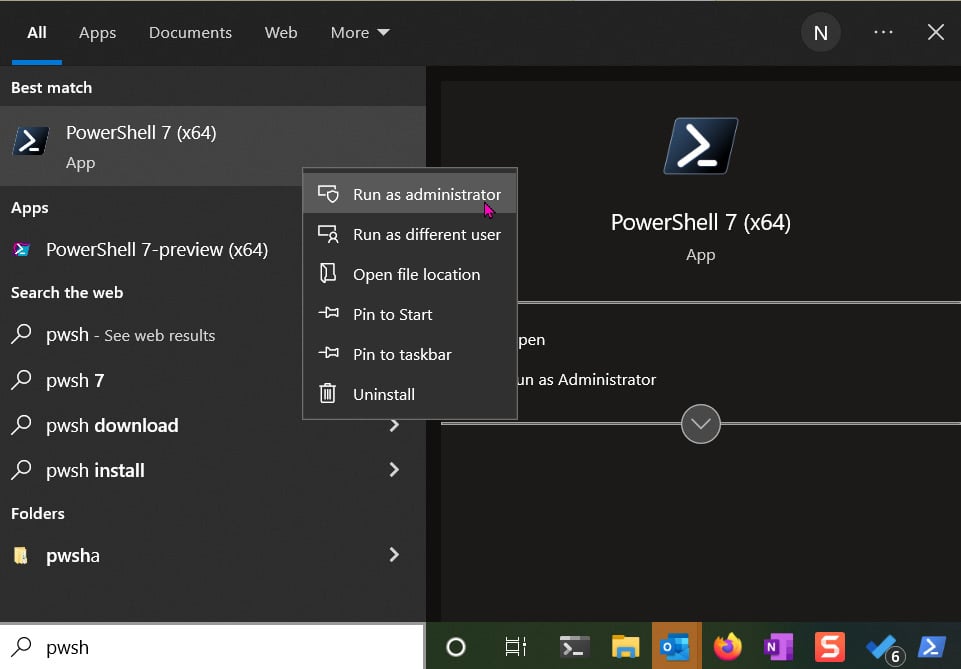
Chapter 1: Introduction to PowerShell 7 – What It Is and How to Get It
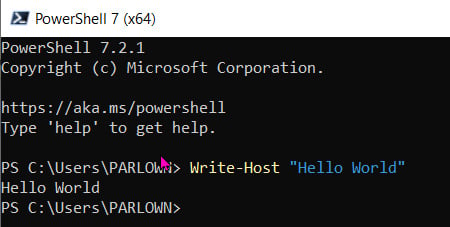
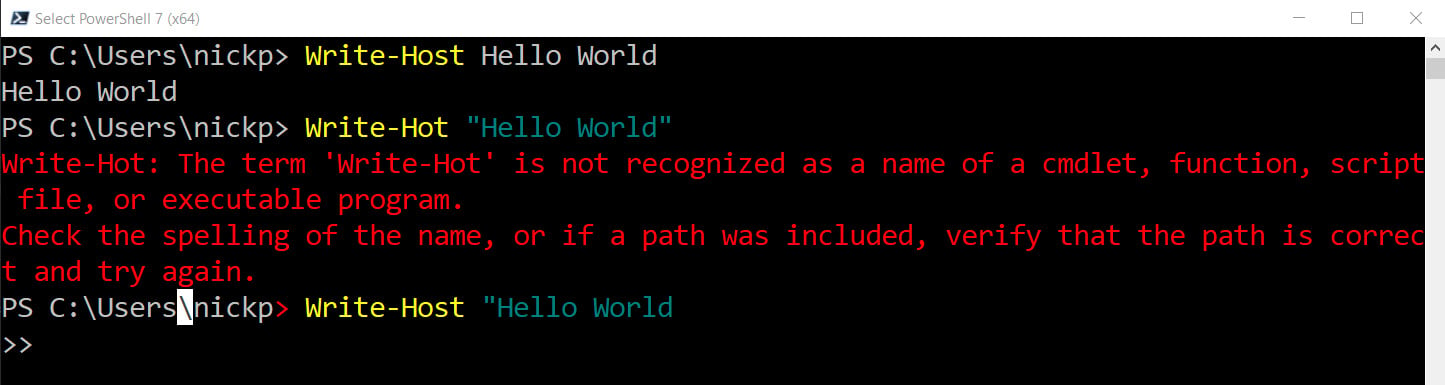
Chapter 2: Exploring PowerShell Cmdlets and Syntax
Chapter 3: The PowerShell Pipeline – How to String Cmdlets Together
Chapter 4: PowerShell Variables and Data Structures
Chapter 5: PowerShell Control Flow – Conditionals and Loops
Chapter 6: PowerShell and Files – Reading, Writing, and Manipulating Data
Chapter 7: PowerShell and the Web – HTTP, REST, and JSON
Part 2: Scripting and Toolmaking
Chapter 8: Writing Our First Script – Turning Simple Cmdlets into Reusable Code
Chapter 9: Don’t Repeat Yourself – Functions and Scriptblocks
Chapter 10: Error Handling – Oh No! It’s Gone Wrong!
Chapter 11: Creating Our First Module
Chapter 12: Securing PowerShell
Part 3: Using PowerShell
Chapter 13: Working with PowerShell 7 and Windows
Chapter 14: PowerShell 7 for Linux and macOS
Chapter 15: PowerShell 7 and the Raspberry Pi
Chapter 16: Working with PowerShell and .NET
Answers to Activities and Exercises
Index
Customer Reviews