-
Book Overview & Buying

-
Table Of Contents
-
Feedback & Rating

Draw and Paint Better with Krita
By :

Draw and Paint Better with Krita
By:
Overview of this book
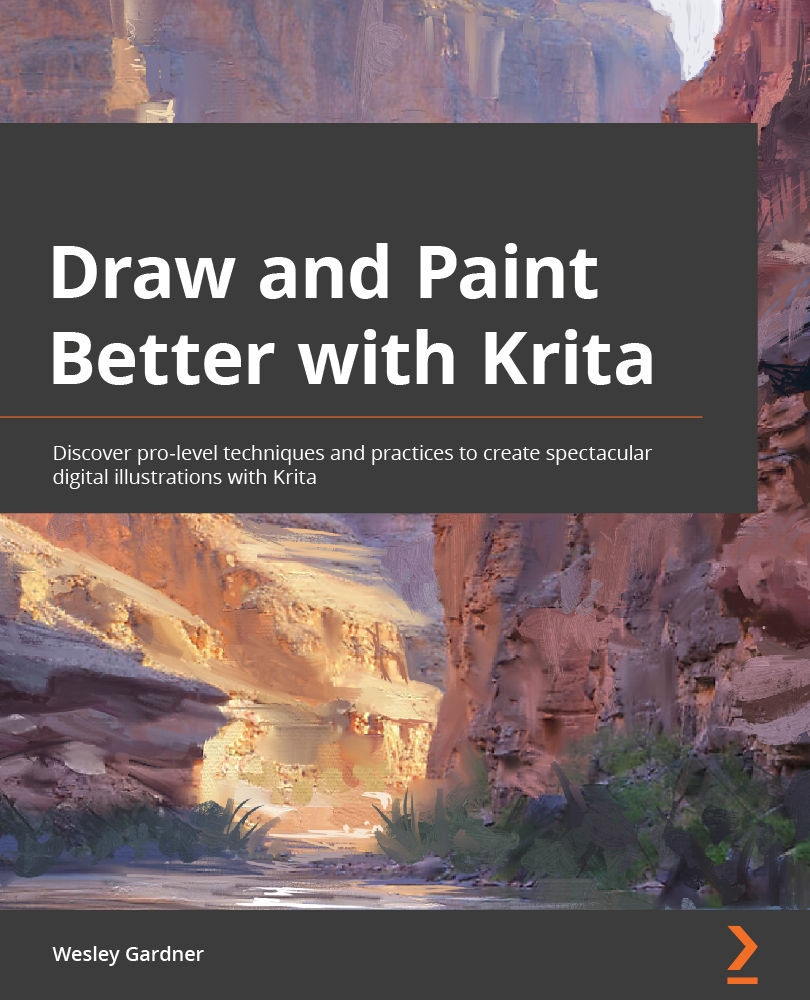
Krita is a free, open-source digital painting program with industry-leading functionality and a creative suite of tools able to bring any visual idea to life. It allows for a fast, clean approach to creating digital art, without the hassle of pay-to-play or subscription license fees, but just like all other art software, it takes time and effort to learn it.
This book provides a comprehensive look into functional tools, visual problem-solving, and leading painting techniques using Krita to unleash your inner artist. You’ll learn the functionality and tools of Krita for creating digital and print-quality work as well as explore manipulation toolsets, custom brush creation, overviews of color spaces, and layer management. As you progress, you’ll get to grips with ‘key styles’ needed to make professional-grade digital art, through techniques such as photobashing, 3D paint-overs, and more traditional painting methods, along with covering how Krita handles these workflows. Next, you’ll work through a few step-by-step art pieces using the skills and tools learned throughout the book.
By the end of this Krita book, you’ll have a solid understanding of the Krita work environment and be able to bring your artistic visions to life with a myriad of leading industry-standard techniques.
Table of Contents (18 chapters)
Preface
Part 1: Intro to Krita and Digital Art Terminology Review
 Free Chapter
Chapter 1: Getting Started with Krita
Chapter 2: Reviewing Canvas Properties and Color
Chapter 3: Utilizing Layers and Layer Groups
Chapter 4: Utilizing Brushes and Tools
Part 2: Methods of Visual Communication within Krita
Chapter 5: Implementing Layer Blending Modes
Chapter 6: Composing Using Krita's Toolbox
Chapter 7: Changing the Feel with Painting, Values, and Sliders
Chapter 8: Controlling Chaos – Organizing Your Workflow
Part 3: Projects Unleashing Your Inner Artist with Krita
Chapter 9: Setting Up a Still-Life Study
Chapter 10: Enforcing Fundamentals
Chapter 11: Working with Concept Art
Chapter 12: Refining and Creating Cinematic Concept Art
Chapter 13: Going beyond These Pages
Other Books You May Enjoy
Customer Reviews
