Krita is free and available for Windows, Mac, and Linux. Because there is a myriad of different ways to install Krita on different operating systems, here, I will just cover the Windows version step by step.
Installing Krita is easy, as the official website has everything you need to get started! If you are downloading the macOS version, please bear in mind that you will need macOS 10.12.0, or later, for the most current versions of Krita.
As your first step for downloading and installing Krita onto your Windows device, you should ensure that your system meets the minimum system requirements. While you could download and use Krita with a slightly older setup than is recommended, I do believe the boost of performance you will have when using the minimum system requirements, or greater, is well worth the investment.
System requirements
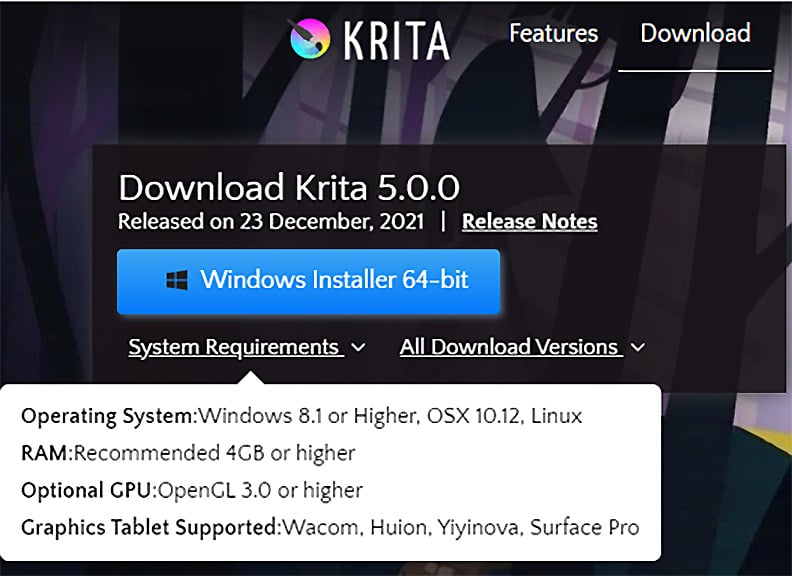
As of writing, Krita's system requirements for Windows PCs use Windows 8.1, or higher, as your operating system, 4 GB of RAM, and OpenGL 3.0 (which should be standard, even on the vast majority of built-in integrated graphics cards – no standalone graphics card is required!)
Krita's .appimage file for the Linux 64-bit version is readily available from Krita's main download page. It is also included in many Linux distribution packages, but you might have to enable extra repositories. Krita's official website (Krita.org) has detailed tips and commands for more specific Linux setups, including Fedora, OpenSUSE, Debian, Arch, Flatpak, Snaps, and more.
Additionally, Krita's website recommends a graphics tablet, which we covered in-depth earlier. You can use a mouse, but trust me, painting with a graphics tablet or touch device is a game-changer!
A step-by-step example (for Windows)
Now we will begin our step-by-step installation guide for the Windows 64-bit version of Krita.
Note
As of writing, I've installed both Krita 4.4.5 (which was current at the time) and the beta version of Krita 5.0. So, some of the images you see here may differ slightly from what you see during your first installation.
Now, let's begin with the installation process:
- Navigate to Krita's official website (http://www.krita.org), and click on the Download option in the main navigation bar.
- You will see a Download Krita graphic, which defaults to Windows Installer 64-bit, as shown in Figure 1.3:
Figure 1.3 – The Download Krita page as of Krita 5.0
While this is the Windows installation tutorial, note that you can click on All Download Versions to bring up the macOS installer and Linux .appimage files if needed.
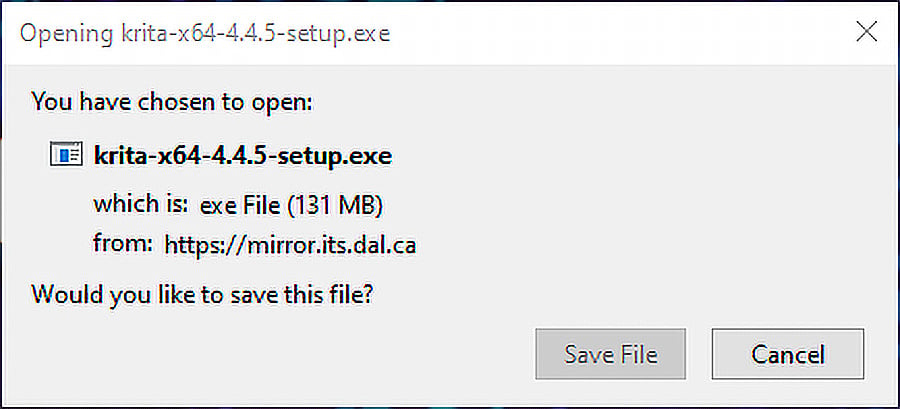
- Choose your version of Krita (for us, this will be the Windows Installer 64-bit version). You will see a prompt asking you to save the file, as shown in Figure 1.4. Click on Save File when prompted:
Figure 1.4 – The Save File prompt for the Krita installer version 4.4.5
- Once downloaded, locate your downloaded setup file from your download location (many browsers now default to their Download folder in the upper-right corner of your browser window). Double-click on your setup file.
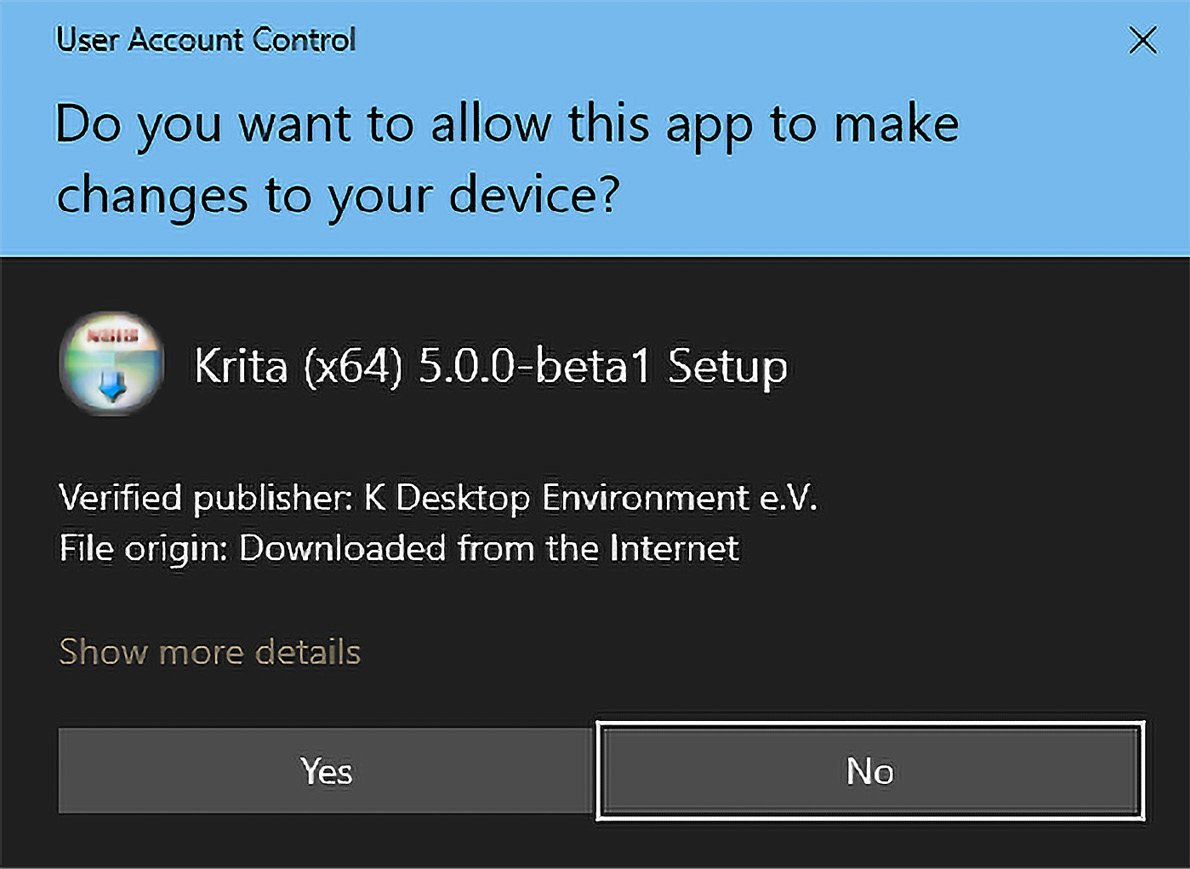
- In Windows 8.1 or greater, you might see the User Account Control window pop up, which asks Do you want to allow this app to make changes to your device?. This looks very similar to Figure 1.5. Click on Yes when prompted:
Figure 1.5 – The Windows User Account Control permission prompt for Krita 5.0 (beta)
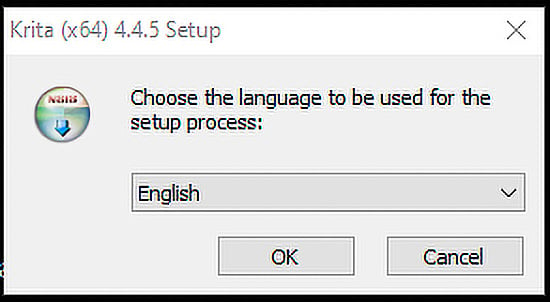
- For the next step, you will be prompted to choose a language to use during the setup process, as shown in Figure 1.6:
Figure 1.6 – The language selection setup prompt
Please note that you can select from over 60 languages inside Krita once it is installed, as we will cover later in the Breaking down the Krita UI section of the chapter. Krita (and this setup process) should automatically default to your system language setting within Windows.
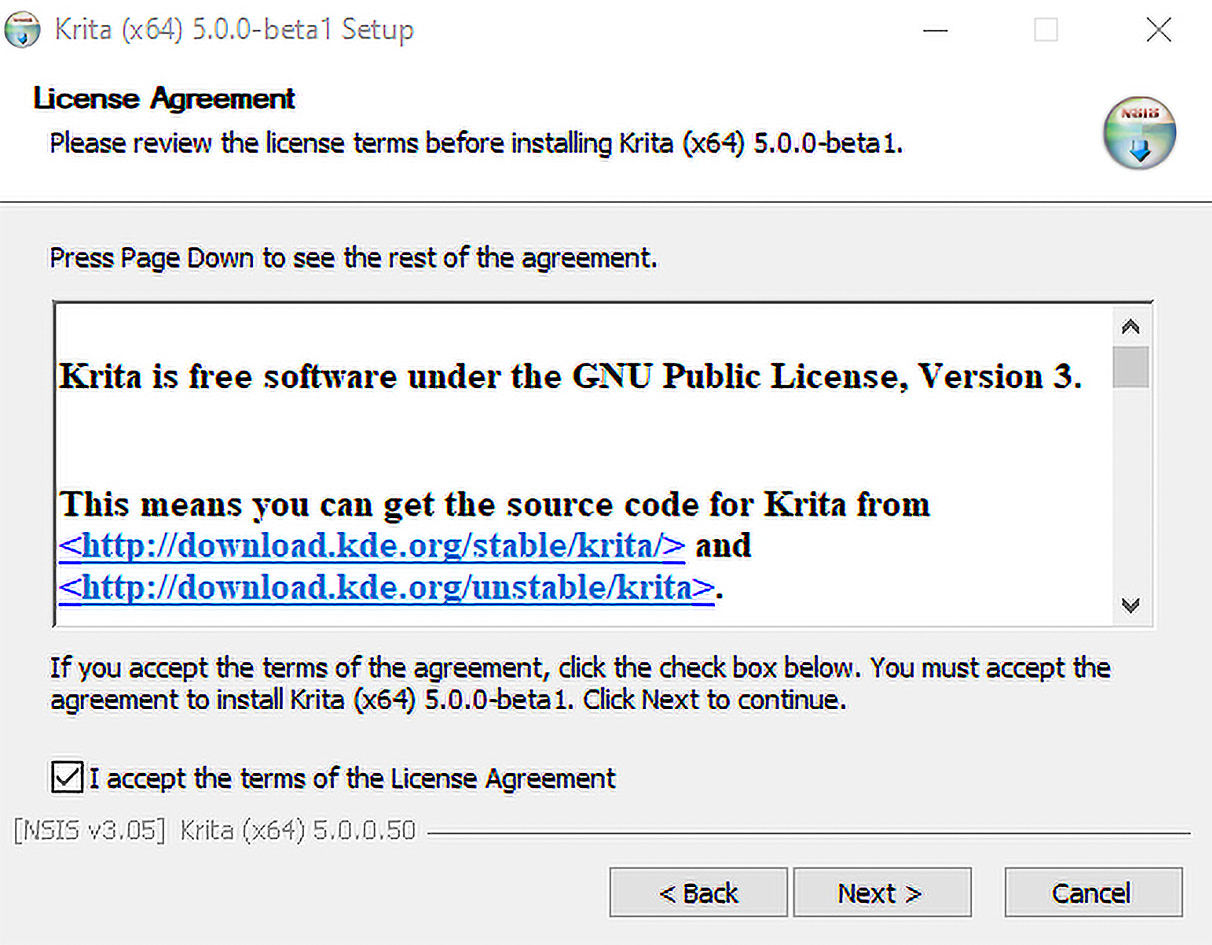
- The next portion of the setup will be the End User License Agreement (EULA). I know these can be a bit mundane, but if you are interested in the open source nature of the Krita project and the development libraries used in development, I suggest giving it a quick read! Click on Next until the installation process starts, as shown in Figure 1.7:
Figure 1.7 – Krita's EULA prompt
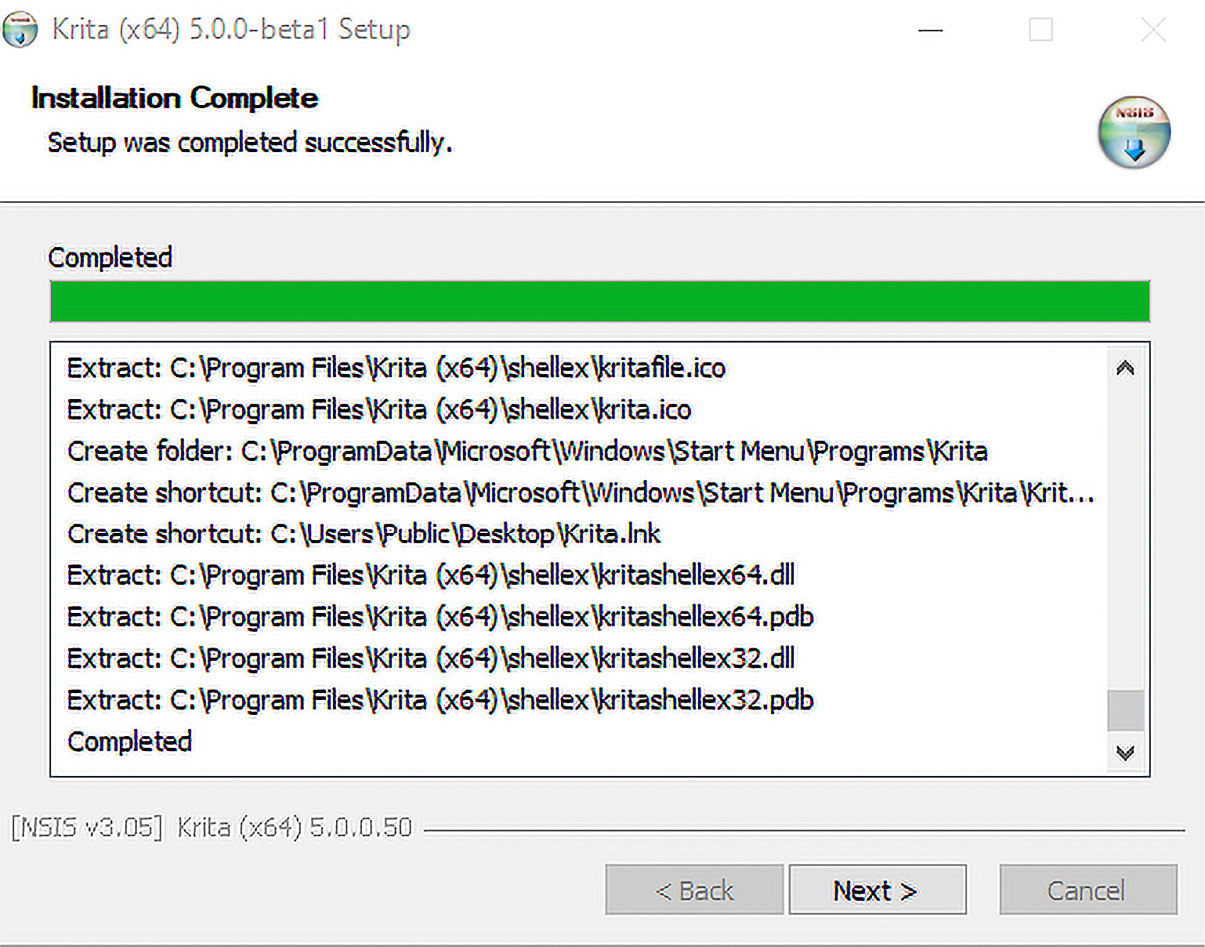
- Once you have completed these steps, you should see a screen showing a full installation log. It will give you a confirmation message of Completed, as shown in Figure 1.8:
Figure 1.8 – A successful installation prompt
Click on Next, and that's a wrap!
- Once installed, you should have a prompt to either Launch Krita or exit the installer to return to the desktop. You are ready to start mastering Krita!
Now, let's take a bit of time to look at the default layout of Krita once it has been installed and start introducing customizations that you can use to make it feel a little more like home!


 Free Chapter

