-
Book Overview & Buying
-
Table Of Contents

-
Feedback & Rating

WordPress Plugin Development Cookbook
By :
WordPress Plugin Development Cookbook
By:
Overview of this book
WordPress is one of the most widely used, powerful, and open content management systems (CMSs). Whether you're a site owner trying to find the right extension, a developer who wants to contribute to the community, or a website developer working to fulfill a client's needs, learning how to extend WordPress' capabilities will help you to unleash its full potential. This book will help you become familiar with API functions to create secure plugins with easy-to-use administration interfaces.
This third edition contains new recipes and up-to-date code samples, including new chapters on creating custom blocks for the block editor and integrating data from external sources. From one chapter to the next, you’ll learn how to create plugins of varying complexity, ranging from a few lines of code to complex extensions that provide intricate new capabilities. You'll start by using the basic mechanisms provided in WordPress to create plugins, followed by recipes covering how to design administration panels, enhance the post editor with custom fields, store custom data, and even create custom blocks. You'll safely incorporate dynamic elements into web pages using scripting languages, learn how to integrate data from external sources, and build new widgets that users will be able to add to WordPress sidebars and widget areas.
By the end of this book, you will be able to create WordPress plugins to perform any task you can imagine.
Table of Contents (15 chapters)
Preface

Chapter 1: Preparing a Local Development Environment
 Free Chapter
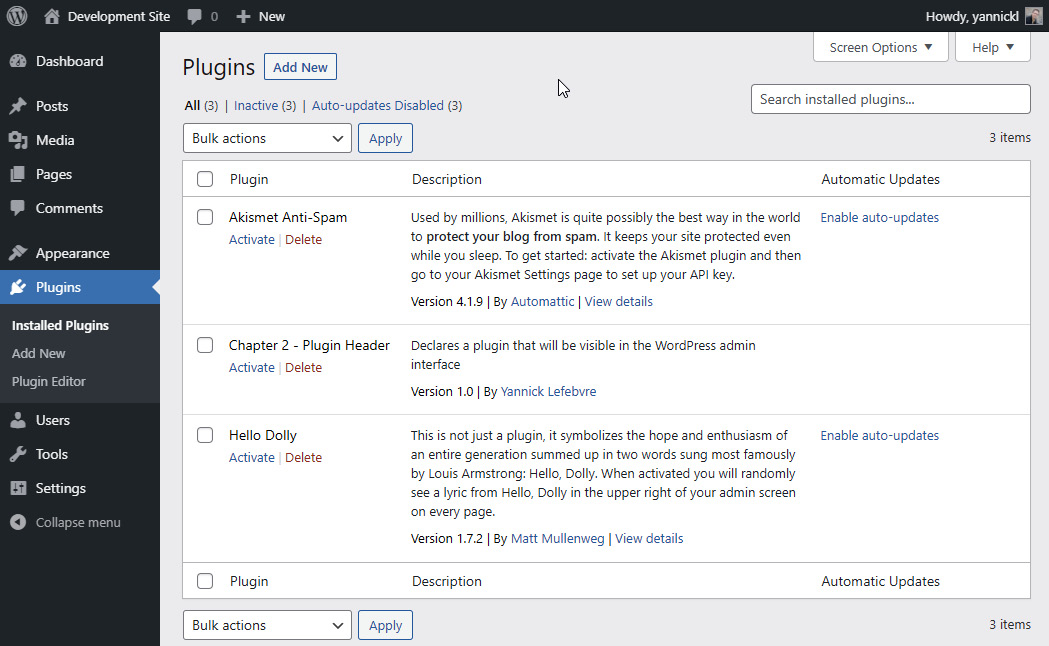
Chapter 2: Plugin Framework Basics
Chapter 3: User Settings and Administration Pages
Chapter 4: The Power of Custom Post Types
Chapter 5: Customizing Post and Page Editors
Chapter 6: Extending the Block Editor
Chapter 7: Accepting User Content Submissions
Chapter 8: Customizing User Data
Chapter 9: Leveraging JavaScript, jQuery, and AJAX Scripts
Chapter 10: Adding New Widgets to the WordPress Library
Chapter 11: Fetching, Caching, and Regularly Updating External Site Data
Chapter 12: Enabling Plugin Internationalization
Chapter 13: Distributing Your Plugin on WordPress.org
Other Books You May Enjoy
Customer Reviews