-
Book Overview & Buying
-
Table Of Contents

-
Feedback & Rating

Mastering Linux Security and Hardening
By :
Mastering Linux Security and Hardening
By:
Overview of this book
The third edition of Mastering Linux Security and Hardening is an updated, comprehensive introduction to implementing the latest Linux security measures, using the latest versions of Ubuntu and AlmaLinux.
In this new edition, you will learn how to set up a practice lab, create user accounts with appropriate privilege levels, protect sensitive data with permissions settings and encryption, and configure a firewall with the newest firewall technologies. You’ll also explore how to use sudo to set up administrative accounts with only the privileges required to do a specific job, and you’ll get a peek at the new sudo features that have been added over the past couple of years. You’ll also see updated information on how to set up a local certificate authority for both Ubuntu and AlmaLinux, as well as how to automate system auditing. Other important skills that you’ll learn include how to automatically harden systems with OpenSCAP, audit systems with auditd, harden the Linux kernel configuration, protect your systems from malware, and perform vulnerability scans of your systems. As a bonus, you’ll see how to use Security Onion to set up an Intrusion Detection System.
By the end of this new edition, you will confidently be able to set up a Linux server that will be secure and harder for malicious actors to compromise.
Table of Contents (22 chapters)

Section 1: Setting up a Secure Linux System
 Free Chapter
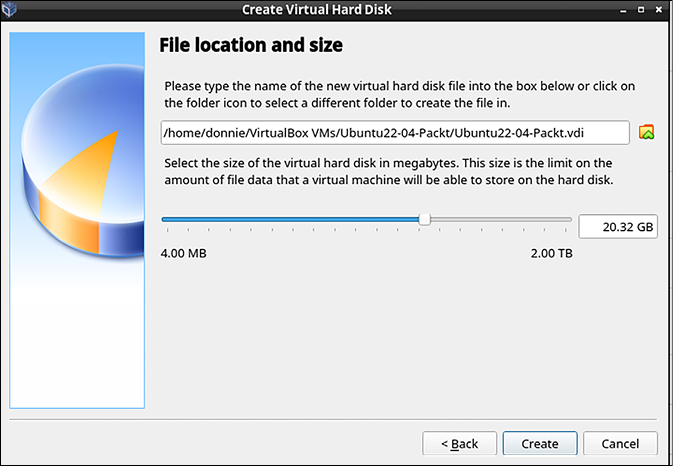
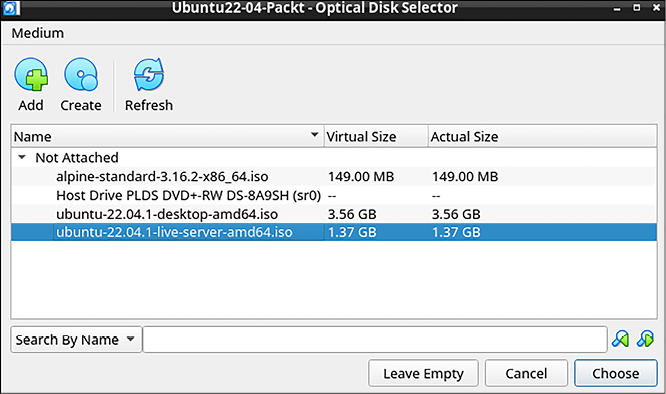
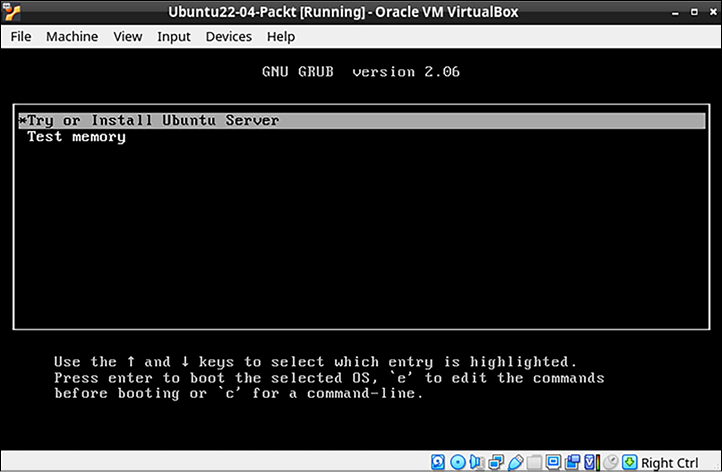
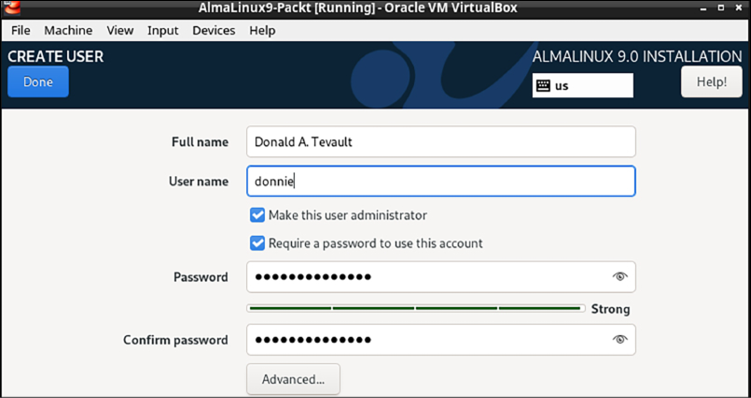
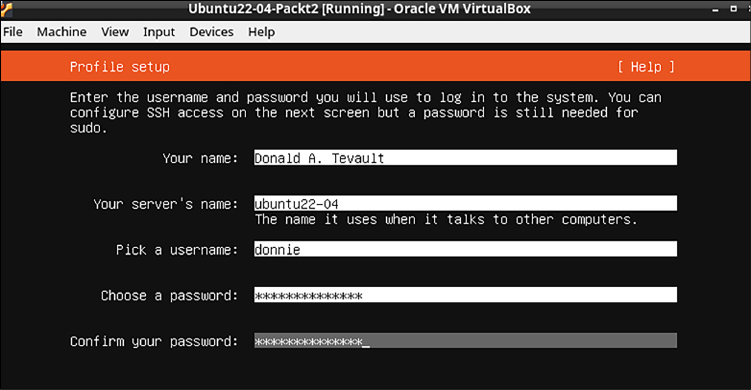
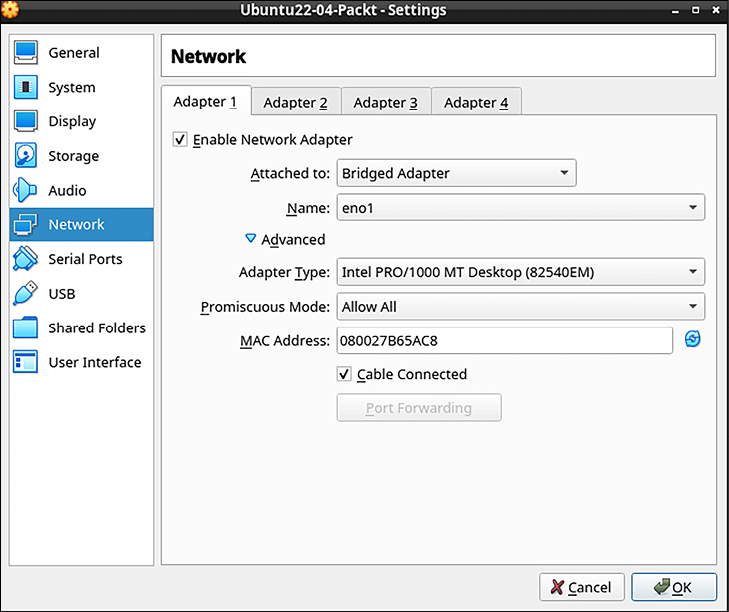
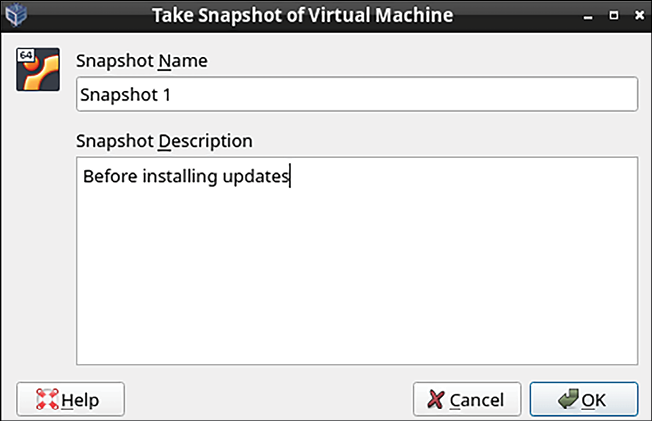
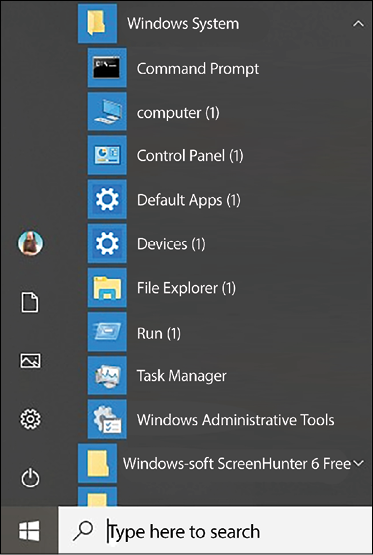
Running Linux in a Virtual Environment
Securing Administrative User Accounts
Securing Normal User Accounts
Securing Your Server with a Firewall – Part 1
Securing Your Server with a Firewall — Part 2
Encryption Technologies
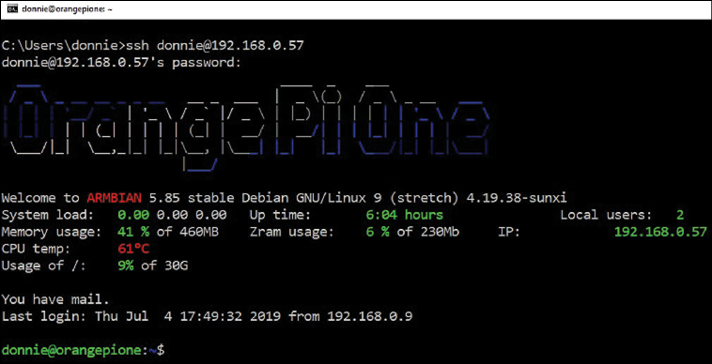
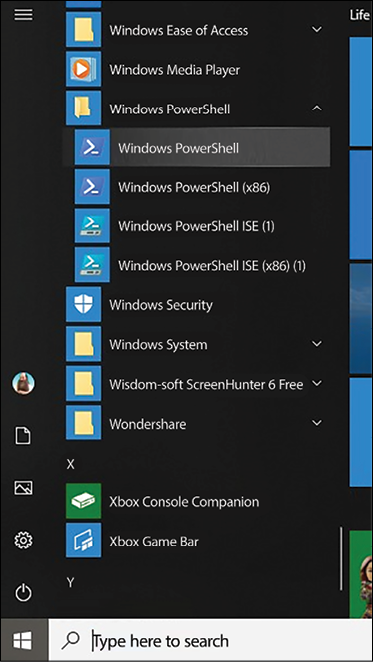
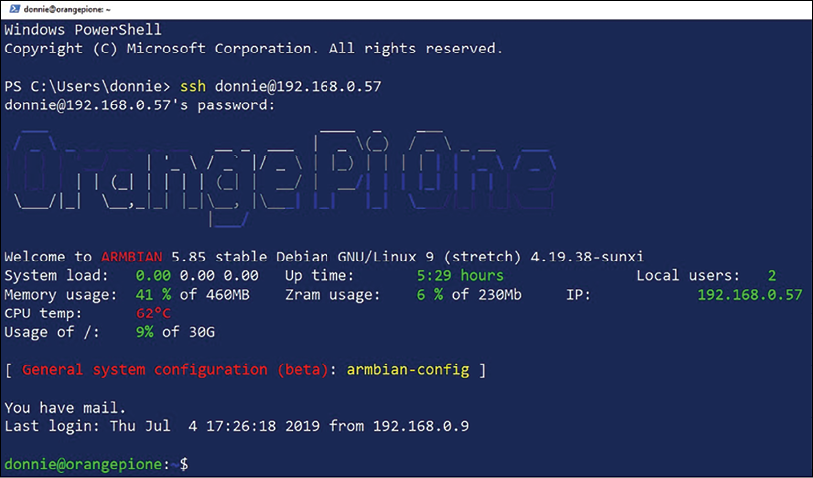
SSH Hardening
Section 2: Mastering File and Directory Access Control (DAC)
Mastering Discretionary Access Control
Access Control Lists and Shared Directory Management
Section 3: Advanced System Hardening Techniques
Implementing Mandatory Access Control with SELinux and AppArmor
Kernel Hardening and Process Isolation
Scanning, Auditing, and Hardening
Logging and Log Security
Vulnerability Scanning and Intrusion Detection
Prevent Unwanted Programs from Running
Security Tips and Tricks for the Busy Bee
Other Books You May Enjoy
Index
Customer Reviews