-
Book Overview & Buying
-
Table Of Contents

-
Feedback & Rating

ESP8266 Robotics Projects
By :
ESP8266 Robotics Projects
By:
Overview of this book
The ESP8266 Wi-Fi module is a self-contained SOC with an integrated TCP/IP protocol stack and can give any microcontroller access to your Wi-Fi network. It has a powerful processing and storage capability and also supports application hosting and Wi-Fi networking.
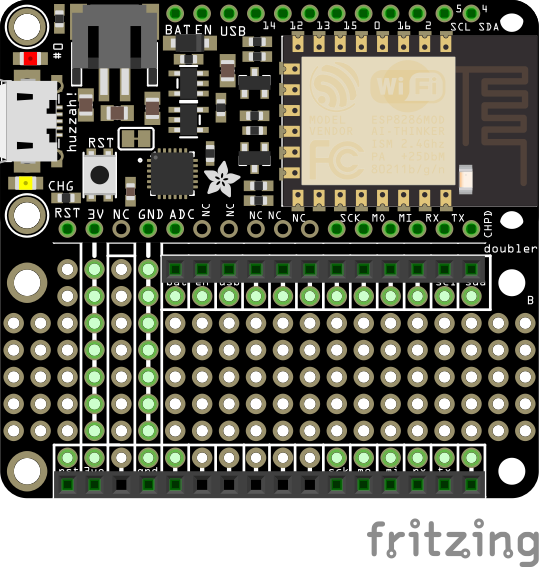
This book is all about robotics projects based on the original ESP8266 microcontroller board and some variants of ESP8266 boards. It starts by showing all the necessary things that you need to build your development environment with basic hardware and software components. The book uses the original ESP8266 board and some variants such as the Adafruit HUZZAH ESP8266 and the Adafruit Feather HUZZAH ESP8266 . You will learn how to use different type of chassis kits, motors, motor drivers, power supplies, distribution boards, sensors, and actuators to build robotics projects that can be controlled via Wi-Fi. In addition, you will learn how to use line sensors, the ArduiCam, Wii Remote, wheel encoders, and the Gripper kit to build more specialized robots.
By the end of this book, you will have built a Wi-Fi control robot using ESP8266.
Table of Contents (9 chapters)
Preface

 Free Chapter
Getting Ready
Building a Mini Round Robot with Original ESP8266
Using Encoders
Building a Mini Round Robot with the Feather HUZZAH ESP8266
Line-Following Zumo Robot
Building an ESP8266 Robot Controller
Building a Gripper Robot
Customer Reviews