-
Book Overview & Buying
-
Table Of Contents

-
Feedback & Rating

Unlock Your Creativity with Photopea
By :
Unlock Your Creativity with Photopea
By:
Overview of this book
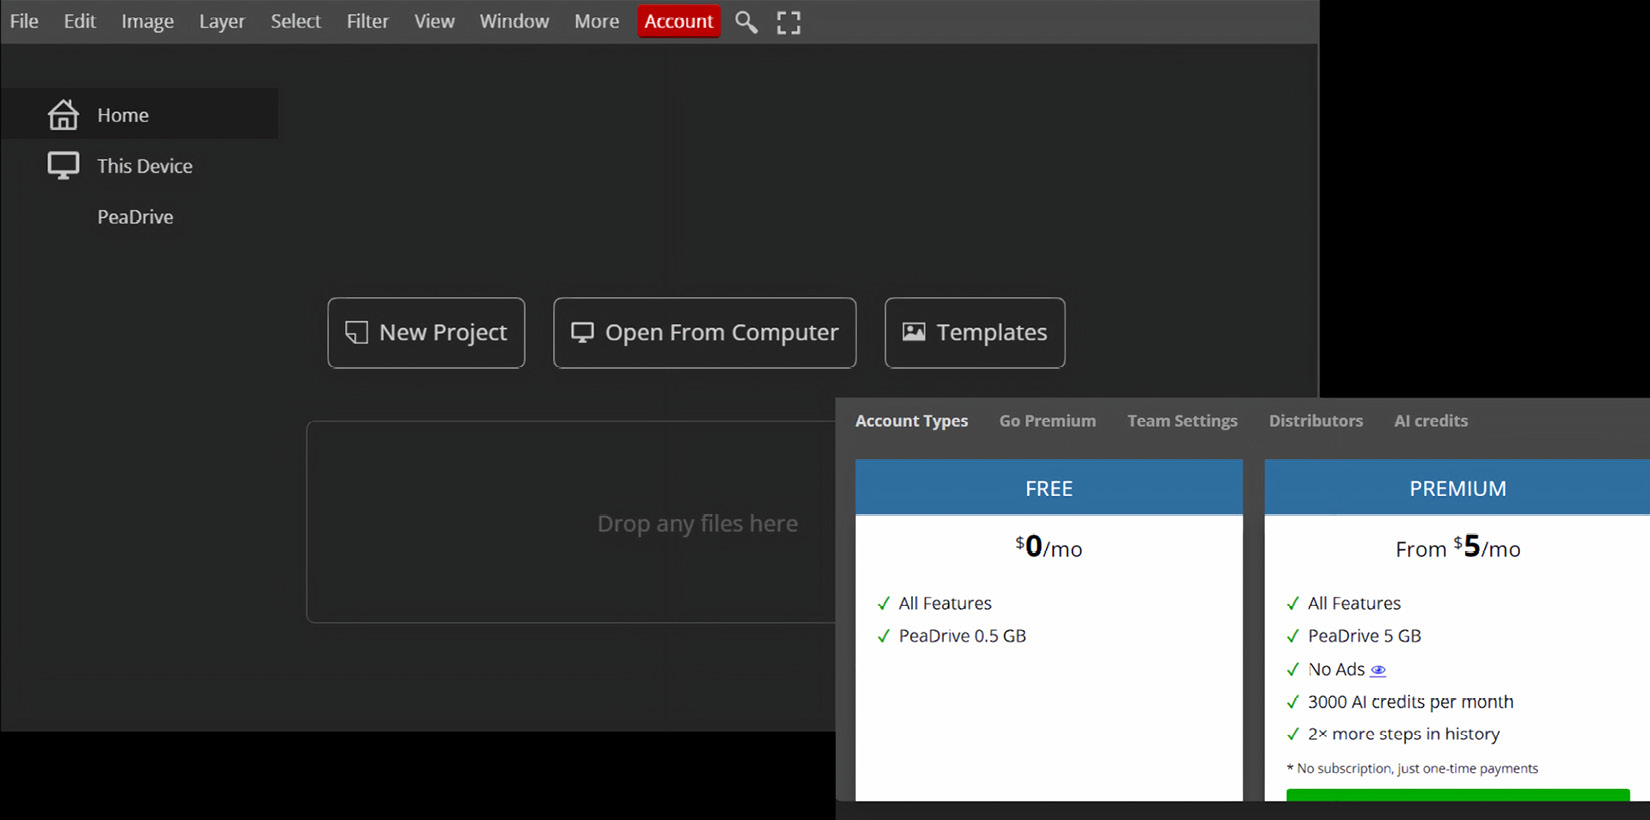
Photopea is a comprehensive image and photo editing design tool that provides essential features and capabilities comparable to Adobe Photoshop. This book covers the latest version of Photopea, featuring step-by-step instructions for image editing, improving and enhancing designs with text and effects, and creating eye-catching projects for print and the web.
The first part of this book will teach you how to navigate the workspace, use the best tools for specific tasks and projects, and make perfect selections. You’ll also discover how to remove backgrounds, merge and/or add objects, and adjust colors to create impressive images. Later, you’ll explore layers and compositing techniques, and get hands on with retouching images like a pro. The book will demonstrate how to create collages and use brushes, color wheels, and swatches for drawing and painting. You’ll also learn how to apply impressive text to images to create posters, flyers, and logos.
By the end of this book, you'll have learned how to retouch, paint, enhance, and manipulate images; how to use templates provided by Photopea; and finally, how to apply your skills to projects.
Table of Contents (21 chapters)
Preface

Part 1: Getting Started With Photopea
 Free Chapter
Chapter 1: Taking Your Design and Editing to the Next Level with Photopea
Chapter 2: Creating and Working with Image Editing Documents in Photopea
Chapter 3: Navigating and Utilizing the Workspace
Chapter 4: Layer Management: Creating, Organizing, and Applying Advanced Features
Chapter 5: Understanding Selection Fundamentals
Part 2: Digital Imaging, Design Techniques, and Other Software
Chapter 6: Color Theory and Application
Chapter 7: Using and Creating Brushes
Chapter 8: Photo Retouching Techniques
Chapter 9: Exploring Advanced Image Compositing Techniques
Chapter 10: Text Fundamentals and Styling in Photopea
Chapter 11: Pre-Designed Templates, Extra Effects, and Features Overview
Part 3: Drawing Figures, Creating a Logo, and Other Features
Chapter 12: Advanced Color Techniques
Chapter 13: Bonus: How to Draw and Paint a Figure and Character
Chapter 14: Bonus: How to Create a Logo
Chapter 15: Tips, Tricks, and Best Practices
Index
Customer Reviews