-
Book Overview & Buying
-
Table Of Contents

-
Feedback & Rating

Filmora Efficient Editing
By :
Filmora Efficient Editing
By:
Overview of this book
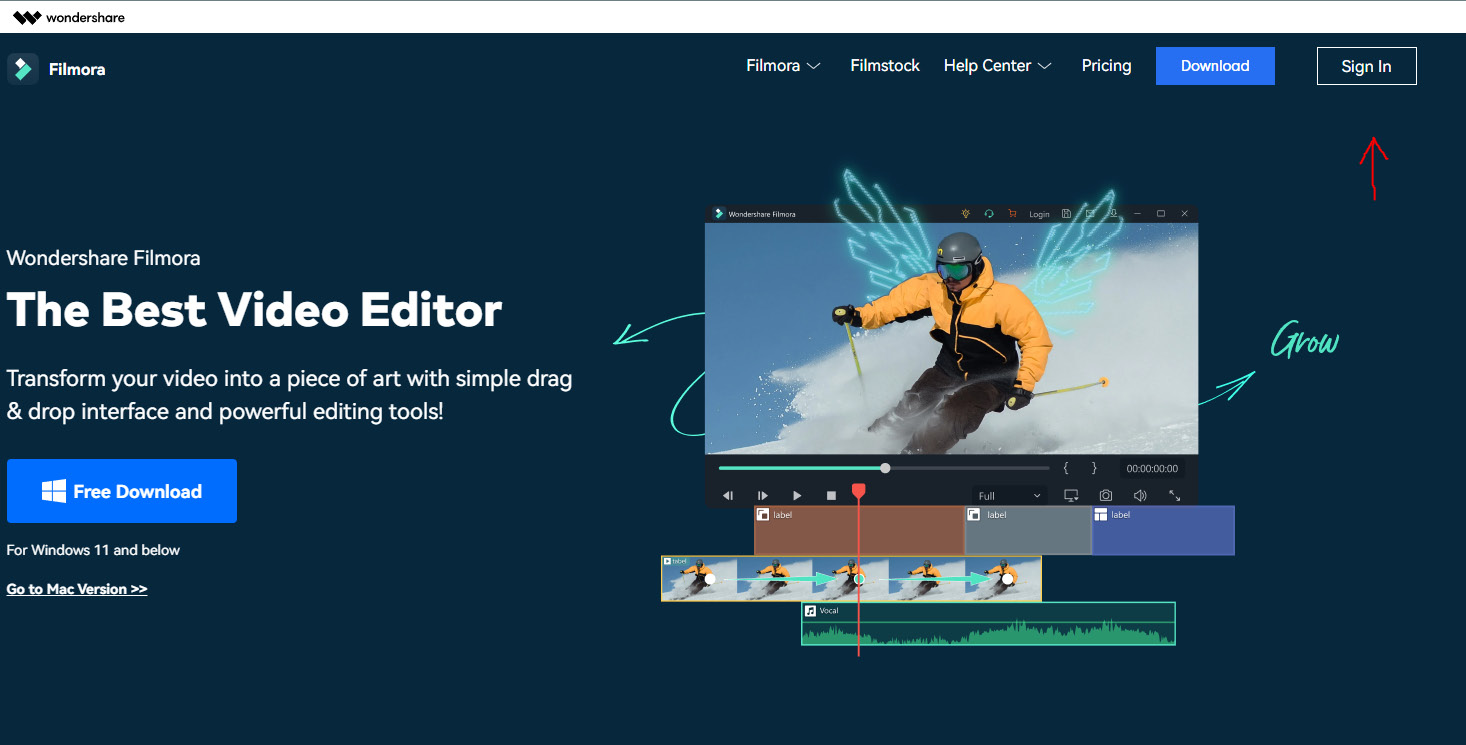
Whether you want to create short films, YouTube videos, music videos, or videos for any social event, Filmora is a powerful, innovative, and user-friendly video editing software that you can use for all this and much more!
Filmora Efficient Editing is a comprehensive introduction for those who are new to video editing as well as those looking to transition to Filmora. The book starts by helping you develop an understanding of video editing and Filmora’s interface and gradually takes you through adding sources and exporting your first project. Next, you’ll learn how to make your videos engaging and fun using audio, personalization, the split-screen function, and Chroma keys. You’ll understand how to plan as well as create your videos using Filmora from scratch. With simplified concepts, steps, and real-world editing examples, this book covers applications such as YouTube, animated intros, professional marketing videos, and industry-standard tips.
By the end of this video editing book, you’ll have learned how to use Filmora's powerful tools and functionality to create high-quality and professional videos from scratch.
Table of Contents (19 chapters)
Preface

Part 1: Your First Steps in Video Editing!
 Free Chapter
Chapter 1: Introduction to Video Editing and Filmora
Chapter 2: Navigating Filmora’s Interface
Chapter 3: Adding Our Source Material, Using the Timeline, and Creating Our First Project
Chapter 4: Audio – Changing Your Video’s Feel!
Part 2: Making Videos Engaging, Interesting, and FUN!
Chapter 5: Making Videos FUN – Effects, Elements, Transitions, and Titles
Chapter 6: Cinematic Videos and Movie Magic – Split Screens, Chroma Keys, and More
Chapter 7: Making Filmora Work for Us – Using AI
Chapter 8: Filmora Filmstock – A Treasure Chest of Assets
Part 3: Advanced Step-by-Step Examples
Chapter 9: Creating an Animated Intro from Scratch
Chapter 10: Making a Gaming Video
Chapter 11: Creating a Promotional Video for an Event
Chapter 12: Career Roles – What You Can Do with This Newfound Knowledge
Index
Other Books You May Enjoy
Appendix
Customer Reviews