-
Book Overview & Buying
-
Table Of Contents

-
Feedback & Rating

Hands-On Microsoft Lists
By :
Hands-On Microsoft Lists
By:
Overview of this book
Microsoft Lists is an extremely flexible and powerful platform for creating custom data models. Hands-On Microsoft Lists is an easy-to-read guide for those who want to get started with Lists, as well as those who are already familiar with the basic concepts and want to create custom and flexible Lists that are easily available through a web interface.
This comprehensive introduction to Lists will show you how to get up to speed in no time with the help of practical guidance and examples. Complete with hands-on tutorials and projects, you’ll understand how to use and implement Microsoft Lists effectively. You’ll start by covering all the basic concepts that will help you to build your Microsoft Lists and get the most out of the platform. As you progress, you’ll explore how to customize Microsoft Lists layouts and forms. Later chapters will guide you through integrating Microsoft Lists with the Power Platform. Throughout the book, you’ll work with practical scenarios that you can use daily to improve the collaboration in your organization.
By the end of this Microsoft book, you’ll have learned how to create custom data models to improve the way your data is put together, managed, and consumed in your workplace.
Table of Contents (13 chapters)
Preface

Chapter 1: Getting Started with Microsoft Lists
 Free Chapter
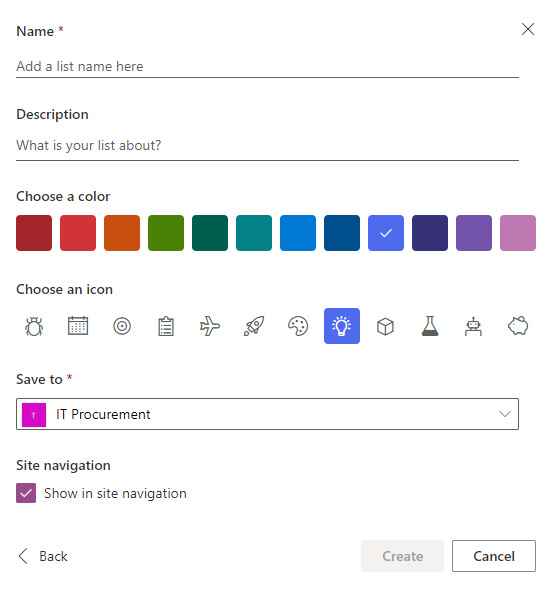
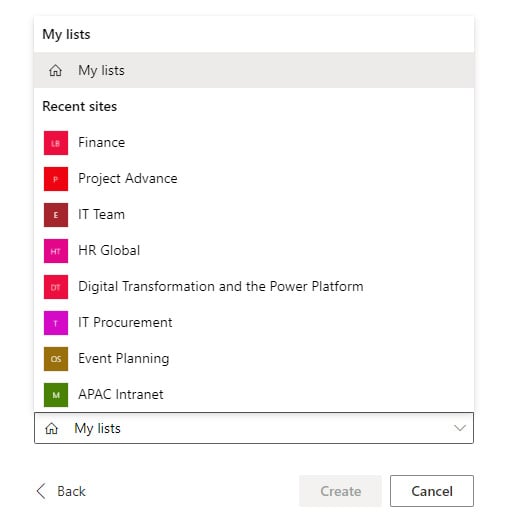
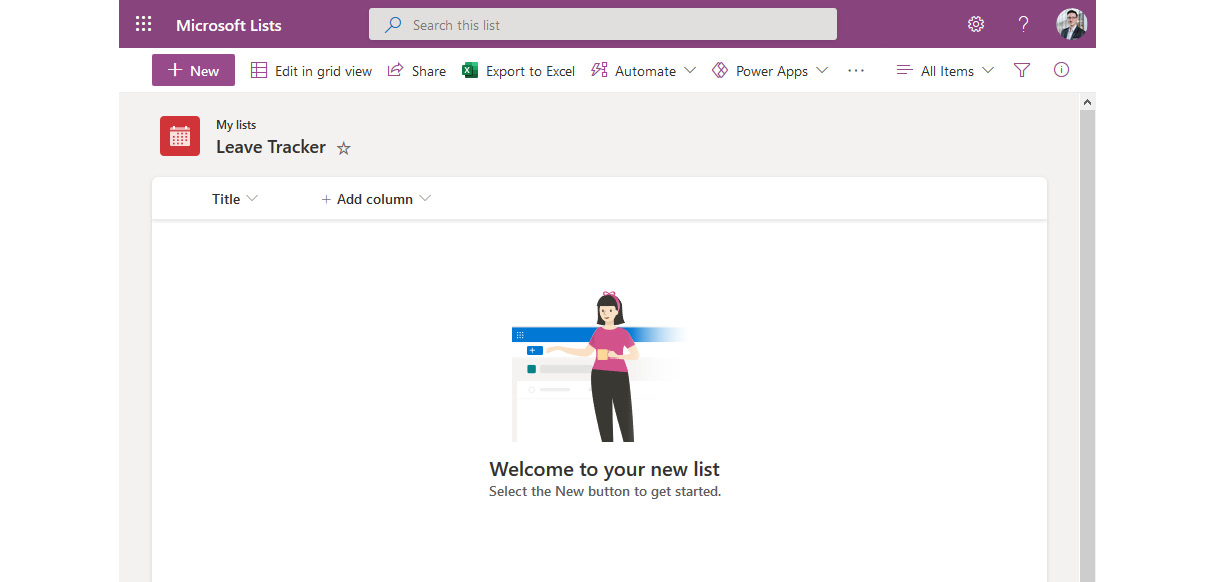
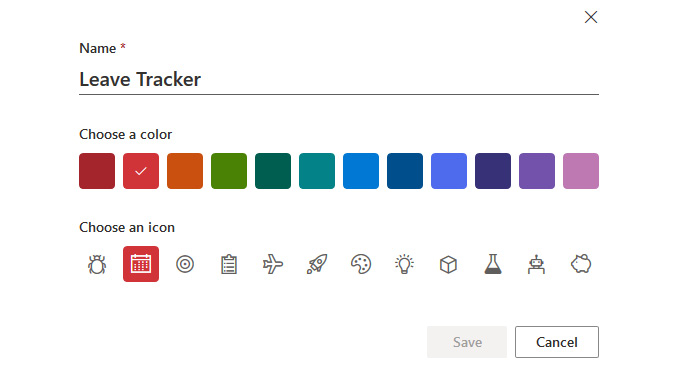
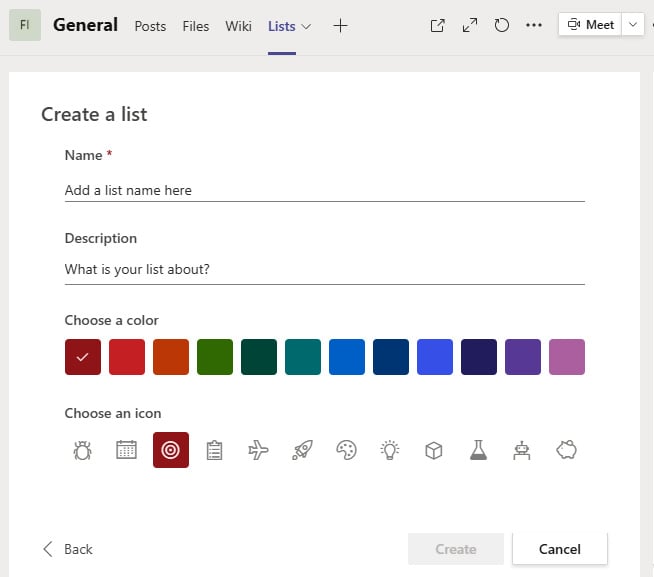
Chapter 2: Creating Your First List
Chapter 3: Microsoft Lists Core Features
Chapter 4: Collaborating on Microsoft Lists
Chapter 5: Creating Microsoft Lists Views
Chapter 6: Customizing Microsoft Lists
Chapter 7: Customizing Microsoft Lists Views
Chapter 8: Customizing Microsoft Lists Forms
Chapter 9: Integrating Microsoft Lists with the Power Platform
Chapter 10: Microsoft Lists for Admins and Advanced Users
Chapter 11: Extending Microsoft Lists Using SPFx
Customer Reviews