For non-Windows users or those Windows users who chose the plain JAR file option, you will start Burp at a command line each time you wish to run it. As such, you will require a particular Java command to do so.
In some circumstances, such as automated scripting, you may wish to invoke Burp at the command line as a line item in your shell script. Additionally, you may wish to run Burp without a Graphical User Interface (GUI), referred to as headless mode. This recipe describes how to perform these tasks.
How to do it...
We will review the commands and actions required to start the Burp Suite product:
- After running the installer from the downloaded
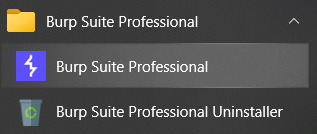
.exe file, start Burp in Windows by double-clicking the icon on your desktop or selecting it from the programs listing:
Figure 1.14 – Burp Suite menu items after installation
- When using the plain JAR file, the
java executable is followed by the option of -jar, followed by the name of the download JAR file.
Start Burp at the command line (minimal) with the plain JAR file (Java must be installed first):
C:\Burp Jar Files>java -jar burpsuite_pro_v2023.4.3.jar
If you wish to have more control over the heap size settings (that is, the amount of memory allocated for the program), you may modify the java command.
The java executable is followed by -jar, followed by the memory allocation. In this case, 2 GB (that is, 2g) is allocated for read access memory (RAM), followed by the name of the JAR file. If you receive an error to the effect that you cannot allocate that much memory, just drop the amount down to something like 1,024 MB (that is, 1024m) instead.
Start Burp at the command line (optimize) with the plain JAR file (Java must be installed first):
C:\Burp Jar Files>java -jar -Xmx2g burpsuite_pro_v2023.4.3.jar
- It is possible to start Burp Suite from the command line and run it in headless mode. Headless mode means running Burp without the GUI.
Note
For this book, we will not be running Burp in headless mode since we are learning through the GUI. However, you may require this information in the future, which is why it is presented here.
Start Burp Suite from the command line so that it can be run in headless mode with the plain JAR file (Java must be installed first):
C:\Burp Jar Files>java -jar -Djava.awt.headless=true burpsuite_
pro_v2023.4.3.jar
Note the placement of the -Djava.awt.headless=true parameter immediately following the -jar option and before the name of the JAR file.
If successful, you should see the following:
proxy: Proxy service started on 127.0.0.1:8080
Press Ctrl + C or Ctrl + Z to stop the process.
It is possible to provide a configuration file to the headless mode command so that you can customize the port number and IP address where the proxy listener is located.
Note
Please consult PortSwigger’s support pages for more information on this topic: https://support.portswigger.net/customer/portal/questions/16805563-burp-command-line.
In each startup scenario described, you should be presented with a splash screen:
- The splash screen label will match whichever edition you decided to download, either Professional or Community:
Figure 1.15 – Burp Suite splash screen
- You may be prompted to update the version; feel free to do this, if you like. New features are constantly added to Burp to help you find vulnerabilities, so upgrading the application is a good idea. Choose Update Now, if applicable.
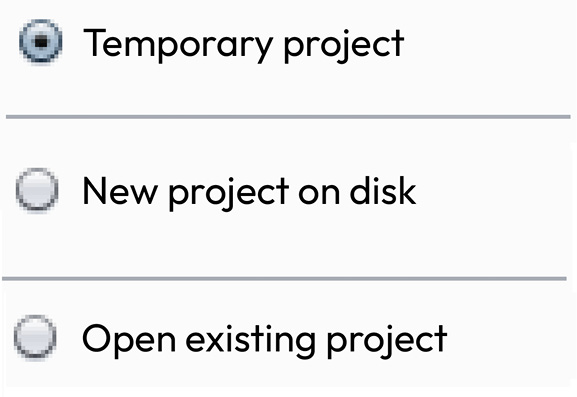
- Next, you will be presented with a dialog box asking about project files and configurations:
Figure 1.16 – Project options upon startup
- If you are using the Community edition, you will only be able to create a temporary project. If you are using the Professional edition, create a new project on disk, saving it in an appropriate location so that you can find it. Click Next.
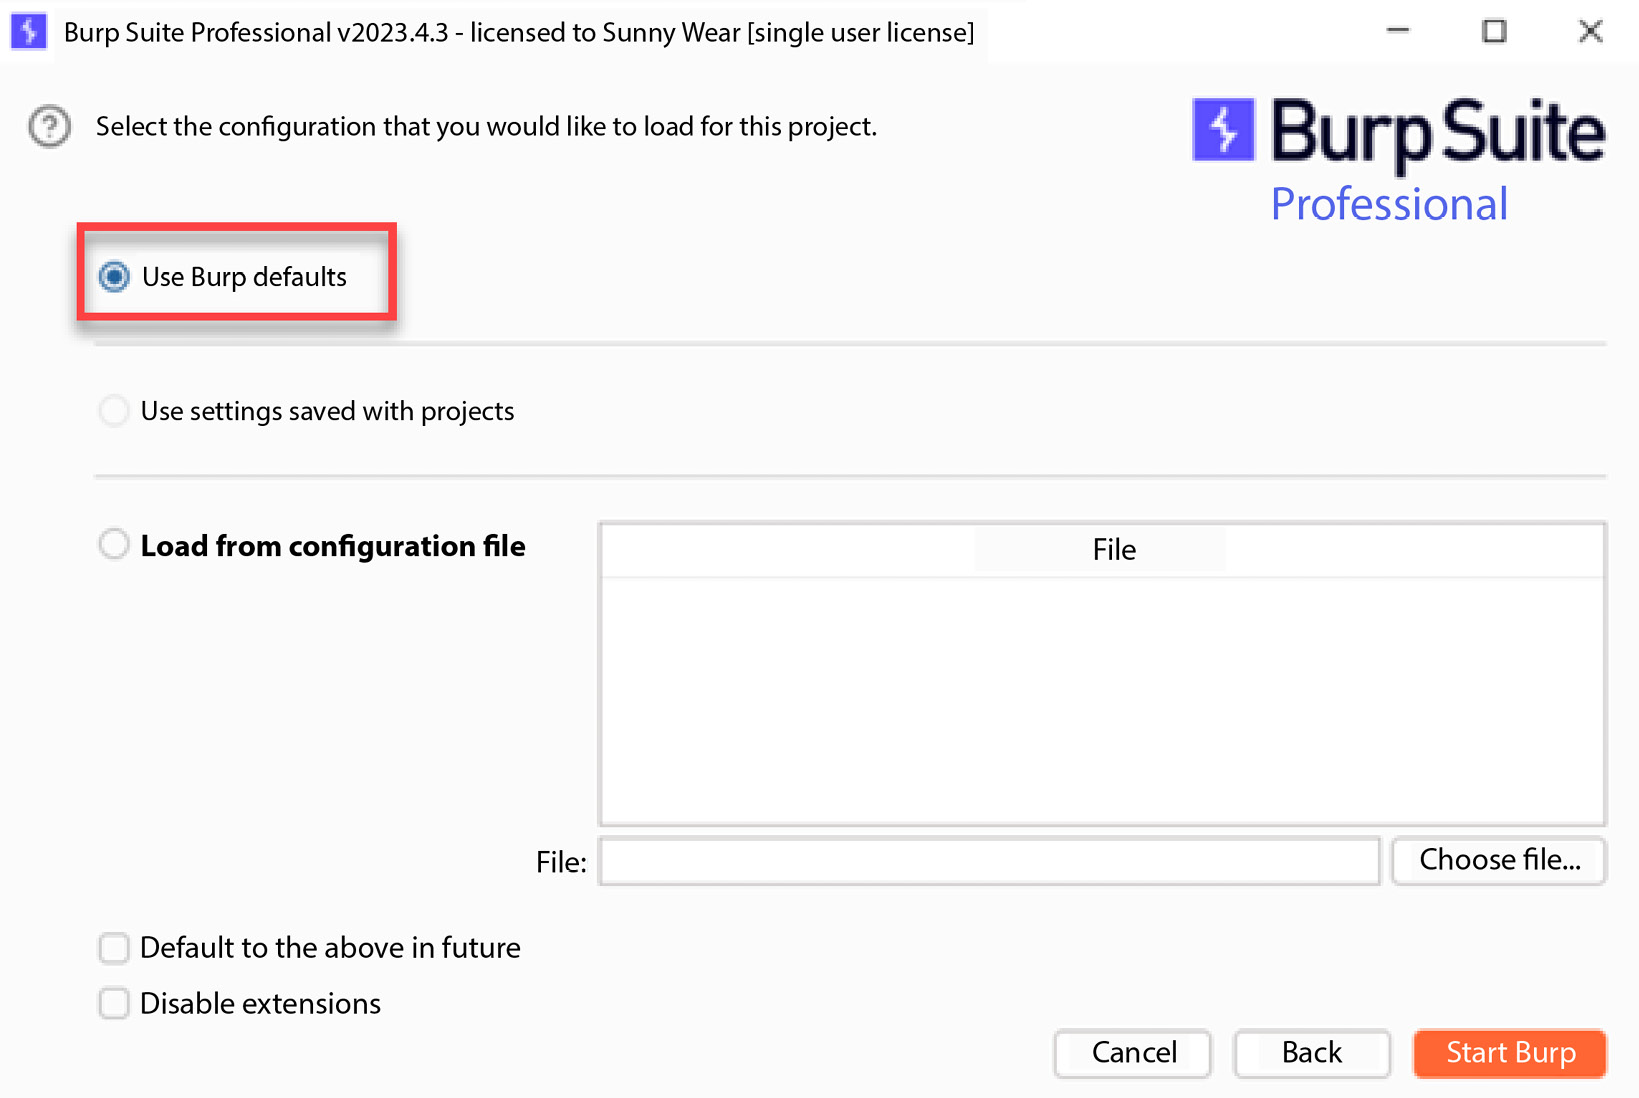
- The subsequent splash screen will ask you about the configurations you would like to use. At this point, we don’t have any yet, so choose Use Burp defaults. As you progress through this book, you may wish to save configuration settings and load them from this splash screen in the future, as follows:
Figure 1.17 – Configuration options upon startup
- Finally, we are ready to click Start Burp.
How it works...
Using either the plain JAR file or the Windows executable, you can launch Burp to start the proxy listener to capture HTTP traffic. Burp offers temporary or permanent project files so that you can save activities performed in the suite.


 Free Chapter


