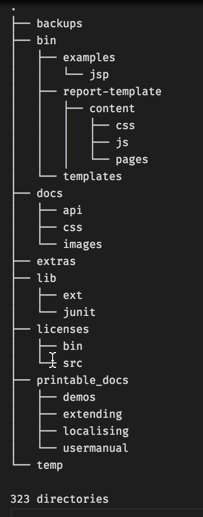
Now, let's get up and running with JMeter, beginning with its installation.
-
Book Overview & Buying
-
Table Of Contents

-
Feedback & Rating

Performance Testing with JMeter 3
By :
Performance Testing with JMeter 3
By:
Overview of this book
JMeter is a Java application designed to load and test performance for web application. JMeter extends to improve the functioning of various other static and dynamic resources. This book is a great starting point to learn about JMeter. It covers the new features introduced with JMeter 3 and enables you to dive deep into the new techniques needed for measuring your website performance.
The book starts with the basics of performance testing and guides you through recording your first test scenario, before diving deeper into JMeter. You will also learn how to configure JMeter and browsers to help record test plans.
Moving on, you will learn how to capture form submission in JMeter, dive into managing sessions with JMeter and see how to leverage some of the components provided by JMeter to handle web application HTTP sessions. You will also learn how JMeter can help monitor tests in real-time.
Further, you will go in depth into distributed testing and see how to leverage the capabilities of JMeter to accomplish this. You will get acquainted with some tips and best practices with regard to performance testing. By the end of the book, you will have learned how to take full advantage of the real power behind Apache JMeter.
Table of Contents (9 chapters)
Preface
 Free Chapter
Performance Testing Fundamentals
Recording Your First Test
Submitting Forms
Managing Sessions
Monitoring Tests in Real-Time
Distributed Testing
Helpful Tips - Part 1
Customer Reviews