-
Book Overview & Buying

-
Table Of Contents

-
Feedback & Rating

PLC and HMI Development with Siemens TIA Portal
By :
PLC and HMI Development with Siemens TIA Portal
By:
Overview of this book
With automation requirements on the rise, Siemens’ TIA Portal development environment is almost a necessity for any automation engineer. The Totally Integrated Automation (TIA) environment helps seamlessly integrate all things automation, from PLC hardware and software design to HMI development. This book helps you understand the tools available in the TIA toolbox and shows you how to write code effectively.
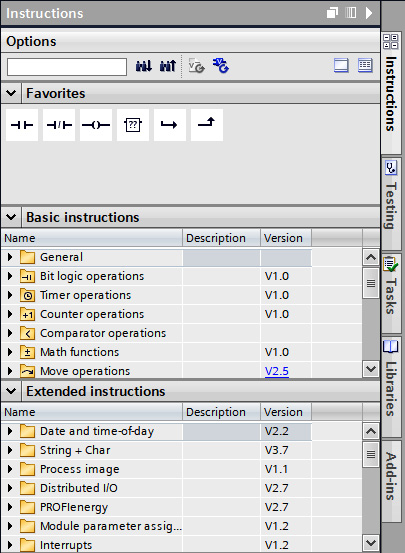
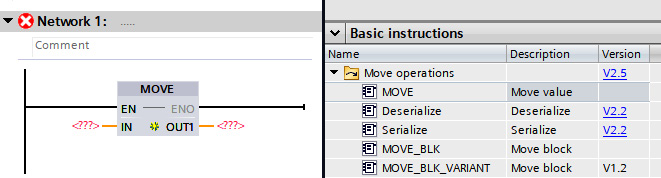
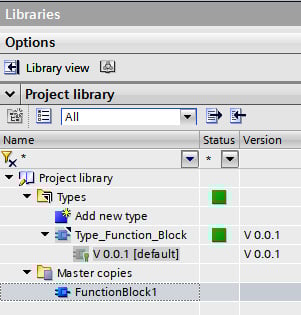
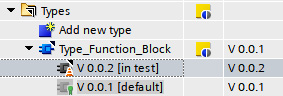
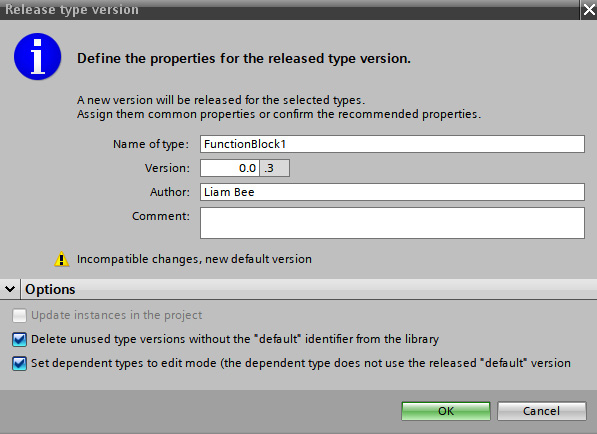
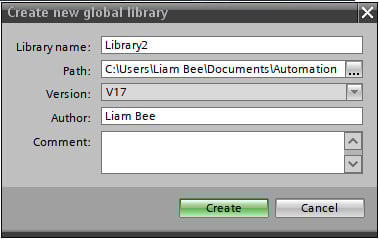
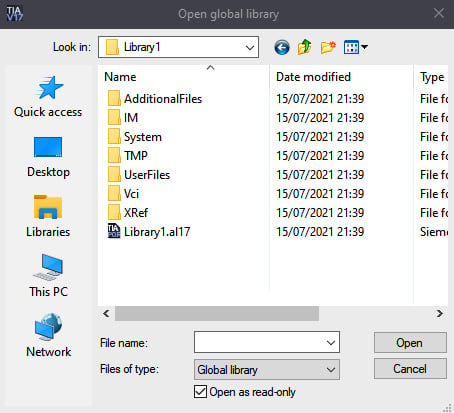
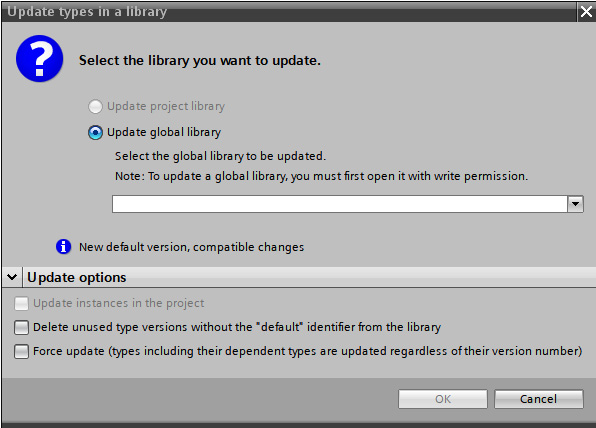
The book begins by introducing you to the TIA environment, covering the layout and tools available. Once you’ve got to grips with the environment, you’ll find out how to create hardware to write programs against, including adding IO modules and assigning memory for input and output. Next, you'll develop logic in all of the languages that TIA Portal offers, such as Ladder, Function Block Diagram, and Structured Text (SCL) (note that Statement List is not covered as a deprecated language), as well as the newest language, Cause and Effect (CEM). You’ll also discover how to store standard code in libraries, creating a version control system that is easy to manage and aids standard design. Finally, following the PLC design chapters, you’ll learn how to develop HMI applications in TIA Portal’s latest unified hardware.
By the end of the book, you'll be well equipped to use all of the features that TIA Portal V17 offers.
Table of Contents (21 chapters)
Preface

Section 1 – The TIA Portal – Project Environment
 Free Chapter
Chapter 1: Starting a New Project with TIA Portal
Chapter 2: Creating Objects and How They Fit Together
Chapter 3: Structures and User-Defined Types
Section 2 – TIA Portal – Languages, Structures, and Configurations
Chapter 4: PLC Programming and Languages
Chapter 5: Working with Languages in TIA Portal
Chapter 6: Creating Standard Control Objects
Chapter 7: Simulating Signals in the PLC
Chapter 8: Options to Consider When Creating PLC Blocks
Section 3 – TIA Portal – HMI Development
Chapter 9: TIA Portal HMI Development Environment
Chapter 10: Placing Objects, Settings Properties, and Events
Chapter 11: Structures and HMI Faceplates
Chapter 12: Managing Navigation and Alarms
Section 4 – TIA Portal – Deployment and Best Practices
Chapter 13: Downloading to the PLC
Chapter 14: Downloading to the HMI
Chapter 15: Programming Tips and Additional Support
Other Books You May Enjoy
Customer Reviews