Sign In Start Free Trial
Account

Add to playlist

Create a Playlist

Modal Close icon
You need to login to use this feature.
  • Hands-On Internet of Things with Blynk
  • Toc
  • feedback
Hands-On Internet of Things with Blynk

Hands-On Internet of Things with Blynk

By : Seneviratne
close
Hands-On Internet of Things with Blynk

Hands-On Internet of Things with Blynk

By: Seneviratne

Overview of this book

Blynk, known as the most user-friendly IoT platform, provides a way to build mobile applications in minutes. With the Blynk drag-n-drop mobile app builder, anyone can build amazing IoT applications with minimal resources and effort, on hardware ranging from prototyping platforms such as Arduino and Raspberry Pi 3 to industrial-grade ESP8266, Intel, Sierra Wireless, Particle, Texas Instruments, and a few others. This book uses Raspberry Pi as the main hardware platform and C/C++ to write sketches to build projects. The first part of this book shows how to set up a development environment with various hardware combinations and required software. Then you will build your first IoT application with Blynk using various hardware combinations and connectivity types such as Ethernet and Wi-Fi. Then you'll use and configure various widgets (control, display, notification, interface, time input, and some advanced widgets) with Blynk App Builder to build applications. Towards the end, you will learn how to connect with and use built-in sensors on Android and iOS mobile devices. Finally you will learn how to build a robot that can be controlled with a Blynk app through the Blynk cloud and personal server. By the end of this book, you will have hands-on experience building IoT applications using Blynk.
Table of Contents (10 chapters)
close

Connecting the Blynk app builder with the server

Normally, the Blynk app builder works with the Blynk cloud by connecting to it via the internet. If you want to connect your Blynk app builder with your personal Blynk server, you must configure some attributes in the Blynk app builder. These attributes will help you to find the personal Blynk server that is deployed on the same network (that is, your home Wi-Fi network). If you want to access the personal Blynk server from the internet, you can use port forwarding to access it. To do this, you will also need a static IP address:

  1. First, you should configure the custom server path for your personal Blynk server running on Raspberry Pi.
  2. On the login page, tap Create New Account:
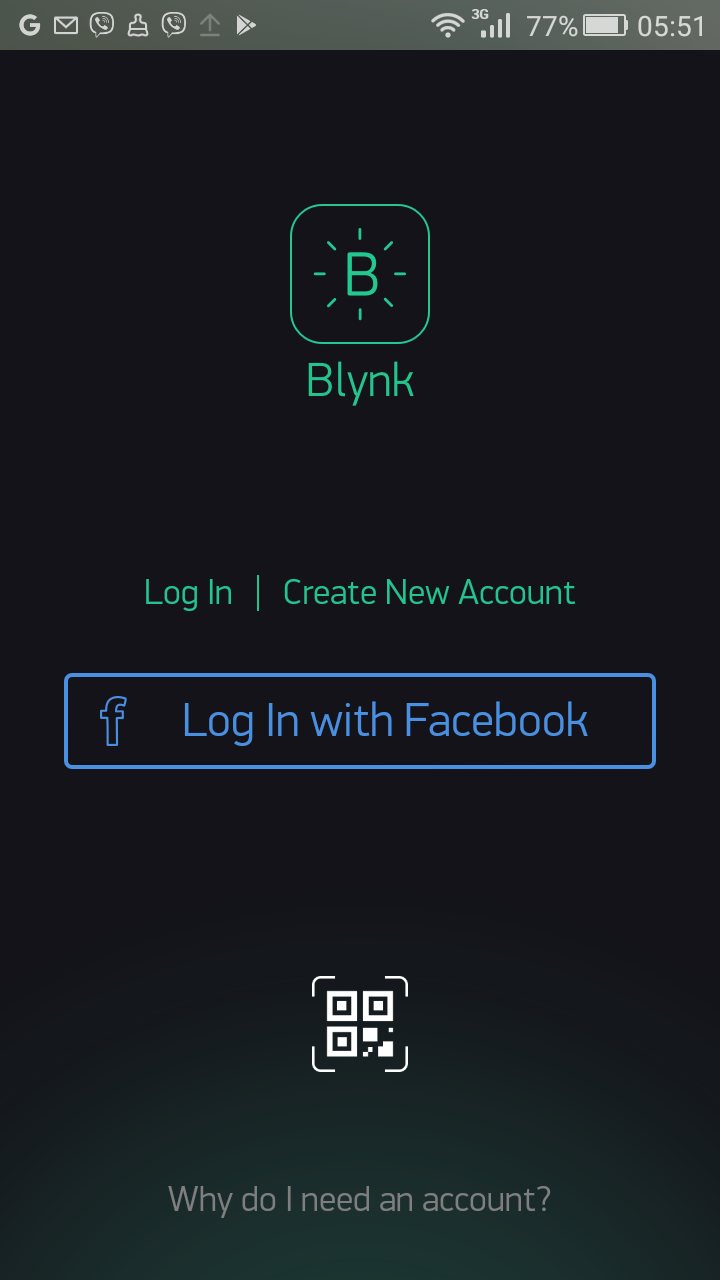
Creating a new account
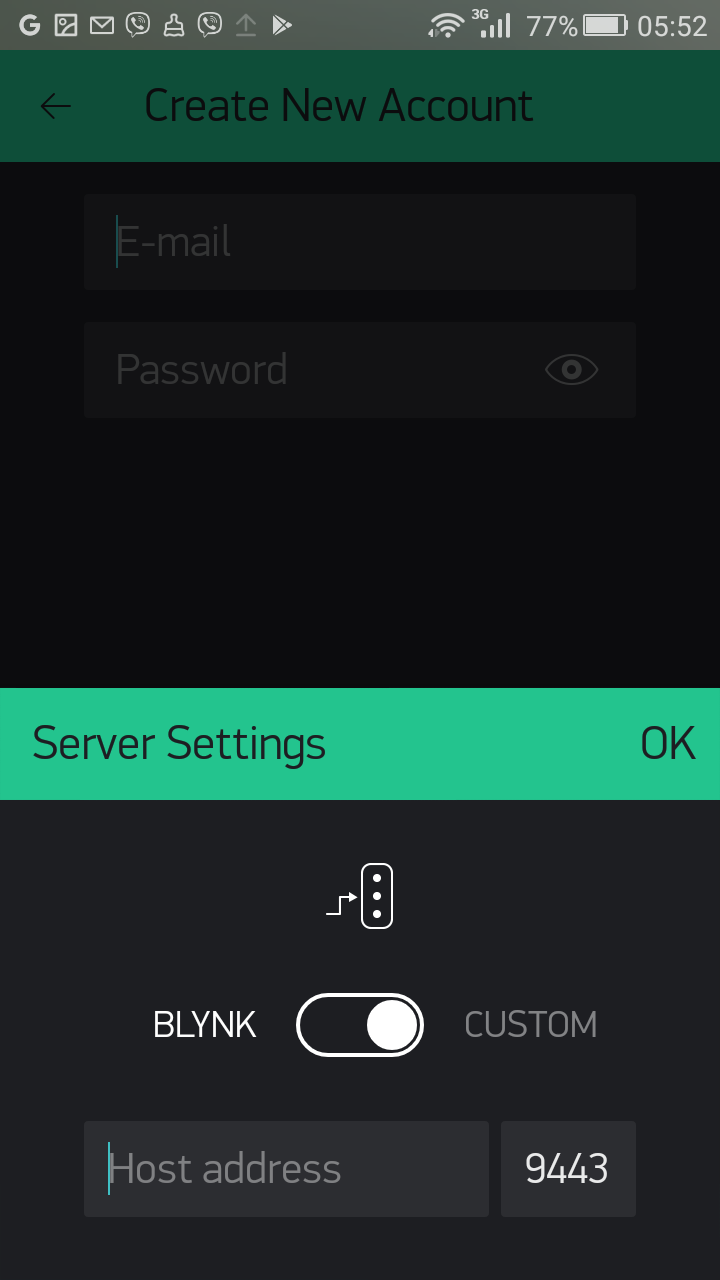
  1. Tap the three dots icon to view the server settings:
Server settings icon
  1. Slide the toggle button from BLYNK to CUSTOM:
Server...

Unlock full access

Continue reading for free

A Packt free trial gives you instant online access to our library of over 7000 practical eBooks and videos, constantly updated with the latest in tech
bookmark search playlist download font-size

Change the font size

margin-width

Change margin width

day-mode

Change background colour

Close icon Search
Country selected

Close icon Your notes and bookmarks

Delete Bookmark

Modal Close icon
Are you sure you want to delete it?
Cancel
Yes, Delete