Sign In Start Free Trial
Account

Add to playlist

Create a Playlist

Modal Close icon
You need to login to use this feature.
  • Book Overview & Buying Hands-On Internet of Things with Blynk
  • Table Of Contents Toc
  • Feedback & Rating feedback
Hands-On Internet of Things with Blynk

Hands-On Internet of Things with Blynk

By : Seneviratne
close
close
Hands-On Internet of Things with Blynk

Hands-On Internet of Things with Blynk

By: Seneviratne

Overview of this book

Blynk, known as the most user-friendly IoT platform, provides a way to build mobile applications in minutes. With the Blynk drag-n-drop mobile app builder, anyone can build amazing IoT applications with minimal resources and effort, on hardware ranging from prototyping platforms such as Arduino and Raspberry Pi 3 to industrial-grade ESP8266, Intel, Sierra Wireless, Particle, Texas Instruments, and a few others. This book uses Raspberry Pi as the main hardware platform and C/C++ to write sketches to build projects. The first part of this book shows how to set up a development environment with various hardware combinations and required software. Then you will build your first IoT application with Blynk using various hardware combinations and connectivity types such as Ethernet and Wi-Fi. Then you'll use and configure various widgets (control, display, notification, interface, time input, and some advanced widgets) with Blynk App Builder to build applications. Towards the end, you will learn how to connect with and use built-in sensors on Android and iOS mobile devices. Finally you will learn how to build a robot that can be controlled with a Blynk app through the Blynk cloud and personal server. By the end of this book, you will have hands-on experience building IoT applications using Blynk.
Table of Contents (10 chapters)
close
close

Building the Blynk app

In this example, you will learn how to build a Blynk application to turn an LED on and off.

To start building a project, tap Create New Project in the center of the screen. This will bring you to the Create New Project wizard. You will walk through this wizard step by step.

Follow these steps to complete the Create New Project:

  1. Tap New Project:
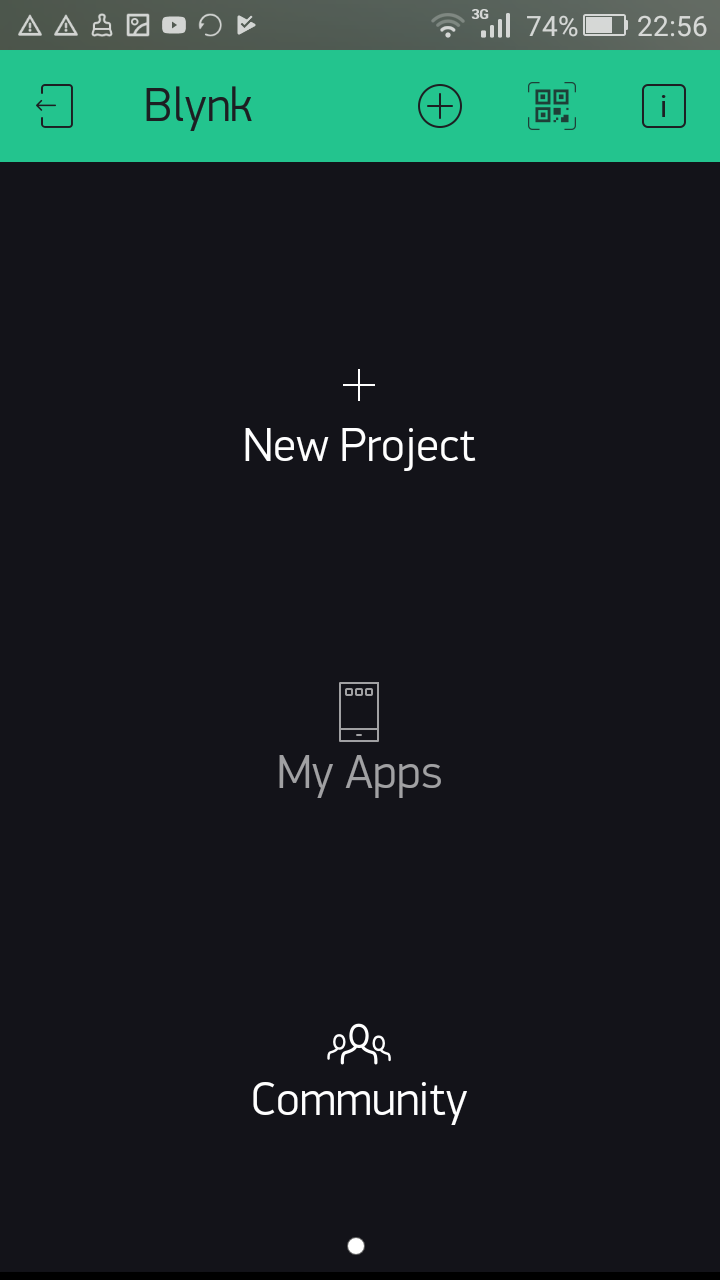
Creating a New Project
  1. On the Create New Project page, type LED Controller in the Project Name textbox:
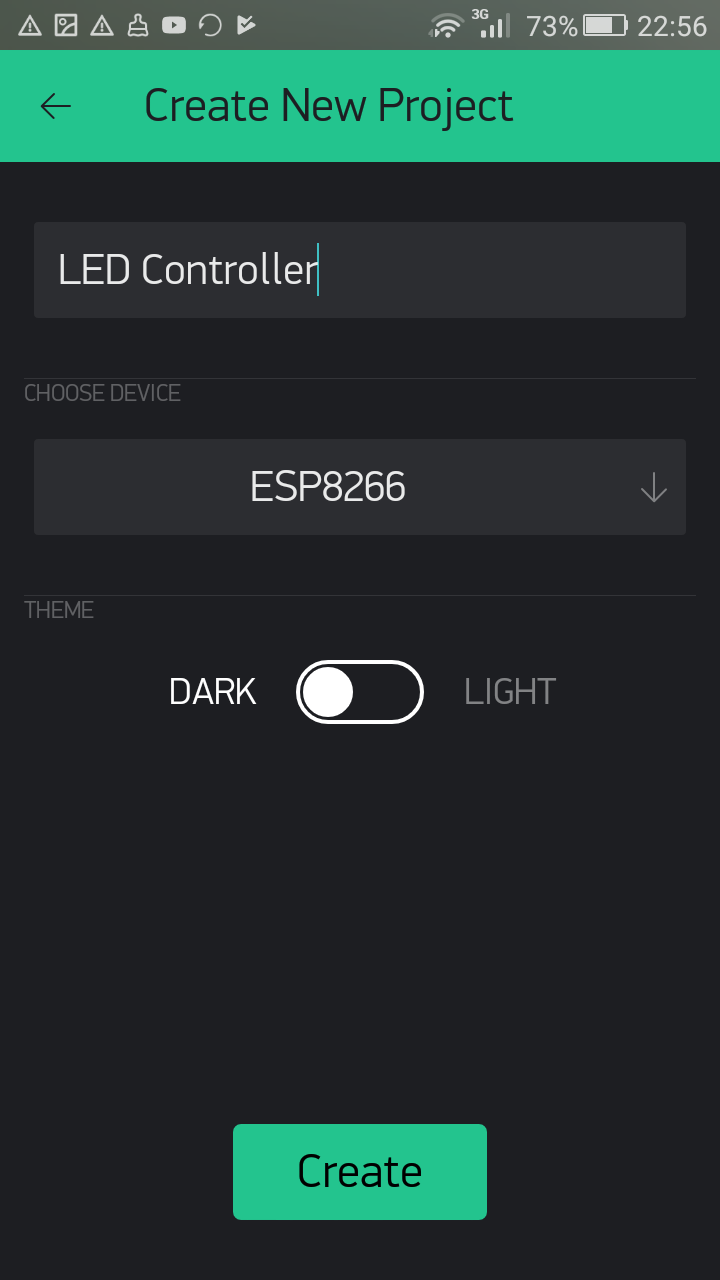
Providing a Project Name
  1. Tap CHOOSE DEVICE to get the available hardware models and tap Raspberry Pi 3 B from the list. After choosing the hardware model, tap OK.
If you have a previous version of Raspberry Pi board, choose the following:
Raspberry Pi 2: Raspberry Pi 2/A+/B+
Raspberry Pi 1 (Rev 1): Raspberry Pi B (Rev 1)
Raspberry Pi 1 (Rev 2): Raspberry Pi A/B (Rev 2)
Selecting the hardware model
  1. Tap...

Unlock full access

Continue reading for free

A Packt free trial gives you instant online access to our library of over 7000 practical eBooks and videos, constantly updated with the latest in tech

Create a Note

Modal Close icon
You need to login to use this feature.
notes
bookmark search playlist download font-size

Change the font size

margin-width

Change margin width

day-mode

Change background colour

Close icon Search
Country selected

Close icon Your notes and bookmarks

Delete Bookmark

Modal Close icon
Are you sure you want to delete it?
Cancel
Yes, Delete

Delete Note

Modal Close icon
Are you sure you want to delete it?
Cancel
Yes, Delete

Edit Note

Modal Close icon
Write a note (max 255 characters)
Cancel
Update Note

Confirmation

Modal Close icon
claim successful

Buy this book with your credits?

Modal Close icon
Are you sure you want to buy this book with one of your credits?
Close
YES, BUY