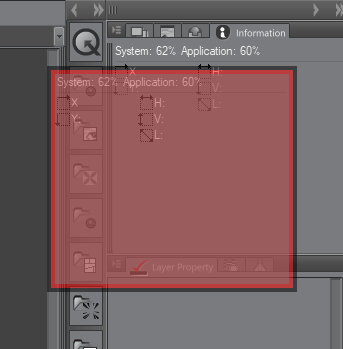
One of my favorite things about Clip Studio Paint is how customizable it is. Not only can we customize our tools, but we can also customize the interface of the program to make it look however we want it to look. This means that we can set up the program palettes and toolbars to give us the most efficient workflow and make our process as streamlined as possible. The process of moving, closing, and rearranging palettes is very easy, so let's get right to it.
-
Book Overview & Buying
-
Table Of Contents

-
Feedback & Rating

Learn Clip Studio Paint
By :
Learn Clip Studio Paint
By:
Overview of this book
Clip Studio Paint, the successor to Manga Studio, is used by over four million illustrators and comic creators around the world. This book will guide you through every step of learning this software, from system requirements and installation, all the way through to exporting your work for print or the web. Learn how to create new documents, customize tools to fit your working style, use ruler tools to create anything from straight lines to intricate backgrounds, add 3D elements, create comic panels using the specialized panel tools, utilize screentones and materials, add text and word balloons to your comics, create sound effects, easily flat and color your comics using reference layers, and bring your drawings to life using the animation features.
By the end of this book, you will be able to navigate the Clip Studio Interface and program preferences, customize the various tools, and be able to create your own black-and-white and color illustrations and comics from start to finish.
Table of Contents (21 chapters)
Preface
 Free Chapter
Installing Clip Studio Paint, Recommended Systems, and Interface Basics
Preferences, Shortcuts, and Other Commands
Clip Studio Paint Brushes: an Introduction
Pencilling: Layer Properties
Erasers, Selections, and the Subview Palette
All About Rulers
Using 3D Figures and Objects
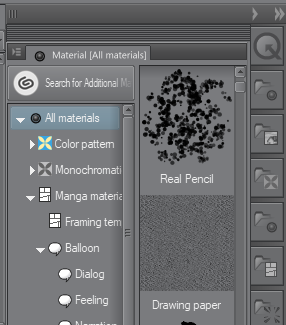
Vector Layers and the Material Palette
Using Text and Balloon Tools
Creating Sound Effects
Making Layer Masks and Screentones
Making Comic Panels
Auto Actions and Your Workflow
Inking Tools
Inking Special Effects
Color Palettes
Using CSP to Color Your Comics
Exporting and Printing Your Comic
What Is the Clip Studio App and Getting Animated
Other Books You May Enjoy
Customer Reviews