Chapter 3. Using Shape Layers to Create an Animated Lyric Video
In this chapter, we are going to work with shape layers. Shape layers are like solid layers, except they are much more powerful! Essentially, shape layers are a bit like Illustrator, you can create custom shapes and edit them, but you have access to tons of animation parameters as well. Shape layers are a natural continuation of solid layers and the masking that we did in the last chapter. Both solid layers and shape layers are vector objects. They can be scaled infinitely without losing quality.
We will use shape layers as transition elements in our project. Every time you create an animation project, ask yourself, is there a creative way I can transition in or out of this scene? By the end of this chapter, you will know a couple interesting ways to transition between your scenes.
Using shape layers to create transitions and background graphics
In this shape layer project, we will duplicate and reuse a lot of elements. We will change the color of the shapes and offset the key frames for complex animated designs. This project will get your feet wet with shape layers; however, there are more advanced features with shape layers that we won't cover. Please feel free to explore after I have introduced the shape layer concept.
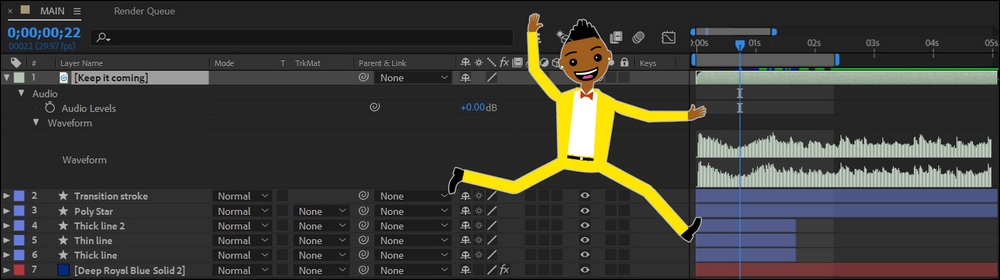
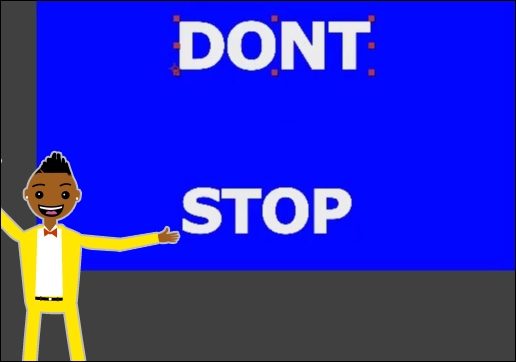
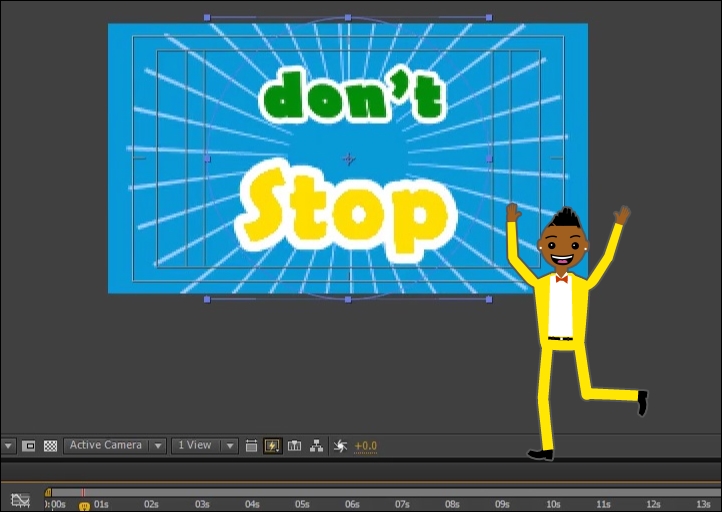
We are building a looping lyric video for a fictional children's movie. These types of videos are used on social media to generate excitement about a song or a movie. Understanding how to animate typography in a kinetic way is important in the field of motion graphics. Moving typography helps convey your message in a more entertaining way than static type. Let's get started with shape layers.
The interface for shape layers can be found in two areas: at the top of the interface in the tool panel, and also in the timeline:
- Go to Layer | New | Shape Layer | Add | Ellipse.
- Name it
Circle 1. - Twirl down the Ellipse Path 1.
- Increase the size to
1000. - Go to Add | Stroke.
- Increase the stroke width to
90:
Add a solid-color background:
- Go to Add | Trim Paths.
- Go to Start | 100.
- Go to the beginning of the timeline and click the stop watch.
- Go to key frame 20 and set the start parameter to
0. - Hit the N shortcut to trim your work area.
- Hit Spacebar to preview, and, with that, you've created your first shape layer animation!
- Open the shape layer.
- Increase the stroke width size.
- Duplicate the shape layer.
- Right-click this layer.
- Rename your circle
layer 2. - Twirl down content | Stroke 1.
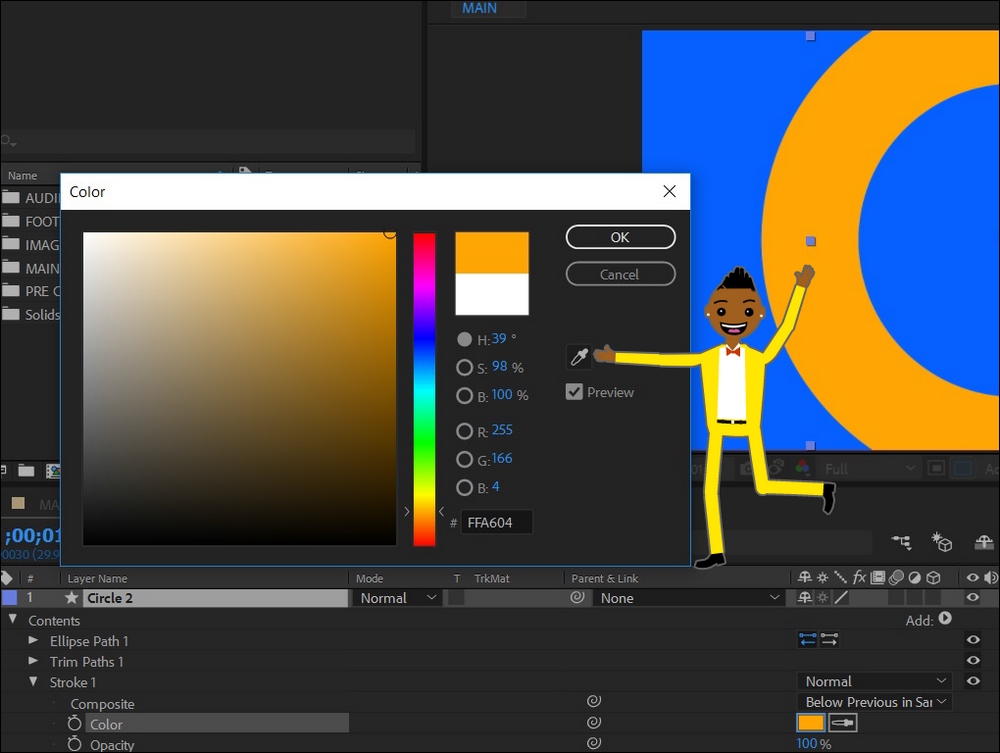
- Change the stroke color:
- Go to Stroke 1 | Stroke width.
- Reduce the stroke width to
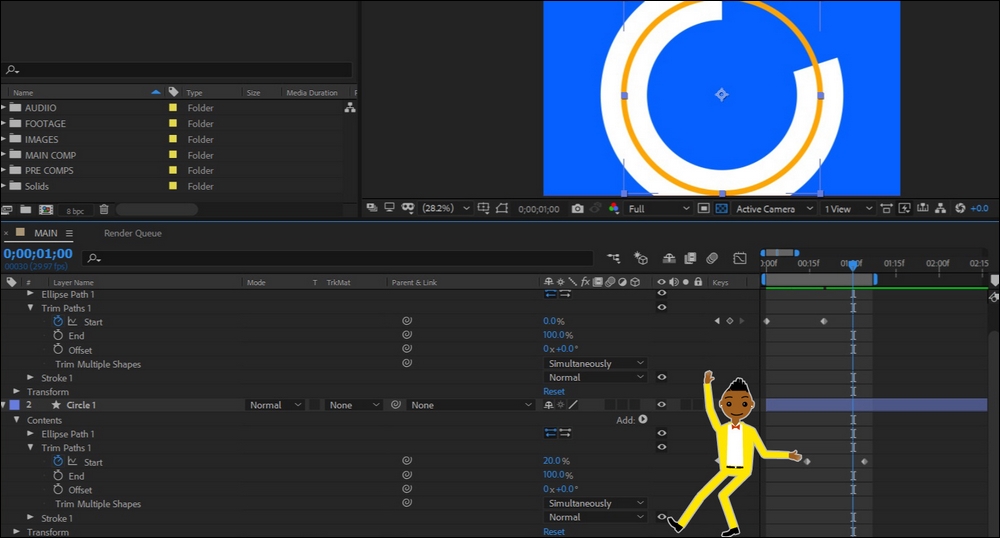
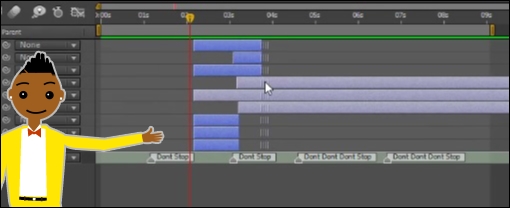
30. - So these paths will animate on at different times, go to Trim path | Start | Offset keyframes:
Select your key frames for the trim path. Drag the key frames so they are offset. Look at the offset key frames I am pointing to in the preceding screenshot:
- Rename Circle 1 to
Thick line - Rename Circle 2 to
Thin line - Duplicate Thick line
- Move to the top
- Change the stroke color of
Thick line 2
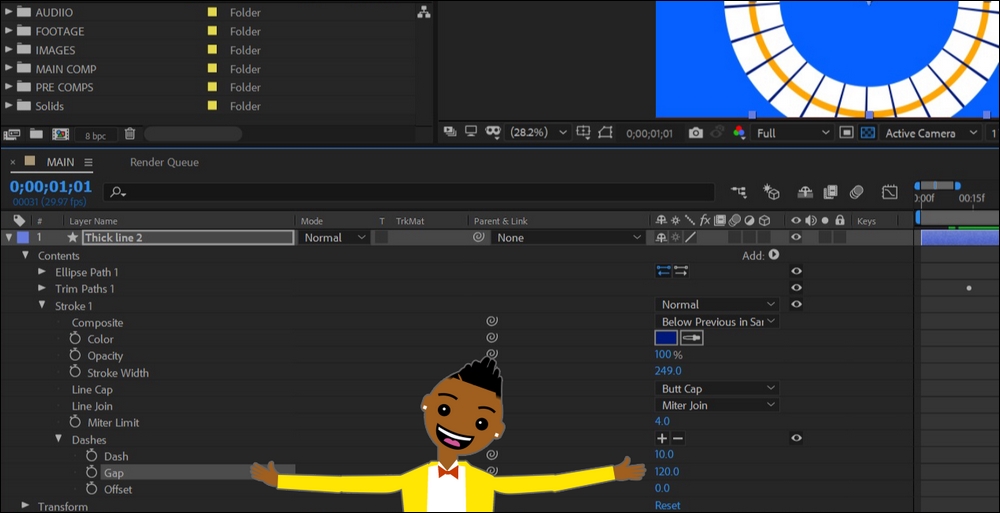
Next, look closely at the Stroke 1 option. Under the Stroke 1 options is Dashes. Slowly look to the right of Dashes and you will see + and -, which are called Dashes. Clicking on the + will allow you to add dashes to your object:
- Across from Dashes, find the + and - signs.
- Hit the + sign twice. Under Dashes, you have three parameters called Dash, Gap, and Offset.
- Adjust the gaps to
120: - Increase the Gap to
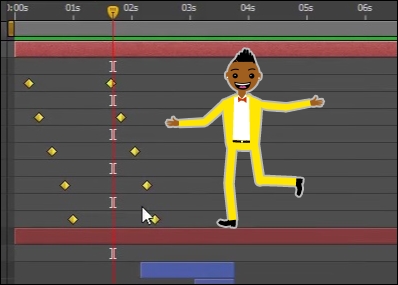
120.Offset the key frames for the trim path so these elements will be animated at different times. Remember, timing is everything in animation. You want these key frames offset so each animation happens a few key frames behind the offset key frames.
- Adjust the stroke width to
500 for Thick line 2.
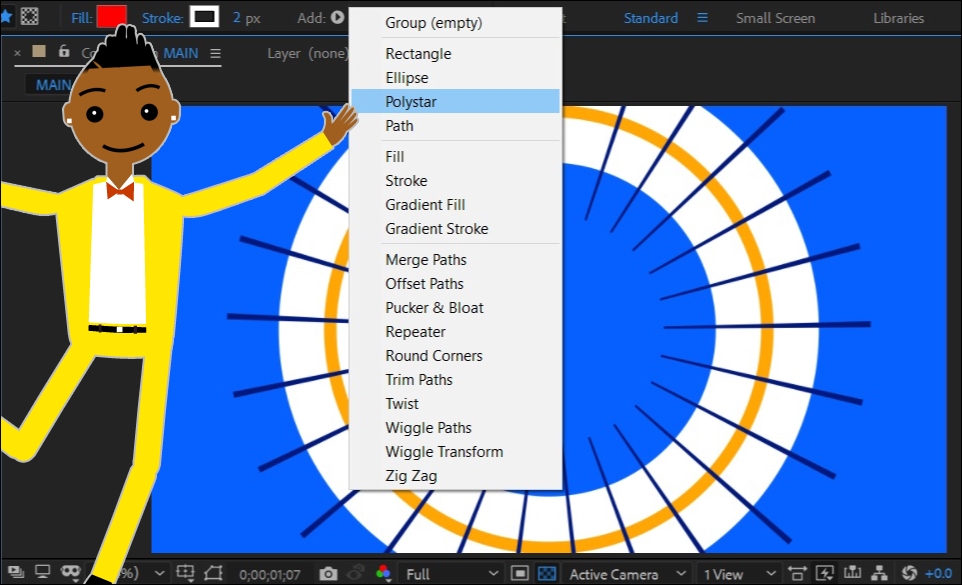
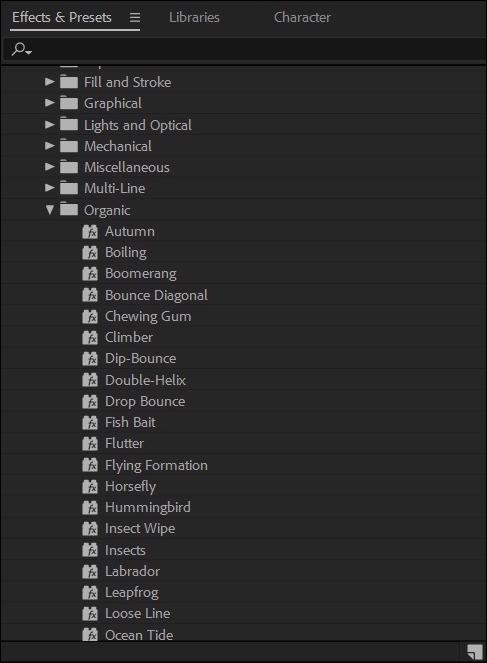
Creating a new polystar shape layer
We need you to create a new transition shape layer. This will help us transition to our next scene in a creative way:
- Create a new shape layer.
- Add a Polystar shape to our layer:
Add a Polystar shape to the empty shape layer. By default, when you add a shape layer to your project, it's empty. You have to add any shapes you want to see. You can add items to your shape layer in the timeline to the right of the contents tab, or you can add them with the bar in the top right:
- Add a fill.
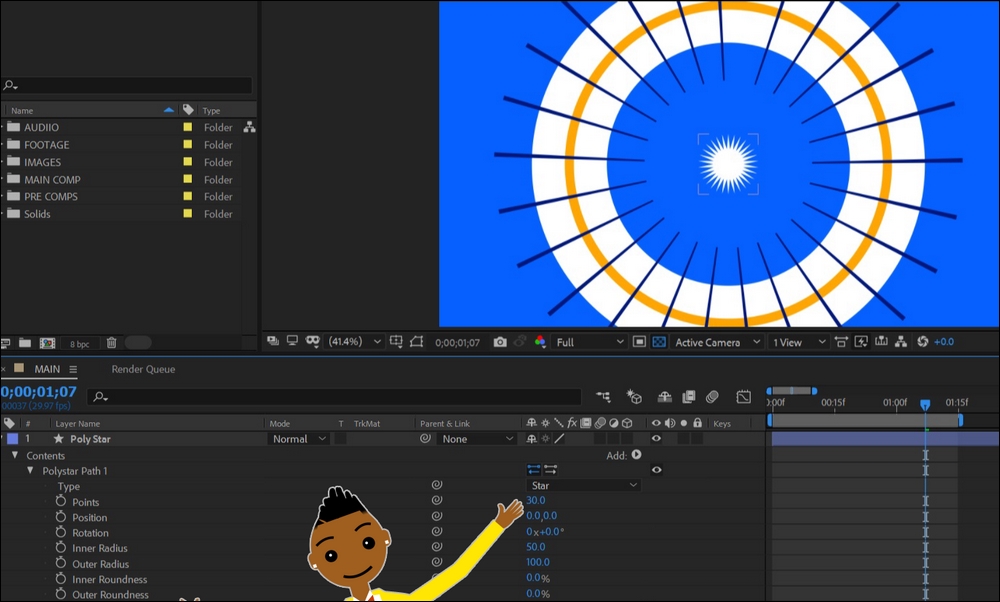
- Twirl down the polystar.
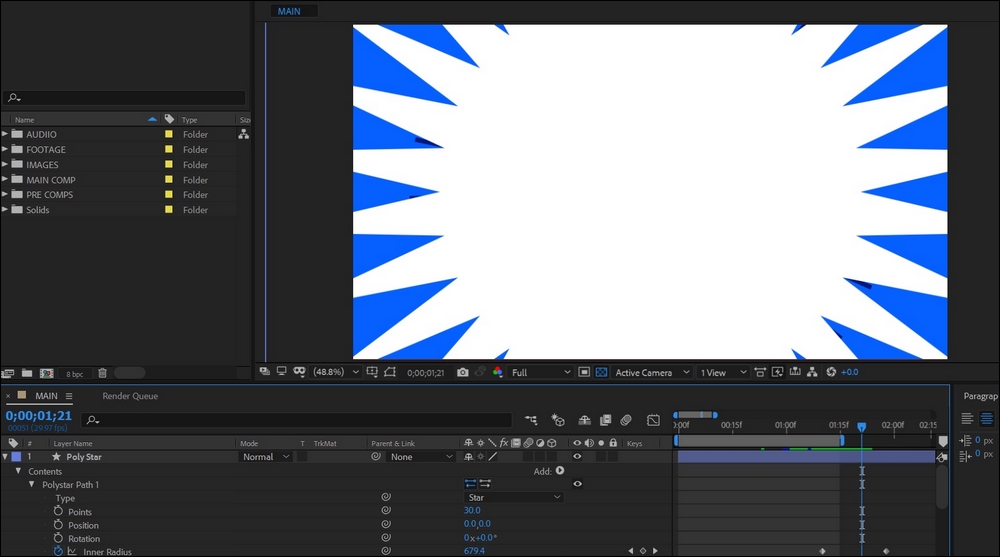
- Add
30 points: - Next, expand the outer radius to
1250. - Go to the last key frame of your animation and create a key frame for the outer radius.
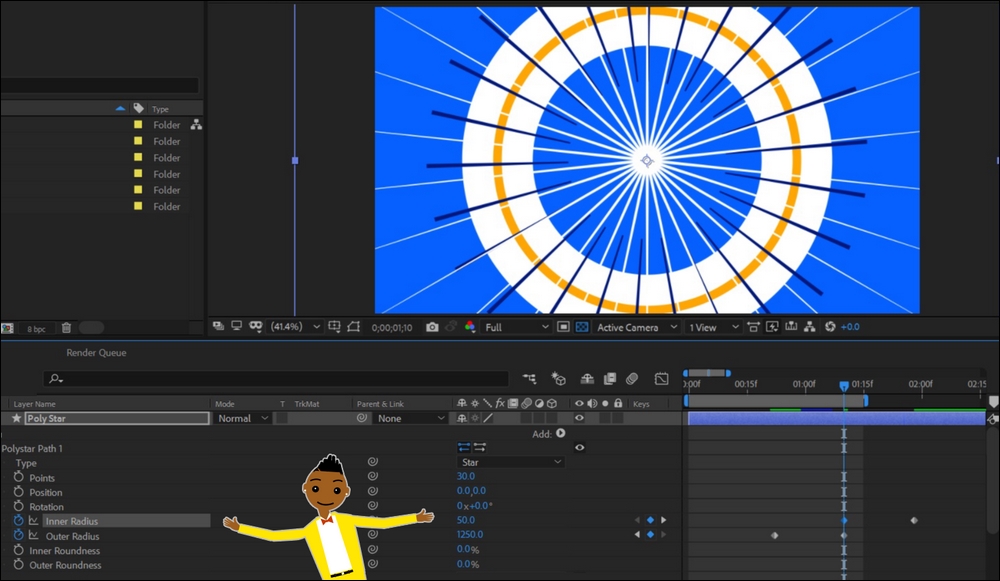
- Go to the mid point where your circles are half way through their animations.
- Make your outer radius
0. - At that same point in the timeline, hit the stop watch for your inner radius.
- Jump to the last key frame and expand you inner radius to
1080. - Spend some time offsetting your inner radius key frames to achieve the following screenshot:
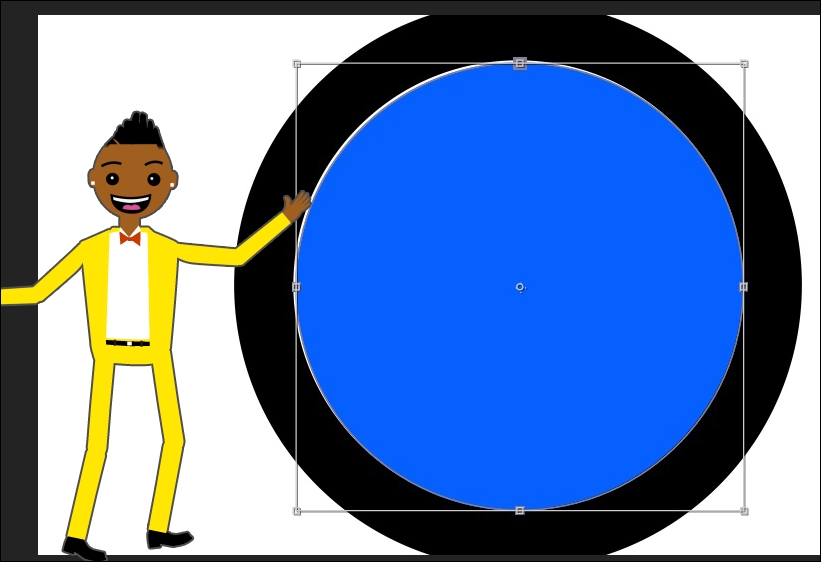
Creating a transition shape
We are going to add our final transition shape for shape 1.
Now you need to go to the point in the timeline where the last shape is almost fully covering the screen. See the following screenshot:
To create a transition animated shape, follow these steps:
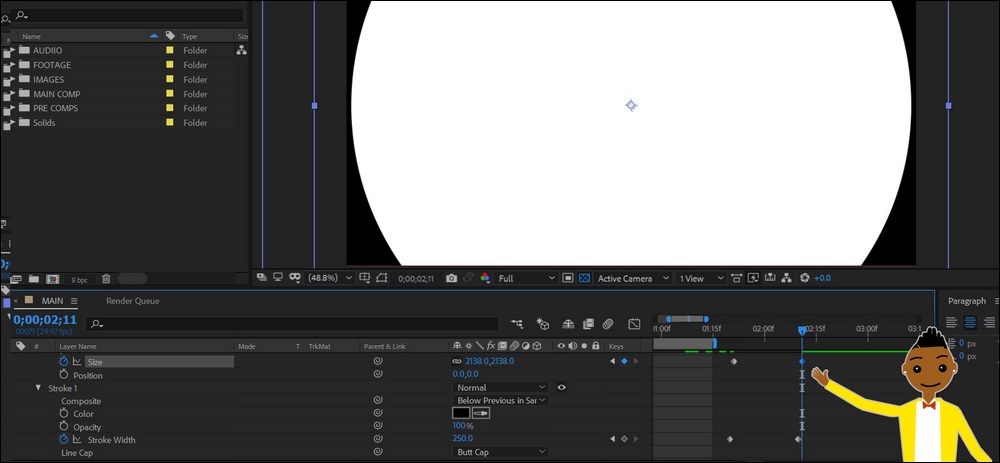
- Create a new shape layer.
- Name this layer
Transition stroke. - Add an ellipse.
- Add a stroke.
- Change the color of the stroke.
- Twirl down the contents of the transition stroke layer.
- Find Ellipse Path 1.
- Animate the ellipse by changing its size, scaling it up and eventually having it leave the scene.
- Go to the first key frame for the size change.
- Add a key frame for the stroke width.
- Go to the last size key frame, choose the stroke parameter, and increase the stroke width so that on that frame your stroke looks like the following screenshot:
We are using this shape to reveal the character underneath. We have already created the animated mask shapes. We are now going to use an additional mask to cut out the center of the polygon shape:
- Choose the last shape layer created.
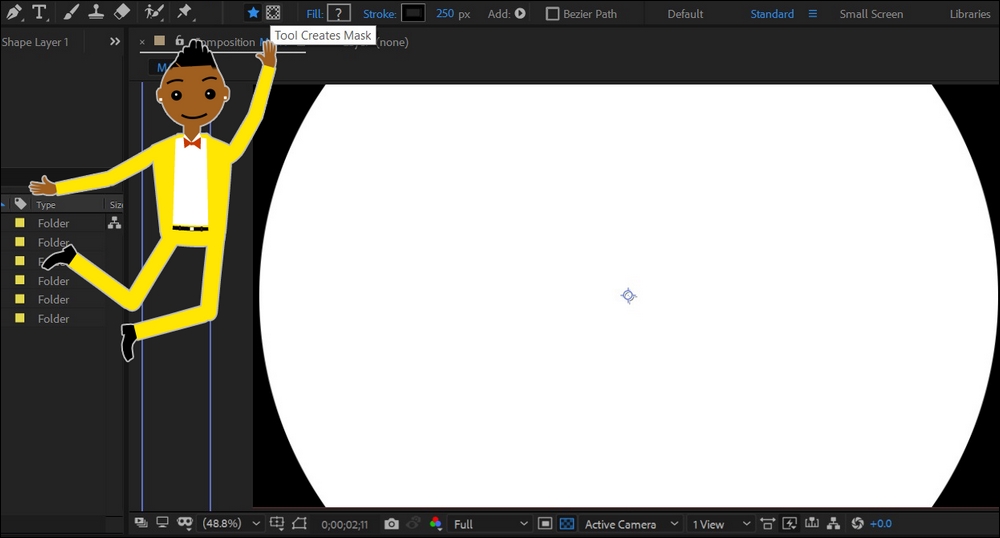
- At the top of the toolbar, select the ellipse tool.
- To the far right, next to the star shape, choose the Tool Creates Mask tool:
Use this tool to click and drag to make a shape to cut through this mask shape:
- Put your mouse in the center of this shape.
- Press Ctrl +Shift to constrain this shape. This will create a perfect mask shape. Starting the shape from the center will perfectly center it. Look at the new mask created on the polystar layer.
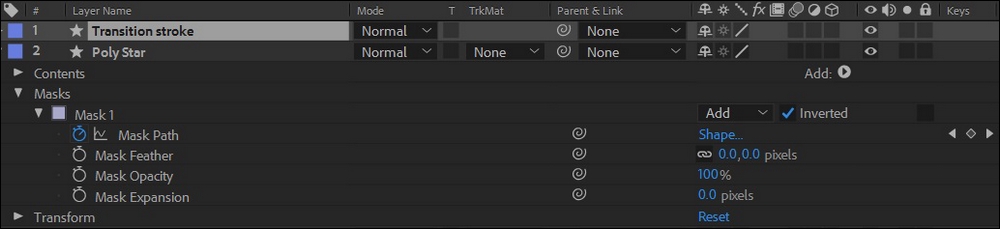
- Click invert to cut out the center of the shape:
When you click on the Invert option, it makes your mask invert. This will effectively cut through your mask. The following screenshot demonstrates how you can see the background through the cut-out shape:
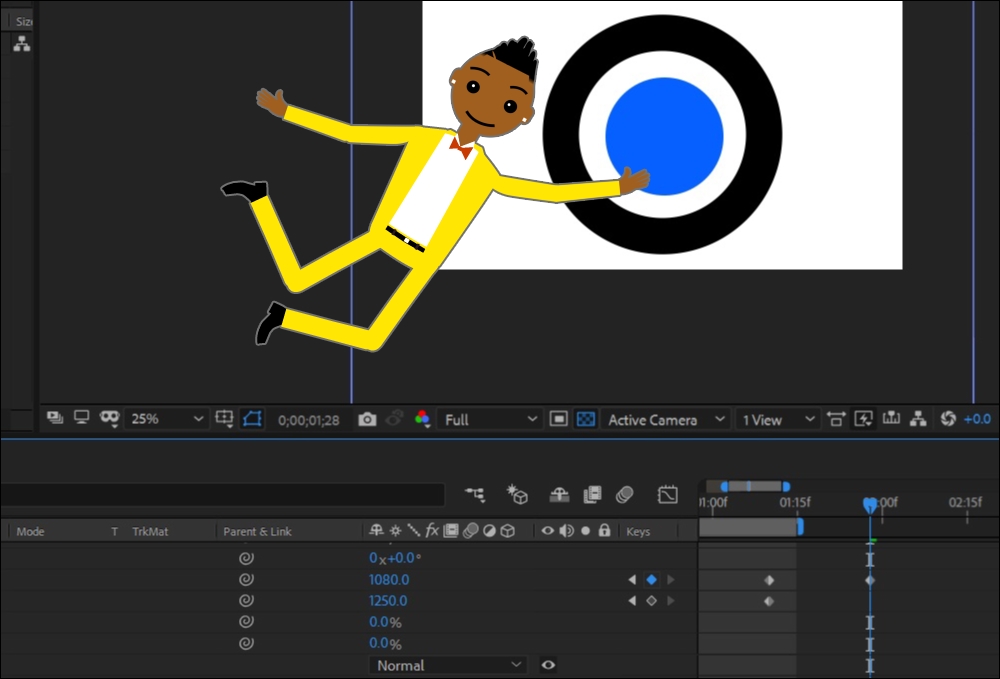
We need to animate this mask and have the animation aligned with the key frames from the transition stroke layer. This will ensure the mask animation is in sync with the transition stroke layer:
- Go to the first key frame of the transition stroke layer.
- Select the mask on the polystar layer.
- Create a key frame for the mask.
- Go to the last key frame of the transition stroke layer.
- Adjust the mask so it animates off the screen with the transition stroke mask. To select all mask points, double-click one mask shape until you get the mask bounding box. This will allow you to adjust your mask and keep the perfect ellipse shape:
The first key frame mask shape will be so small that it's barely noticeable. Key frame the last mask so that it completely fill the screen.
This process is called creating a wipe transition. This is used frequently in motion graphics to transition in and out of scenes. Since this is a circular shape, this transition would be called a radial wipe. We need to trim the other shape layers except the transition layer, background layer, and the polystar layer:
- Go to the first key frame of the polystar layer mask layer.
- Select all layers except the background, the polystar layer, and the transition stroke layer.
- Trim your layers. Press Alt + ] or press and hold Shift and drag your layers to the left.
Pressing Shift will snap your layers to where your time indicator is parked. Make sure you see the trim icon.


 Free Chapter