Animating a television lower third with precomps and null objects
In this segment, we will learn about precomps. This is a very important part of After Effects. It helps you to create complex animations quickly. Once you understand it, we will be able to create a lower third project with more complex layers.
Designing with storyboards
An important part of this book is knowing how to design strong compositions. In this chapter, you will create a lower third. Let's now walk through how this project is designed. In designing any project, the ideation stage is really important; it is when you're generating ideas and developing concepts for the project. It's very important to stay organized during the idea-generating phase. I use Adobe Bridge for this. You can bring in photos and videos, and organize them in Adobe Bridge. You can also label and organize them in a variety of ways.
All design projects have parameters. Ask yourself what the criteria are for your project. When you're creating a project, it's important to know your audience and know where your video will be seen. This will help you to design a project that is appropriate for your audience. Bear this in mind, particularly when you are choosing fonts, colors and images. Ask yourself: is the design legible?
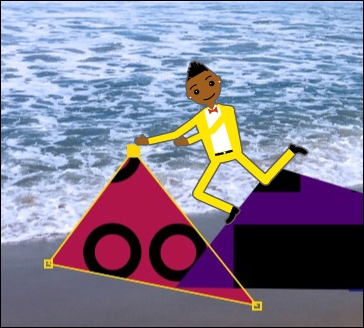
The following screenshot shows a storyboard; you can use this to plan out your ideas for your project. It can be a very basic storyboard to help you organize and plan your project. When you design your storyboard, you have an opportunity to see whether your typography and images work well together. You need to make sure that your designs are readable and can be communicated effectively:
Refer to the following link to find out more about television lower thirds: https://www.jbistudios.com/blog/lower-thirds-chyrons-subtitles-dubbing-video-translation.
Editing masks and using precomps
Let's begin our television lower third. Look at the following screenshot; this is what we're creating. We are creating the 6:30 portion of this project right now:
To begin with, we are going to create a compostion (comp) with solid layers and edit those solid layers with masking techniques, as follows:
- Create a new 1920 x 1080 comp with a frame rate of
29.97. - Make the comp 9 seconds—
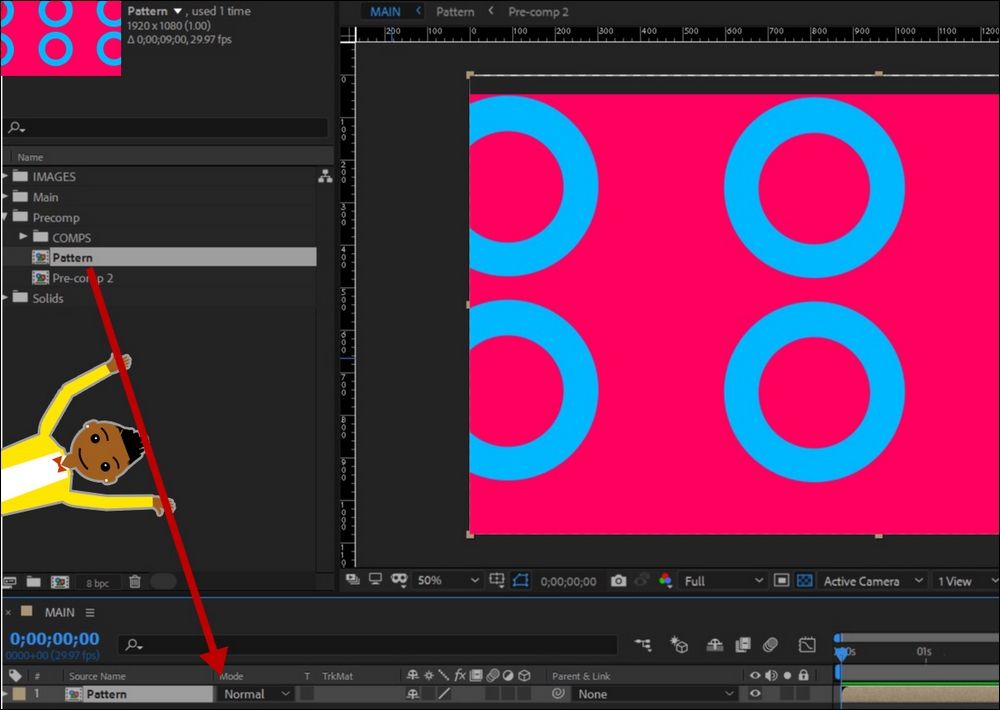
0:00:09:00. Name it pattern. - Go to Layer | New | Solid, and change the color to blue.
- Create a circle shape using the ellipse tool.
- Drag another ellipse on to the comp layer.
- Choose a subtract mask:
- This will allow you to cut out a shape inside your first mask.
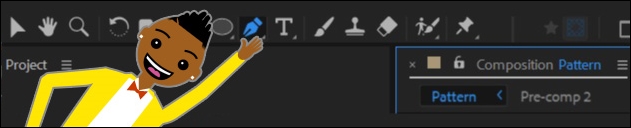
- Choose the Pan Behind Tool. This will allow to move your anchor point, and you can transform around this point.
- Scale down the layer.
- Move it up into the top-left corner.
- Duplicate this layer.
- Reposition this layer as seen in the following example:
- Repeat this process until you have at least six circle shapes in your composition.
Just like Photoshop, you can put a variety of assets in one folder in After Effects. In After Effects, this is called precomposing. It's a simple process to precompose something. However, the concept behind it is a little more complicated. The way to precompose the objects in our scene is to have a transparent background and select everything in your composition.
Go to the Layer tab in the top-left panel of the screen and choose the Pre-compose... option:
When you precompose something, you get a dialog box. This gives you the option to name your precomp. Choose the option to move all of your attributes into the new composition, as demonstrated in the following screenshot:
Nesting precomps and using the pen tool
Let's create a background for your shapes, as follows:
- Go to the top-left panel and choose Layer | New | Solid
- Move this new Solid layer to the bottom of your composition layer
- Next, create a main comp in which to move all of your assets
After creating a new composition, name it Main comp, and then we can apply the same settings as we did in our first comp.
To move a precomp into another composition, simply locate the precomp in your project window and drag it down into your Main comp:
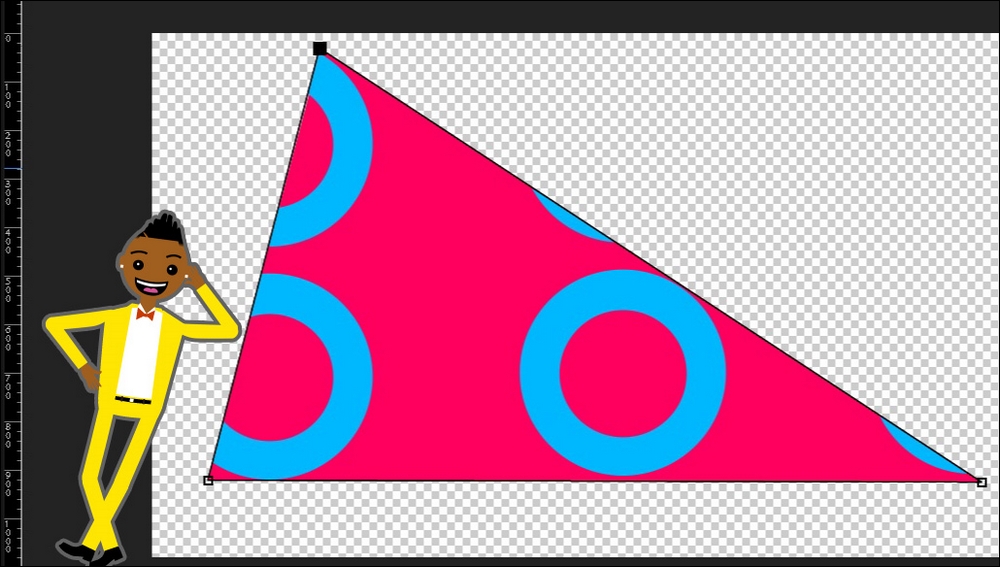
Now, you should see one precomp in your Main comp. Let's adjust this precomp further. Select your pen tool, as demonstrated in the following screenshot:
We will use the pen tool to mask out a shape on your precomp. To use the pen tool, you simply select the layer you want to use the pen tool on. In this case, it's the precomp. Click the pen icon at the desired starting point of your mask.
Move your pen tool to the next desired point, and click again. When you're ready to close the shape, hover near the point you want to close it at. You'll see a small circle icon near the pen tool, meaning that you can close the shape. When you've completed masking this precomp, it should look like the following screenshot:
Next, I will create another composition for the additional shapes that I will use for my lower third. Create a new composition with the same dimensions and time length as our previous comp. I am essentially going to repeat the exact same process that I did with the previous shapes I created. This time, however, I'm going to use the rectangle tool to make some shapes.
With these new shapes, we won't be using the subtraction mask feature. We're making a series of rectangle shapes and organizing them to create a pattern, as shown in the following screenshot:
Next, we are going to precompose these new shapes using the following steps:
- Simply select all the rectangle shapes and choose composition precompose. When you precompose something, a dialog box appears. This gives you options to name your precomp.
- Choose the Move all attributes into the new composition option.
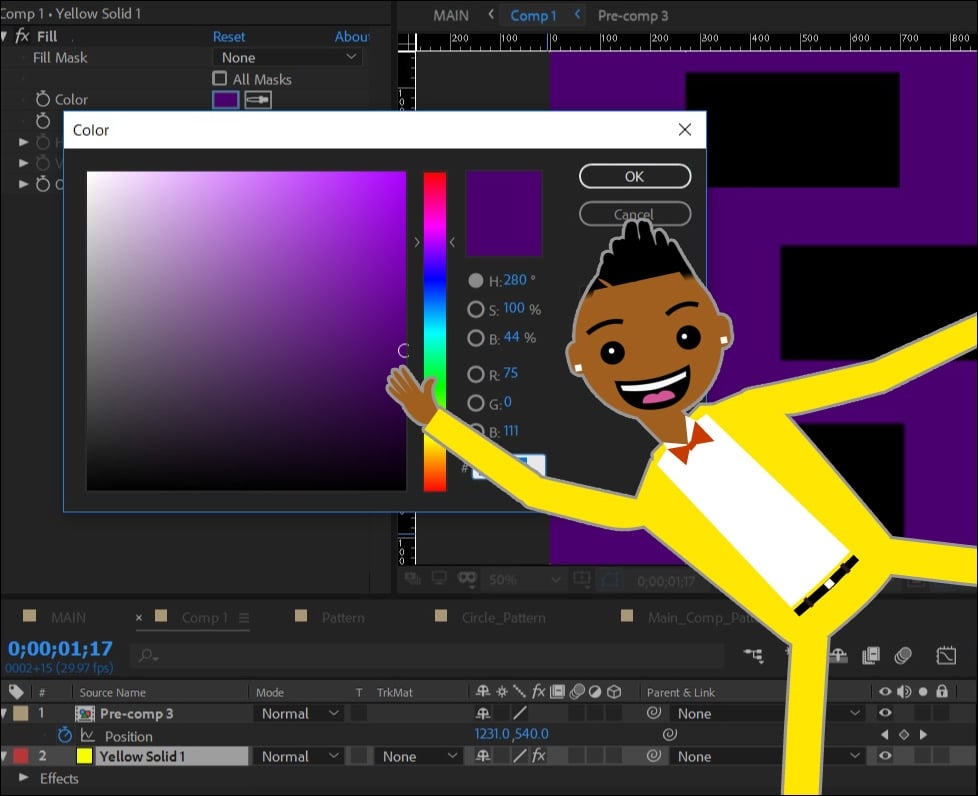
- The next step is to create a background for your shapes. Go to Layer | New | Solid, and make the color yellow.
Since this will be the background for our design, you need to move this new Solid layer to the bottom of the stacking order.
Now that you have a new design, you need to move it into the Main comp. The steps for moving a precomp into your Main comp are as follows:
- Navigate to the
Main composition in your project folder. Double-click on Main comp. - Find the precomp in your
Precomp folder and drag it into the Main comp.
It's very important to stay organized at this point because it will be easy for you to identify where all of your precomps are. When you make a new comp that's not the Main comp, put it into the Precomp folder immediately. The only composition that should be in your Main comp folder is the main composition. This is the composition that you intend to export/render.
Repeat the same process as before, and use the pen tool to mask off around the design in the Main comp:


 Free Chapter