Sign In Start Free Trial
Account

Add to playlist

Create a Playlist

Modal Close icon
You need to login to use this feature.
  • Book Overview & Buying Serverless Machine Learning with Amazon Redshift ML
  • Table Of Contents Toc
  • Feedback & Rating feedback
Serverless Machine Learning with Amazon Redshift ML

Serverless Machine Learning with Amazon Redshift ML

By : Debu Panda, Phil Bates, Bhanu Pittampally, Sumeet Joshi
5 (3)
close
close
Serverless Machine Learning with Amazon Redshift ML

Serverless Machine Learning with Amazon Redshift ML

5 (3)
By: Debu Panda, Phil Bates, Bhanu Pittampally, Sumeet Joshi

Overview of this book

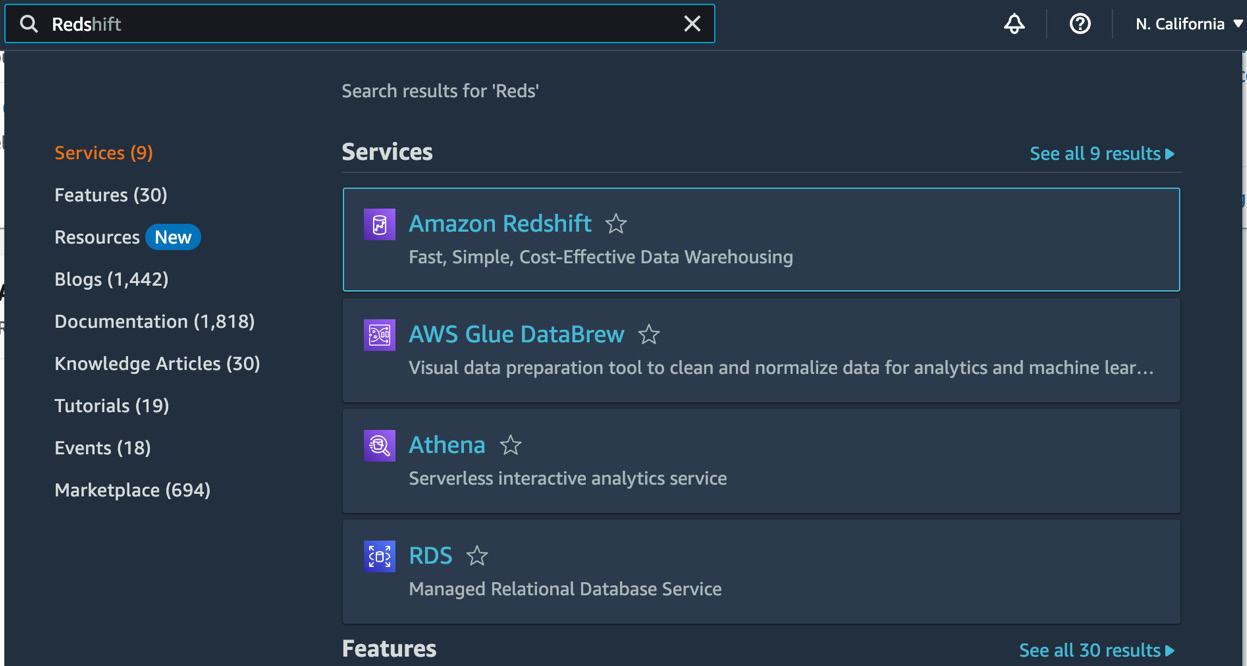
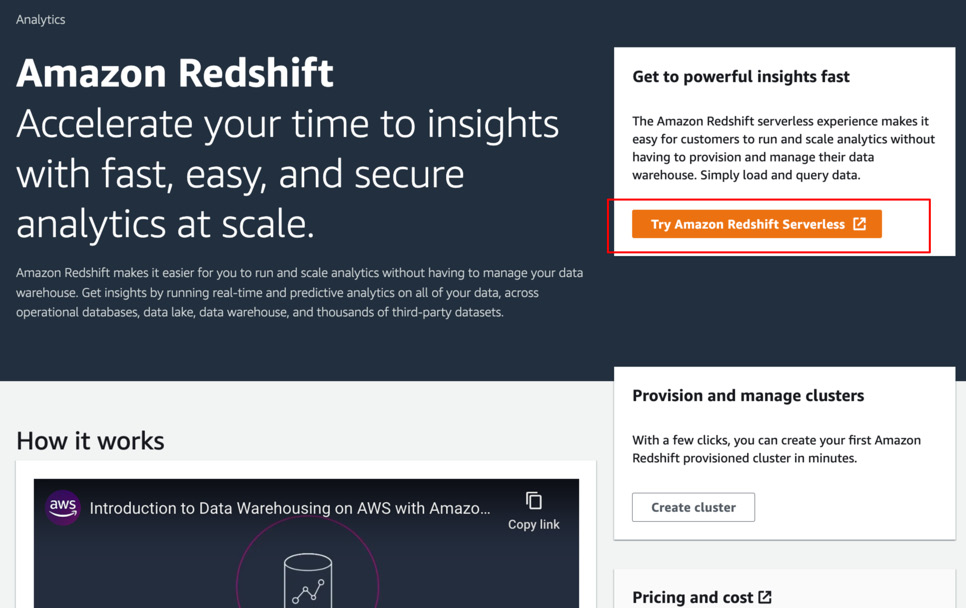
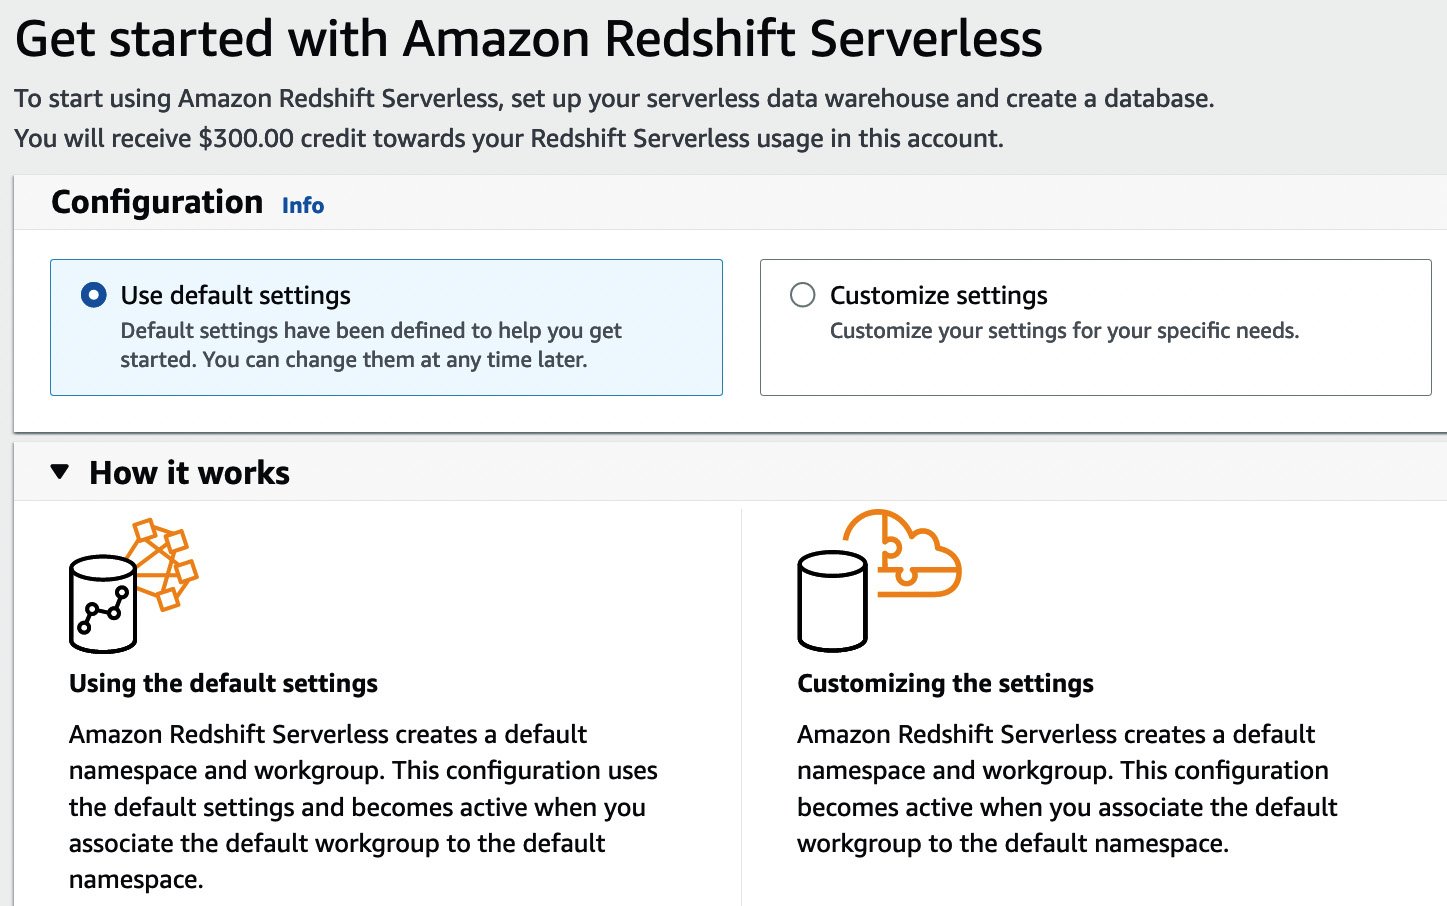
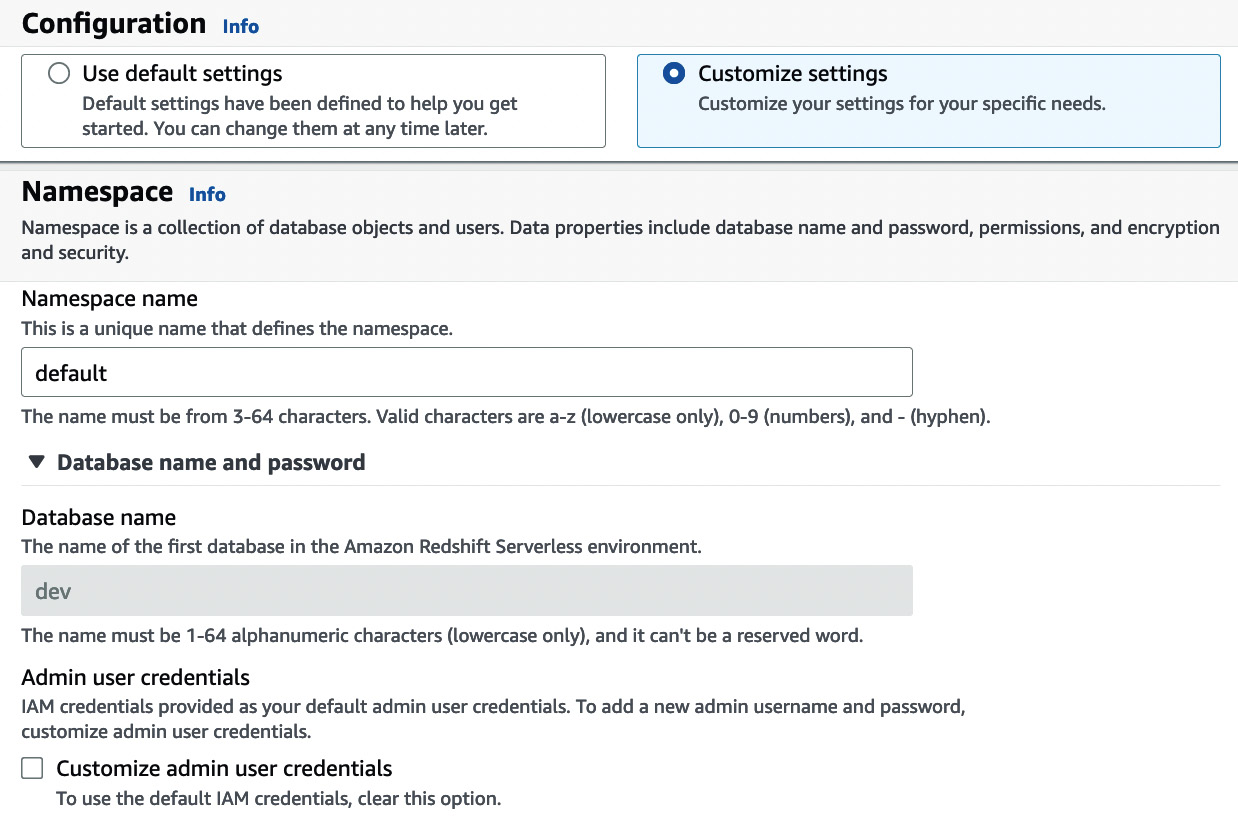
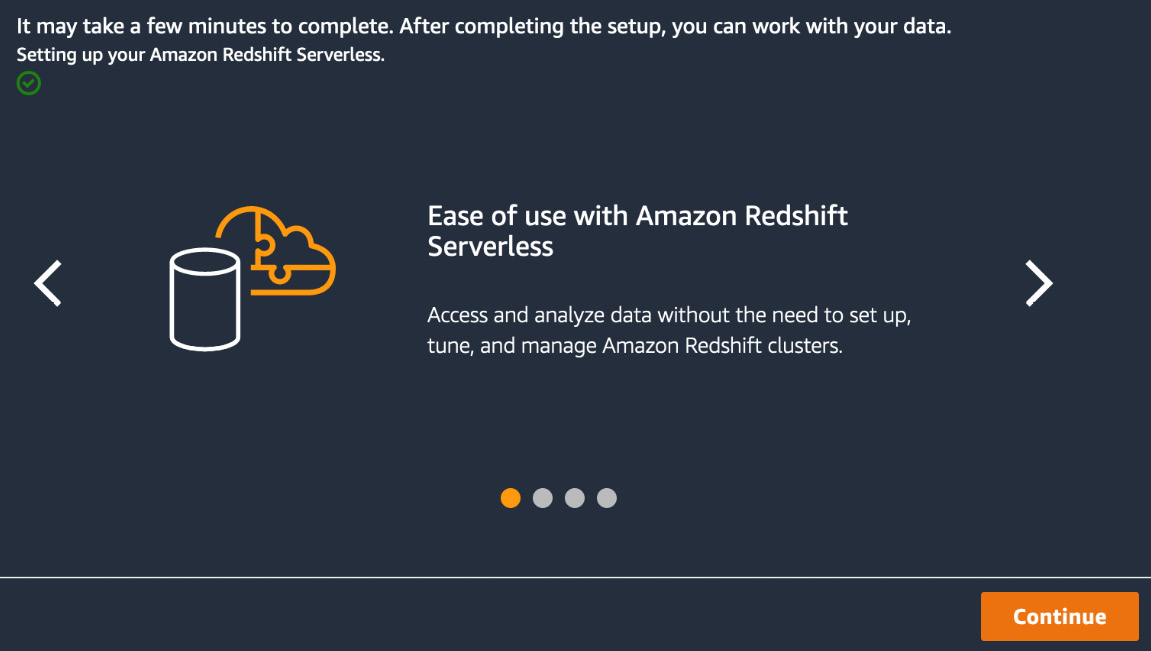
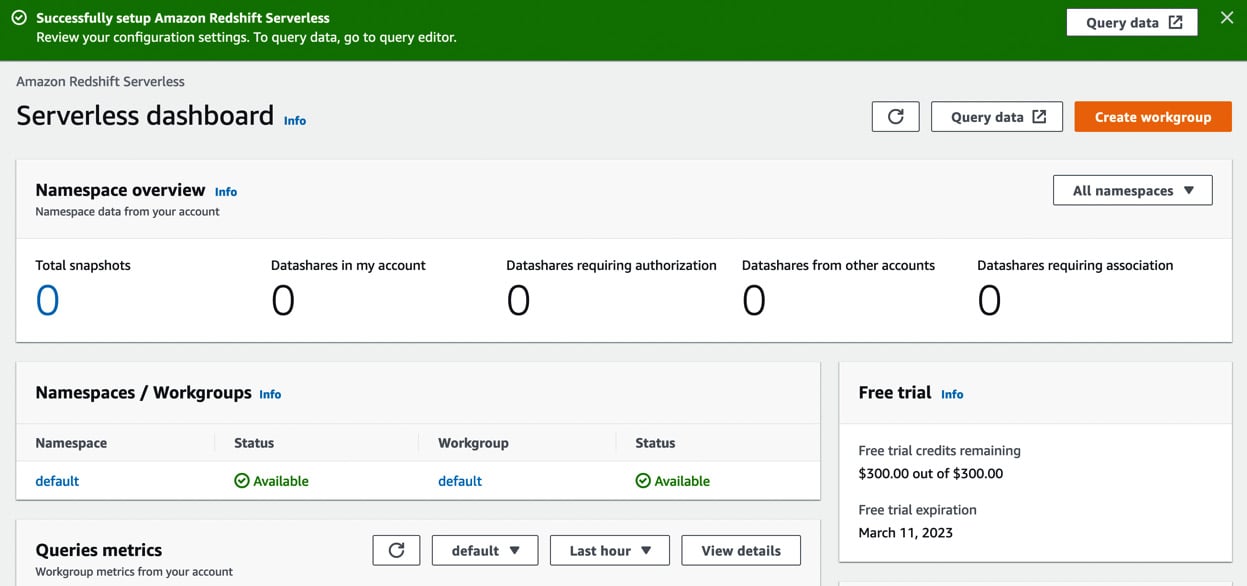
Amazon Redshift Serverless enables organizations to run petabyte-scale cloud data warehouses quickly and in a cost-effective way, enabling data science professionals to efficiently deploy cloud data warehouses and leverage easy-to-use tools to train models and run predictions. This practical guide will help developers and data professionals working with Amazon Redshift data warehouses to put their SQL knowledge to work for training and deploying machine learning models. The book begins by helping you to explore the inner workings of Redshift Serverless as well as the foundations of data analytics and types of data machine learning. With the help of step-by-step explanations of essential concepts and practical examples, you’ll then learn to build your own classification and regression models. As you advance, you’ll find out how to deploy various types of machine learning projects using familiar SQL code, before delving into Redshift ML. In the concluding chapters, you’ll discover best practices for implementing serverless architecture with Redshift. By the end of this book, you’ll be able to configure and deploy Amazon Redshift Serverless, train and deploy machine learning models using Amazon Redshift ML, and run inference queries at scale.
Table of Contents (19 chapters)
close
close
1
Part 1:Redshift Overview: Getting Started with Redshift Serverless and an Introduction to Machine Learning
5
Part 2:Getting Started with Redshift ML
11
Part 3:Deploying Models with Redshift ML

Getting started with Amazon Redshift Serverless

You can create your data warehouse with Amazon Redshift Serverless using the AWS Command-Line Interface (CLI), the API, AWS CloudFormation templates, or the AWS console. We are going to use the AWS console to create a Redshift Serverless data warehouse. Log in to your AWS console and search for Redshift in the top bar, as shown in Figure 1.3:

Figure 1.3 – AWS console page showing services filtered by our search for Redshift

Figure 1.3 – AWS console page showing services filtered by our search for Redshift

Click on Amazon Redshift, which will take you to the home page for the Amazon Redshift console, as shown in Figure 1.4. To help get you started, Amazon provides free credit for first-time Redshift Serverless customers. So, let’s start creating your trial data warehouse by clicking on Try Amazon Redshift Serverless. If you or your organization has tried Amazon Redshift Serverless before, you will have to pay for the service based on your usage:

Figure 1.4 – Amazon Redshift service page in the AWS console

Figure 1.4 – Amazon Redshift service page in the AWS console

If you have free credit available, it will be indicated at the top of your screen, as in Figure 1.5:

Figure 1.5 – AWS console showing the Redshift Serverless Get started page

Figure 1.5 – AWS console showing the Redshift Serverless Get started page

You can either choose the defaults or use the customized settings to create your data warehouse. The customized settings give you more control, allowing you to specify many additional parameters for your compute configuration including the workgroup, data-related settings such as the namespace, and advanced security settings. We will use the customized settings, which will help us customize the namespace settings for our Serverless data warehouse. A namespace combined with a workgroup is what makes a data warehouse with Redshift Serverless, as we will now see in more detail.

What is a namespace?

Amazon Redshift Serverless provides a separation of storage and compute for a data warehouse. A namespace is a collection of all your data stored in the database such as your tables, views, database users, and their privileges. You are separately charged for storage based on the size of the data stored in your data warehouse. For compute, you are charged for the capacity used over a given duration in Redshift processing hours (RPU) on a per second-basis. The storage capacity is billed as Redshift managed storage (RMS) and is billed by GB/month. You can view https://aws.amazon.com/redshift/pricing/ for detailed pricing for your AWS Region.

As a data warehouse admin, you can change the name of your data warehouse namespace while creating the namespace. You can also change your encryption settings, audit logging, and AWS IAM permissions, as shown in Figure 1.6. The primary reason we are going to use customized settings is to associate an IAM role with the namespace:

Figure 1.6 – Namespace configuration

Figure 1.6 – Namespace configuration

AWS IAM allows you to specify which users or services can access other services and resources in AWS. We will use that role for loading data from S3 and training a machine learning model with Redshift ML that accesses Amazon SageMaker.

If you have already created an IAM role earlier, you can associate with that IAM role. If you have not created an IAM role, do so now by selecting the Manage IAM roles option, as shown in Figure 1.7:

Figure 1.7 – Creating an IAM role and associating it via the AWS console

Figure 1.7 – Creating an IAM role and associating it via the AWS console

Then, select the Create IAM role option, as shown in Figure 1.8:

Figure 1.8 – Selecting the “Create IAM role” option

Figure 1.8 – Selecting the “Create IAM role” option

You can then create a default IAM role and provide appropriate permissions to the IAM role to allow it to access S3 buckets, as shown in Figure 1.9:

Figure 1.9 – Granting S3 permissions to the IAM role

Figure 1.9 – Granting S3 permissions to the IAM role

As shown in the preceding figure, select Any S3 bucket to enable Redshift to read data from and write data to all S3 buckets you have created. Then, select Create IAM role as default to create the role and set it as the default IAM role.

Figure 1.10 – An IAM role was created but is not yet applied

Figure 1.10 – An IAM role was created but is not yet applied

As shown in Figure 1.10, we created the IAM role and associated it with the namespace as a default role. Let’s next proceed to create a workgroup, wherein we will set up the compute configuration for the data warehouse.

What is a workgroup?

As we discussed earlier, a namespace combined with a workgroup is what makes a Redshift Serverless data warehouse. A workgroup provides the compute resources required to process your data. It also provides the endpoint for you to connect to the warehouse. As an admin, you need to configure the compute settings such as the network and security configuration for the workgroup.

We will not do any customization at this time and simply select the default settings instead, including the VPC and associated subnets for the workgroup, as shown in the following screenshot:

Figure 1.11 – Default settings and associated subnets for the workgroup

Figure 1.11 – Default settings and associated subnets for the workgroup

Click on the Save configuration button to create your Redshift Serverless instance, and your first data warehouse will be ready in a few minutes:

Figure 1.12 – Redshift Serverless creation progress

Figure 1.12 – Redshift Serverless creation progress

Once your data warehouse is ready, you will be redirected to your Serverless dashboard, as shown in Figure 1.13:

Figure 1.13 – Serverless dashboard showing your namespace and workgroup

Figure 1.13 – Serverless dashboard showing your namespace and workgroup

Now that we have created our data warehouse, we will connect to the data warehouse, load some sample data, and run some queries.

bookmark search playlist download font-size

Change the font size

margin-width

Change margin width

day-mode

Change background colour

Close icon Search
Country selected

Close icon Your notes and bookmarks

Delete Bookmark

Modal Close icon
Are you sure you want to delete it?
Cancel
Yes, Delete

Confirmation

Modal Close icon
claim successful

Buy this book with your credits?

Modal Close icon
Are you sure you want to buy this book with one of your credits?
Close
YES, BUY