This section discusses how you can work with a local Database Management System (DBMS) instance. We can perform multiple operations on an instance. We can start a stopped instance and once an instance is started, we can launch the browser and work with the database instance.
Starting the instance
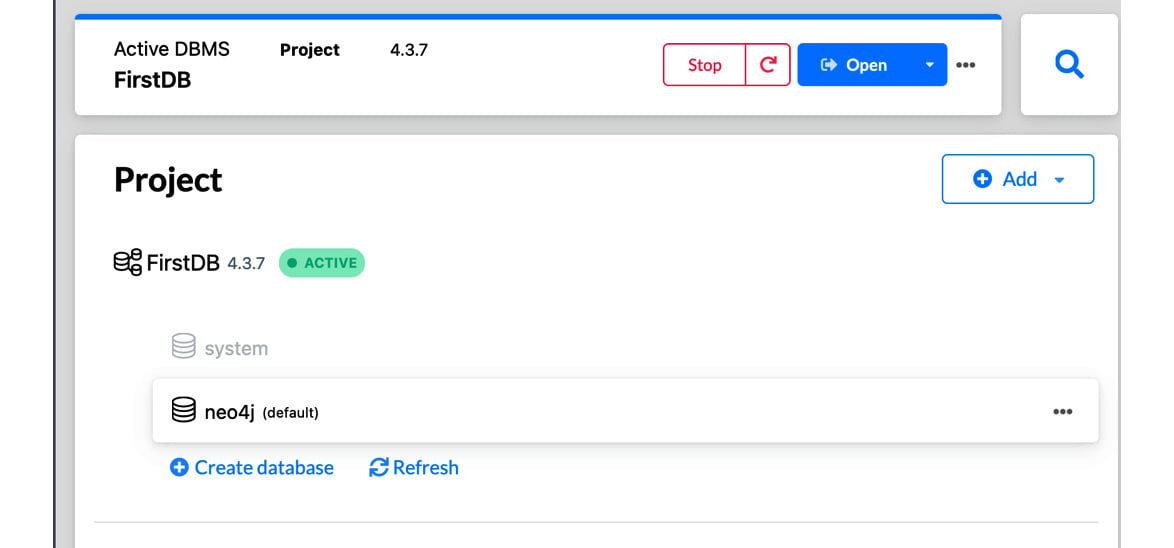
When an instance is selected in a project, it will show the buttons to start the instance. The following screenshot showcases this:
Figure 1.22 – Starting the instance
Click on the Start button to start the instance.
Opening the browser
When the instance is available to query, the Open button will be activated. The following screenshot demonstrates this:
Figure 1.23 – Opening the browser
Click on the Open button to open the browser. If you need to create another database, you can use the Create Database button to create a new database on this instance. By default, a database named neo4j will be created.
Working with the browser’s UI
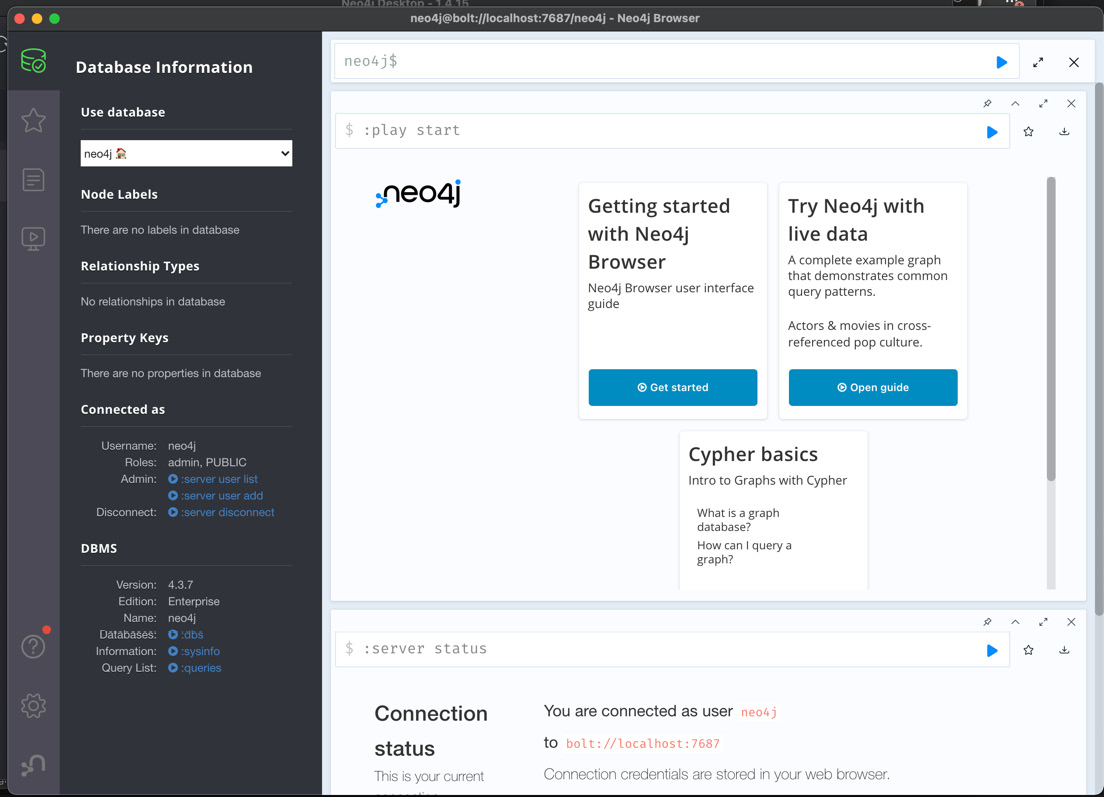
The browser looks as shown in the following screenshot. It can be used to query the database.
Figure 1.24 – Neo4j Browser
The Neo4j Browser interface is used to execute Cypher queries against a database:
- On the left side of the Neo4j Browser interface, you can see the database details. The dropdown shows the active database that is selected. It can be changed by clicking on the dropdown and selecting the required database.
- Below the dropdown, you can see the number of nodes, node labels, relationships, relationship types, and property types. You can click on the name of the node labels or relationship types to sample data.
- Below the database stats section, there are the current user details and user management shortcuts to create, update, or delete local users. It also gives a shortcut to disconnect from DBMS.
- The DBMS section shows the current DBMS version and shortcut links to get the DBMS details, such as a list of databases available, current queries being executed, and system information.
The query area is where Cypher queries are written. Click on the blue arrow to execute the query. The results will be shown below the query area.
Using Browser help
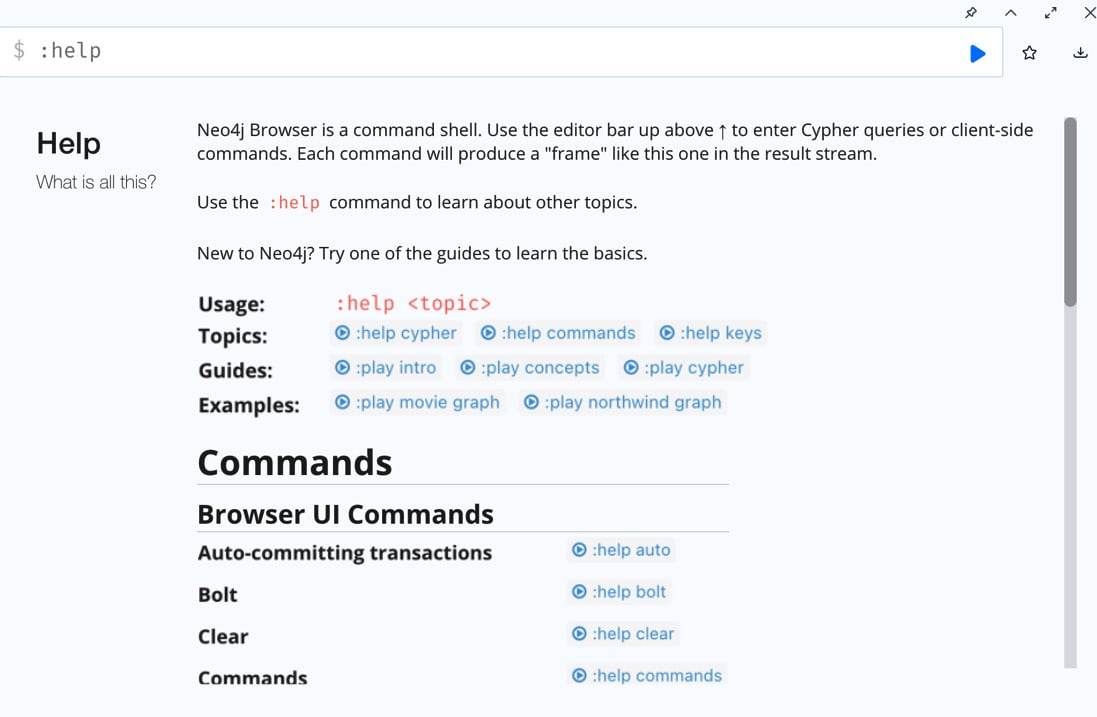
To get help with browser usage, you can enter :help in the query area. Neo4j Browser will show all the commands available with descriptions, as shown by the following figure:
Figure 1.25 – Browser help
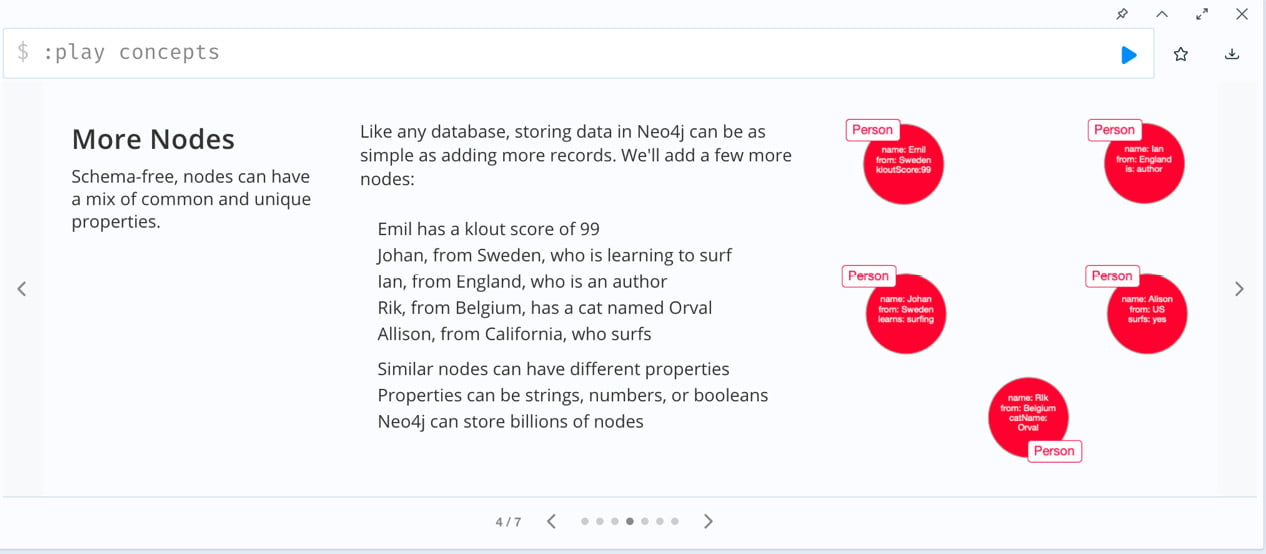
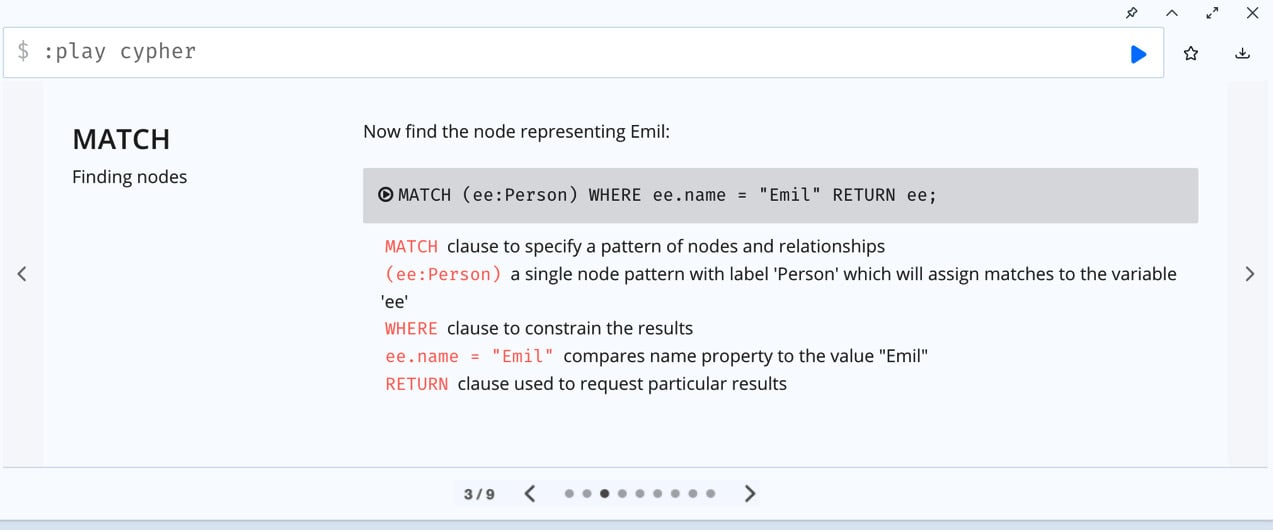
If you scroll down, you will see links for various guides for sample graphs to play with. When you click on the link, you get a guided tour of content that the user can follow by clicking along the way. Here are some sample graph concepts and Cypher guides to illustrate how it works:
Figure 1.26 – Graph concepts
The graph concepts guide provides basic concepts for the user to review before working with Cypher. For new graph database users, this would be a very valuable guide to follow to review the basic concepts.
Figure 1.27 – Cypher help
The Cypher help guide introduces keywords and the basic usage of building queries using these keywords. For new users, this provides a good introduction to Cypher in a quick and clean fashion.
Next, we will take a look at the administrative aspect of the local instance.
Working with additional options to manage local DBMS
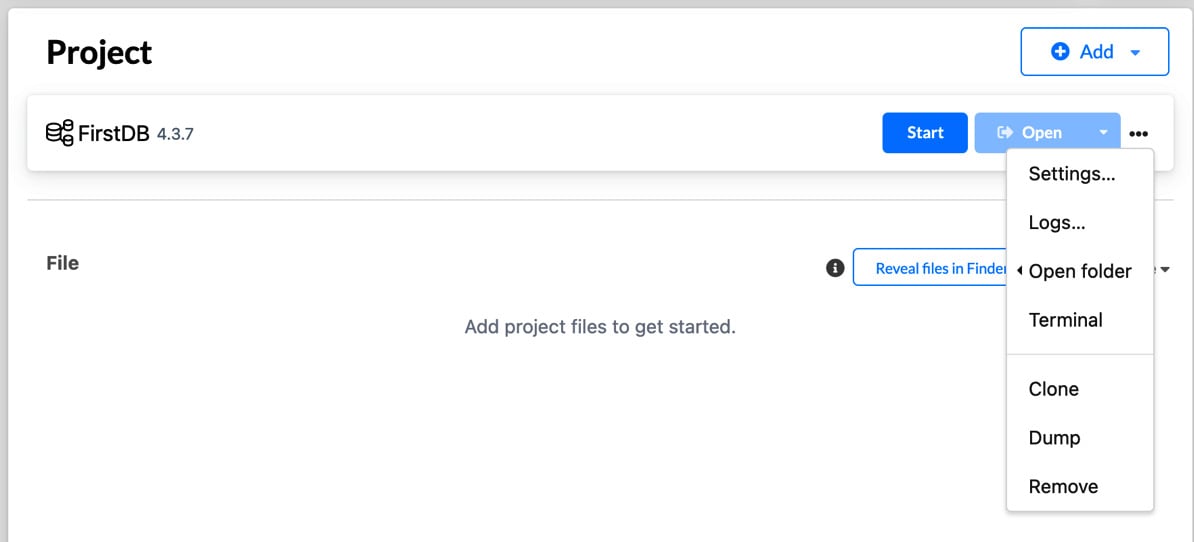
We will take a look at administrative and filesystem aspects in this section. When you click on the … icon, it shows a drop-down menu displaying the additional options available, as shown in the following screenshot:
Figure 1.28 – Additional options to manage an instance
As you can see, it provides options to manage the settings, see the logs, look at the folder system where the instance is available, see the terminal, and so on.
Managing settings
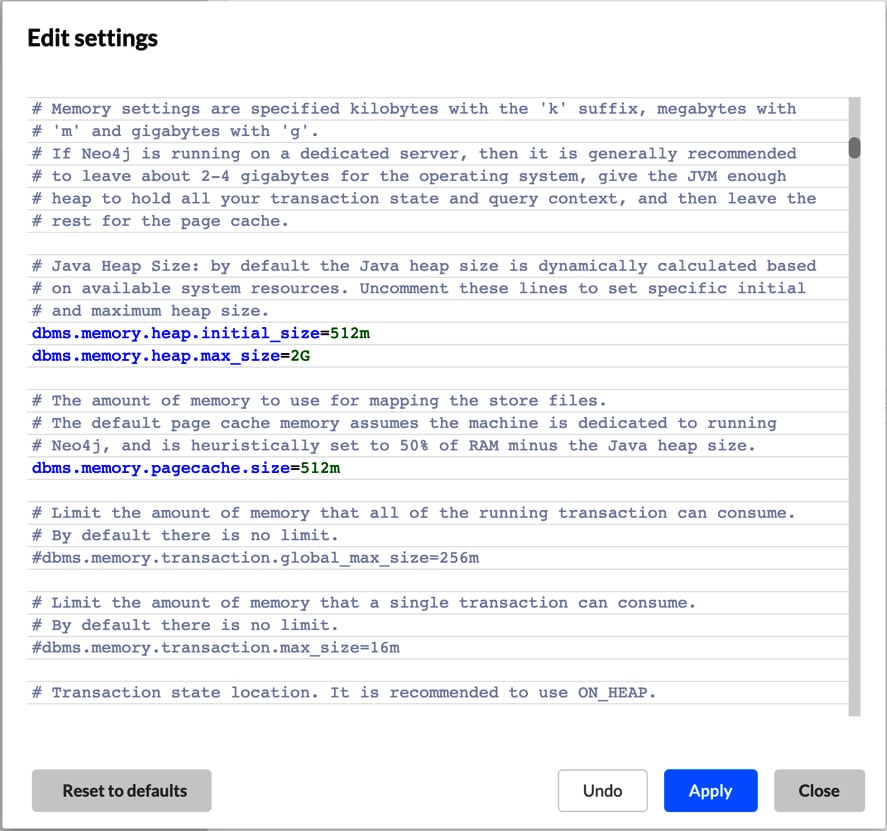
When you click on Settings, it brings up the settings UI to view and modify the settings for this instance.
Figure 1.29 – Neo4j instance settings
When you modify the settings, the Apply button at the bottom will become activated and an Undo button will appear. When you click the Apply button, it will update the server configuration and restart the instance so that these configurations are applied. The Undo button will undo only the latest changes made. When you click on Reset to defaults, it will reset all the configuration values to the original defaults and restart the server.
Viewing logs
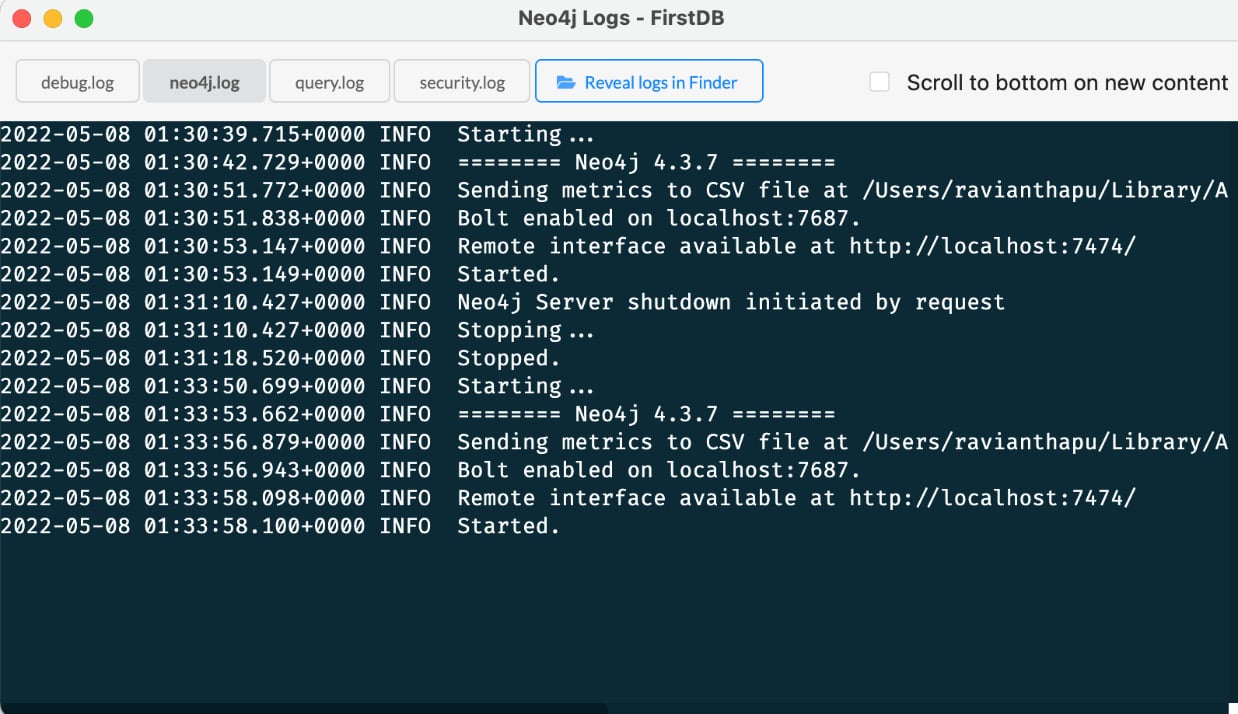
When you click on Logs, you will be faced with the system log window, as shown in the following screenshot:
Figure 1.30 – Instance log
There are four different logs are provided by Neo4j, and they are as follows:
- By default, you get
neo4j.log. This is the basic system log. You can click on the filenames at the top to see debug.log, query.log, or security.log.
debug.log contains detailed information to help you troubleshoot the server.query.log contains the queries issued against the server.security.log contains the authentication-related logging details.- When you click on Reveal logs in Finder, it opens up the finder window or file explorer window, so that you can use other text or log reader utilities to read the files.
Opening the Neo4j Desktop terminal
When you click Terminal menu item, you get a terminal or command-line window with the directory changed to the location of the DBMS instance.
Figure 1.31 – Local DBMS instance terminal window
You can do almost all the things that we’ve been using the UI to do in the terminal. You can edit a configuration, see logs, and start/stop an instance.
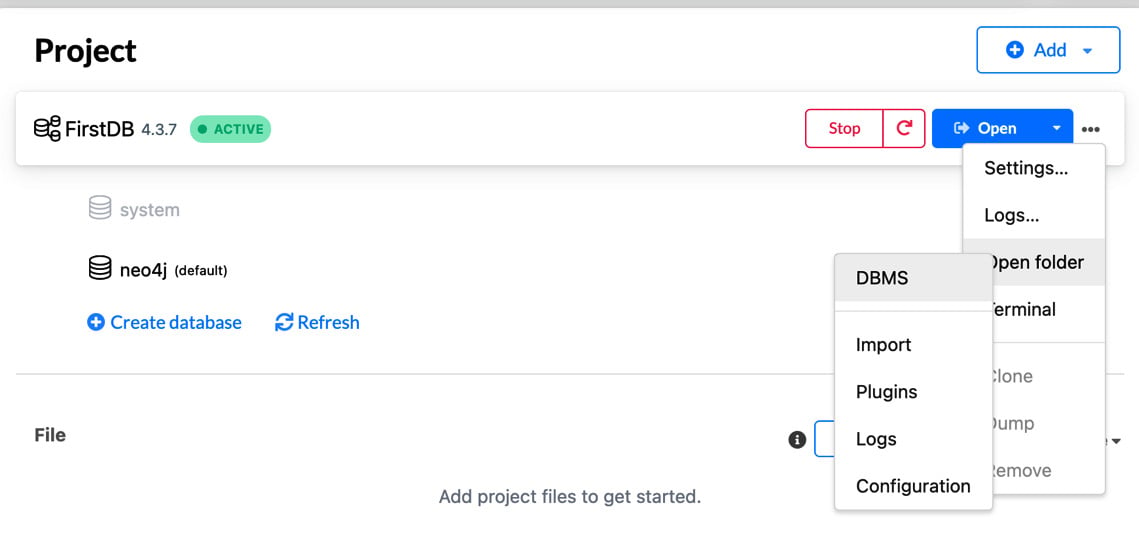
Opening the folder
When you click on Open Folder menu item, you’ll see a submenu:
Figure 1.32 – Local DBMS instance file explorer
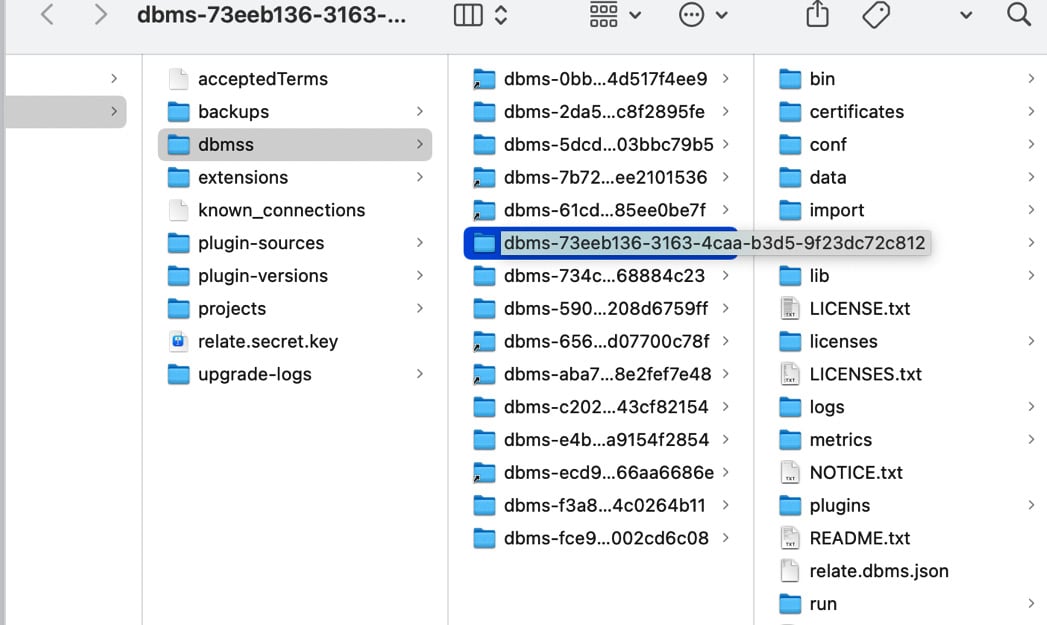
Depending on which submenu is selected, you will get a finder or file explorer navigated to the root of the installation directory or any of the other sub-directories that are selected. The following screenshot shows the root directory file window:
Figure 1.33 – Local DBMS instance root directory
When you select any of the sub-menu items, such as import, plugins ,logs, or configuration, it will navigate directly to the import, logs, plugins, or conf directory.


 Free Chapter


