-
Book Overview & Buying
-
Table Of Contents

-
Feedback & Rating

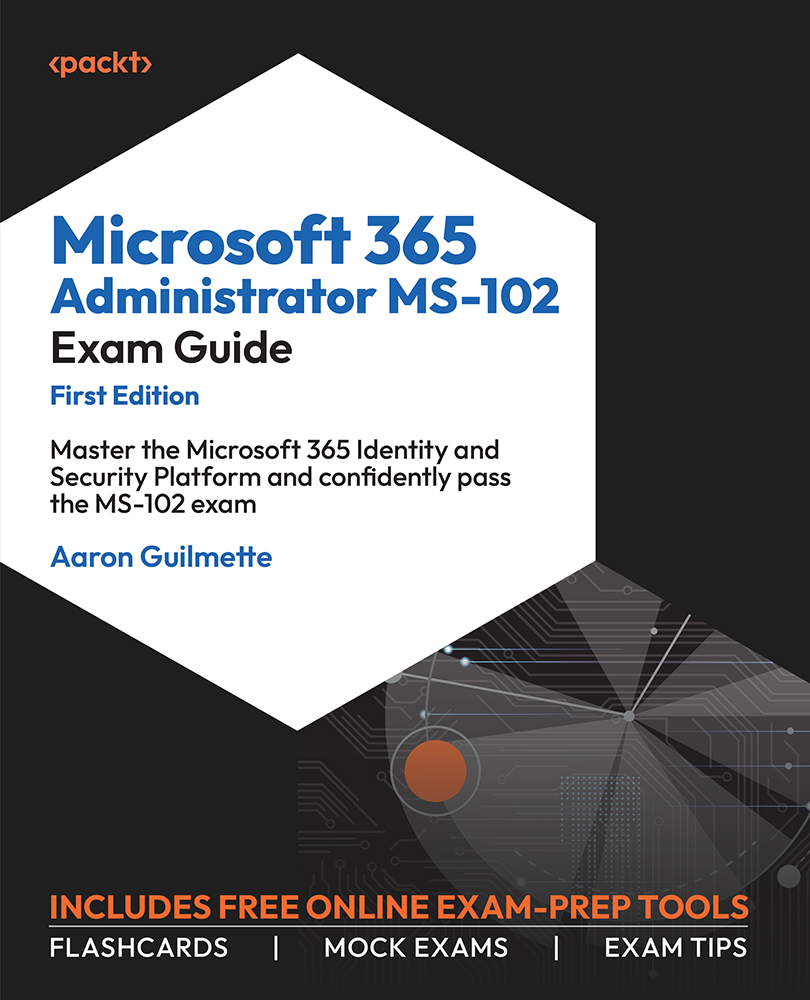
Microsoft 365 Administrator MS-102 Exam Guide
By :
Microsoft 365 Administrator MS-102 Exam Guide
By:
Overview of this book
The MS-102: Microsoft 365 Administrator Exam Guide is meticulously crafted to empower readers with practical insights, starting with the essentials of provisioning a Microsoft 365 tenant, configuring identity synchronization and secure access, and deploying key Microsoft 365 Defender components.
The book's purpose is clear—to guide professionals through the complexities of the MS-102 exam, ensuring not just exam success but mastery of the subject matter. This comprehensive exam guide comes with lifetime access to supplementary resources on an online platform, including flashcards, mock exams, and exam tips from experts. With unlimited access to the website, you'll have the flexibility to practice as many times as you desire, maximizing your exam readiness.
As you progress through each chapter, the book unveils the layers of Microsoft 365 workloads, equipping you with the skills to manage role-based administration, deploy identity synchronization using Entra ID Connect, implement modern authentication methods, manage secure access through Conditional Access policies, and analyze security threats using Microsoft 365 Defender.
By the end of this book, you'll have the proficiency to implement data loss prevention, configure information and data protection features, and approach the MS-102 exam with confidence.
Table of Contents (13 chapters)
Preface

 Free Chapter
Chapter 1: Implementing and Managing a Microsoft 365 Tenant
Chapter 2: Managing Users and Groups
Chapter 3: Managing Roles in Microsoft 365
Chapter 4: Implementing and Managing Identity Synchronization with Azure AD
Chapter 5: Implementing and Managing Authentication
Chapter 6: Implementing and Managing Secure Access
Chapter 7: Managing Security Reports and Alerts by Using the Microsoft 365 Defender Portal
Chapter 8: Implementing and Managing Email and Collaboration Protection by Using Microsoft Defender for Office 365
Chapter 9: Implementing and Managing Endpoint Protection by Using Microsoft Defender for Endpoint
Chapter 10: Implementing Microsoft Purview Information Protection and Data Lifecycle Management
Chapter 11: Implementing Microsoft Purview data loss prevention (DLP)
Other Books You May Enjoy
Customer Reviews