-
Book Overview & Buying
-
Table Of Contents

-
Feedback & Rating

Linux Command Line and Shell Scripting Techniques
By :
Linux Command Line and Shell Scripting Techniques
By:
Overview of this book
Linux Command Line and Shell Scripting Techniques begins by taking you through the basics of the shell and command-line utilities. You’ll start by exploring shell commands for file, directory, service, package, and process management. Next, you’ll learn about networking - network, firewall and DNS client configuration, ssh, scp, rsync, and vsftpd, as well as some network troubleshooting tools.
You’ll also focus on using the command line to find and manipulate text content, via commands such as cut, egrep, and sed. As you progress, you'll learn how to use shell scripting. You’ll understand the basics - input and output, along with various programming concepts such as loops, variables, arguments, functions, and arrays. Later, you’ll learn about shell script interaction and troubleshooting, before covering a wide range of examples of complete shell scripts, varying from network and firewall configuration, through to backup and concepts for creating live environments. This includes examples of performing scripted virtual machine installation and administration, LAMP (Linux, Apache, MySQL, PHP) stack provisioning and bulk user creation for testing environments.
By the end of this Linux book, you’ll have gained the knowledge and confidence you need to use shell and command-line scripts.
Table of Contents (19 chapters)
Preface

Chapter 1: Basics of Shell and Text Terminal
 Free Chapter
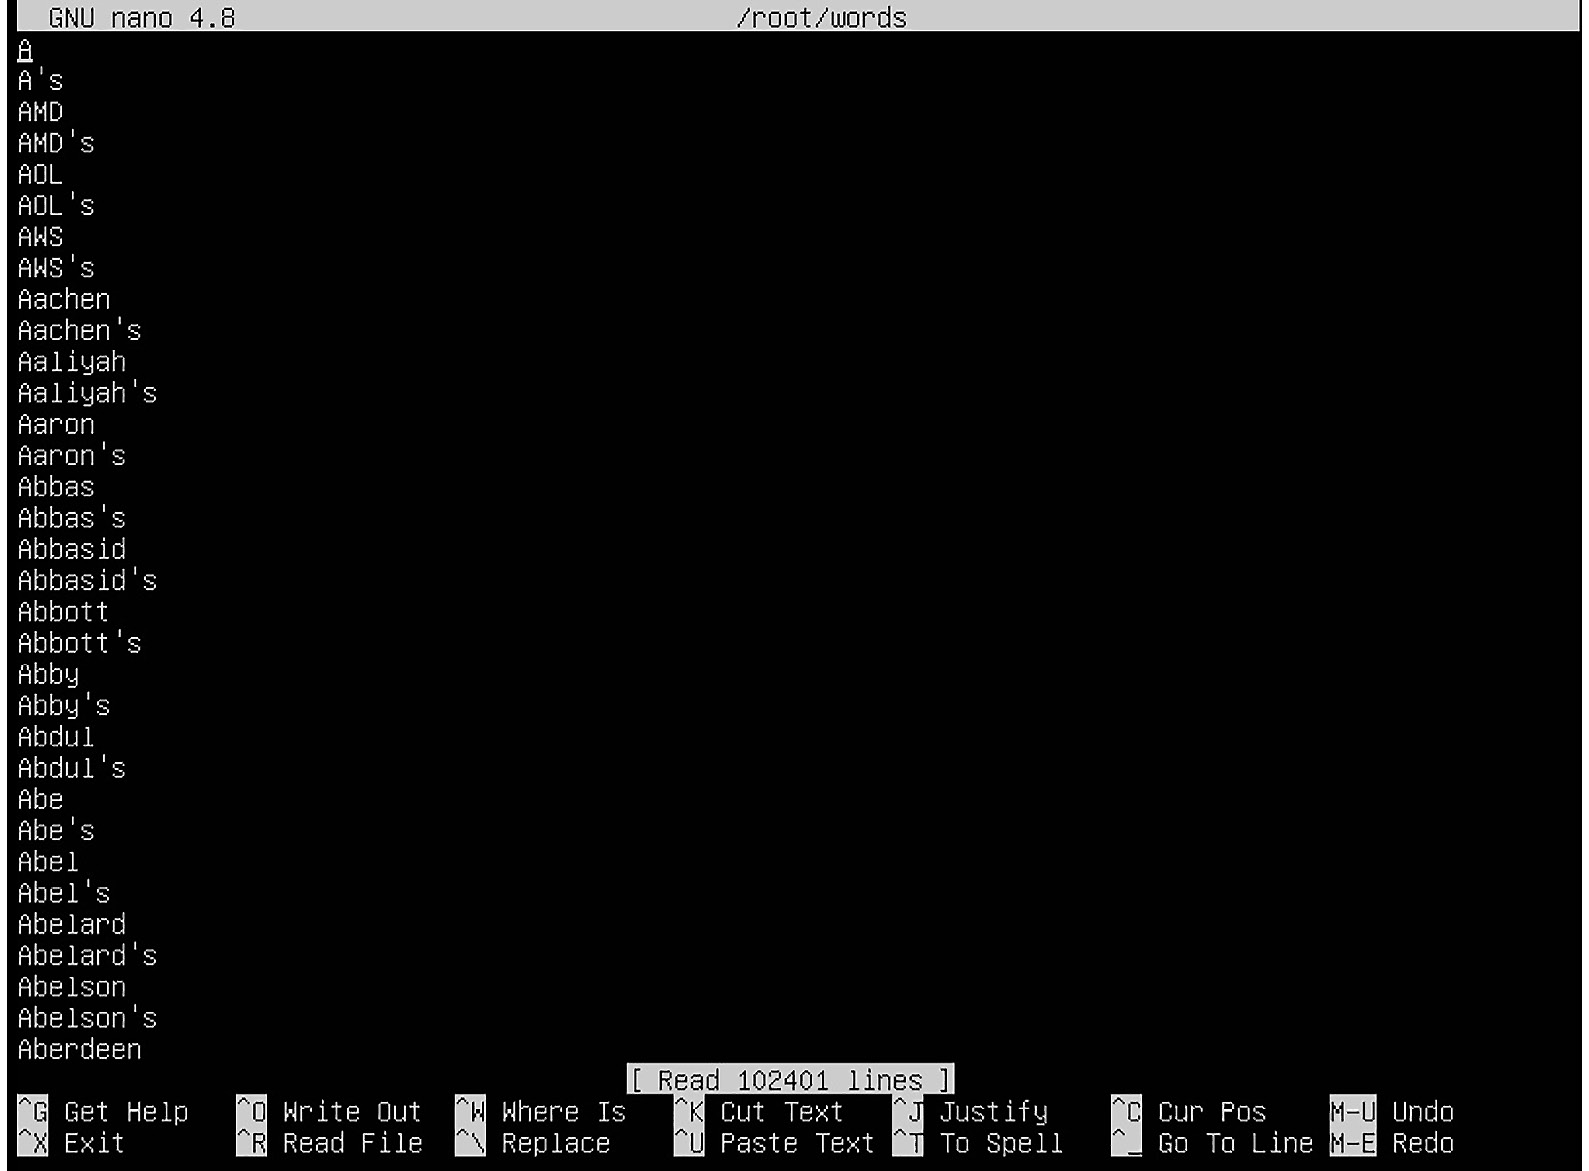
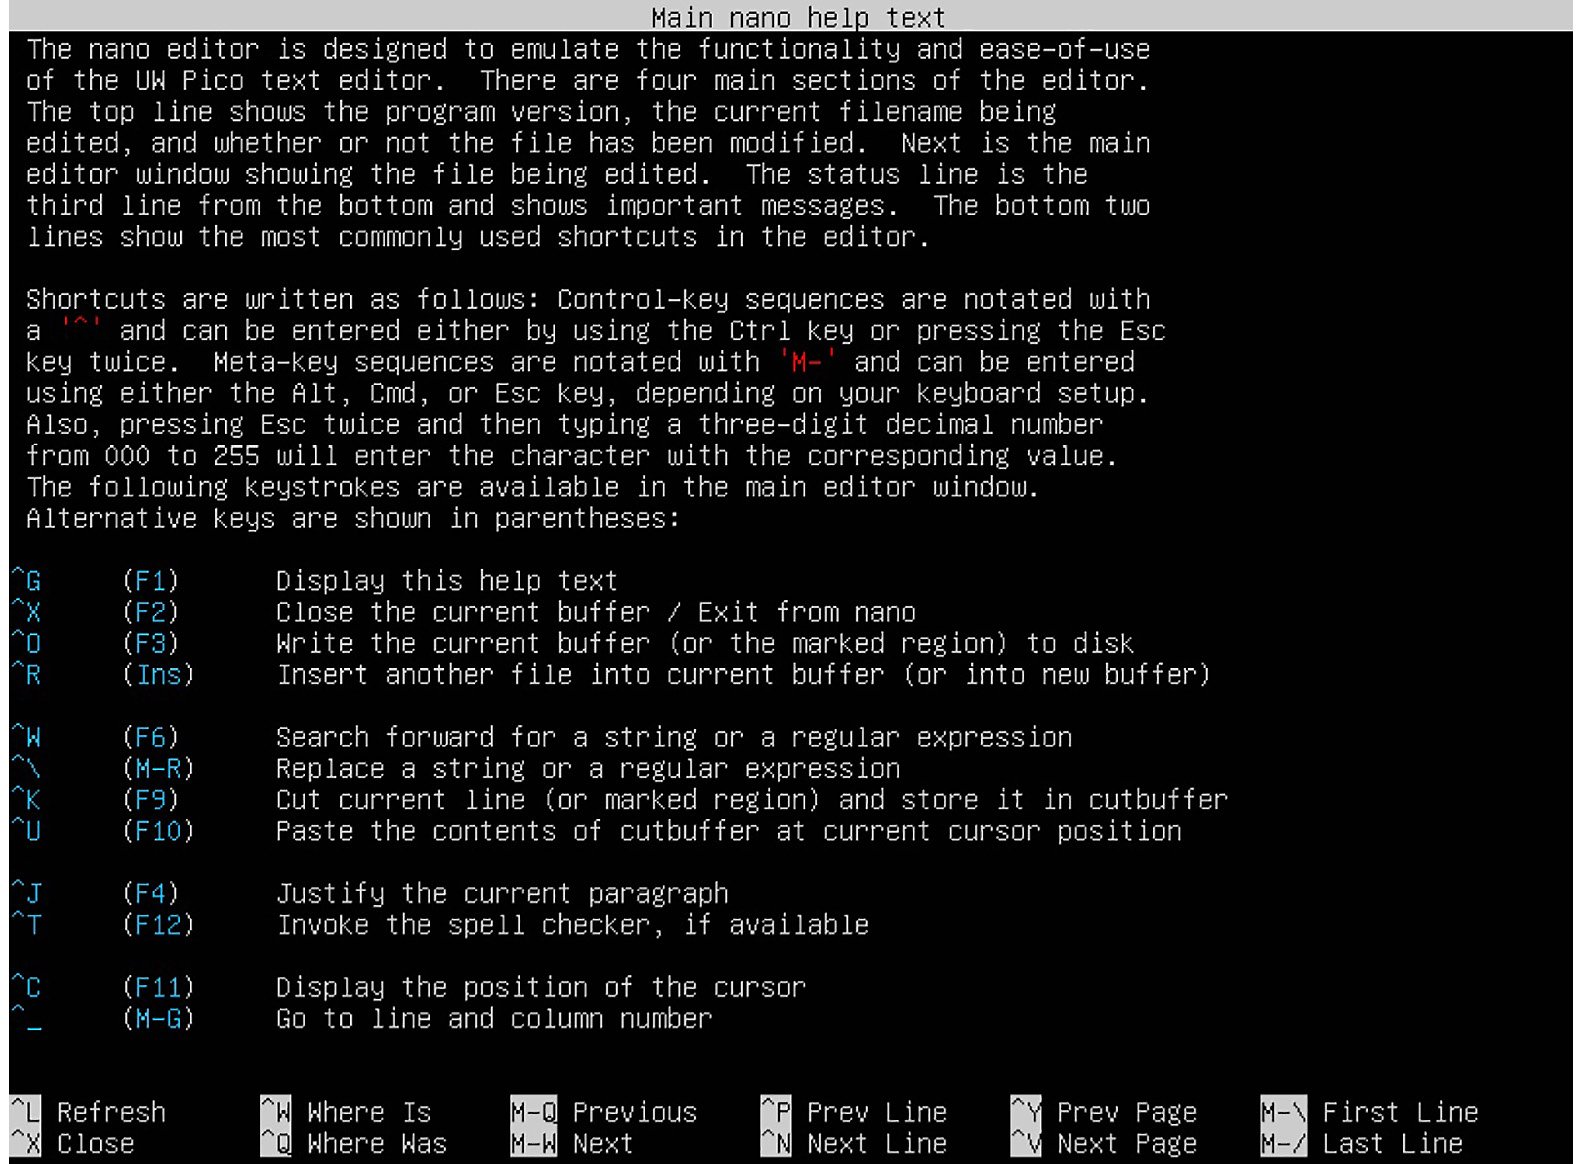
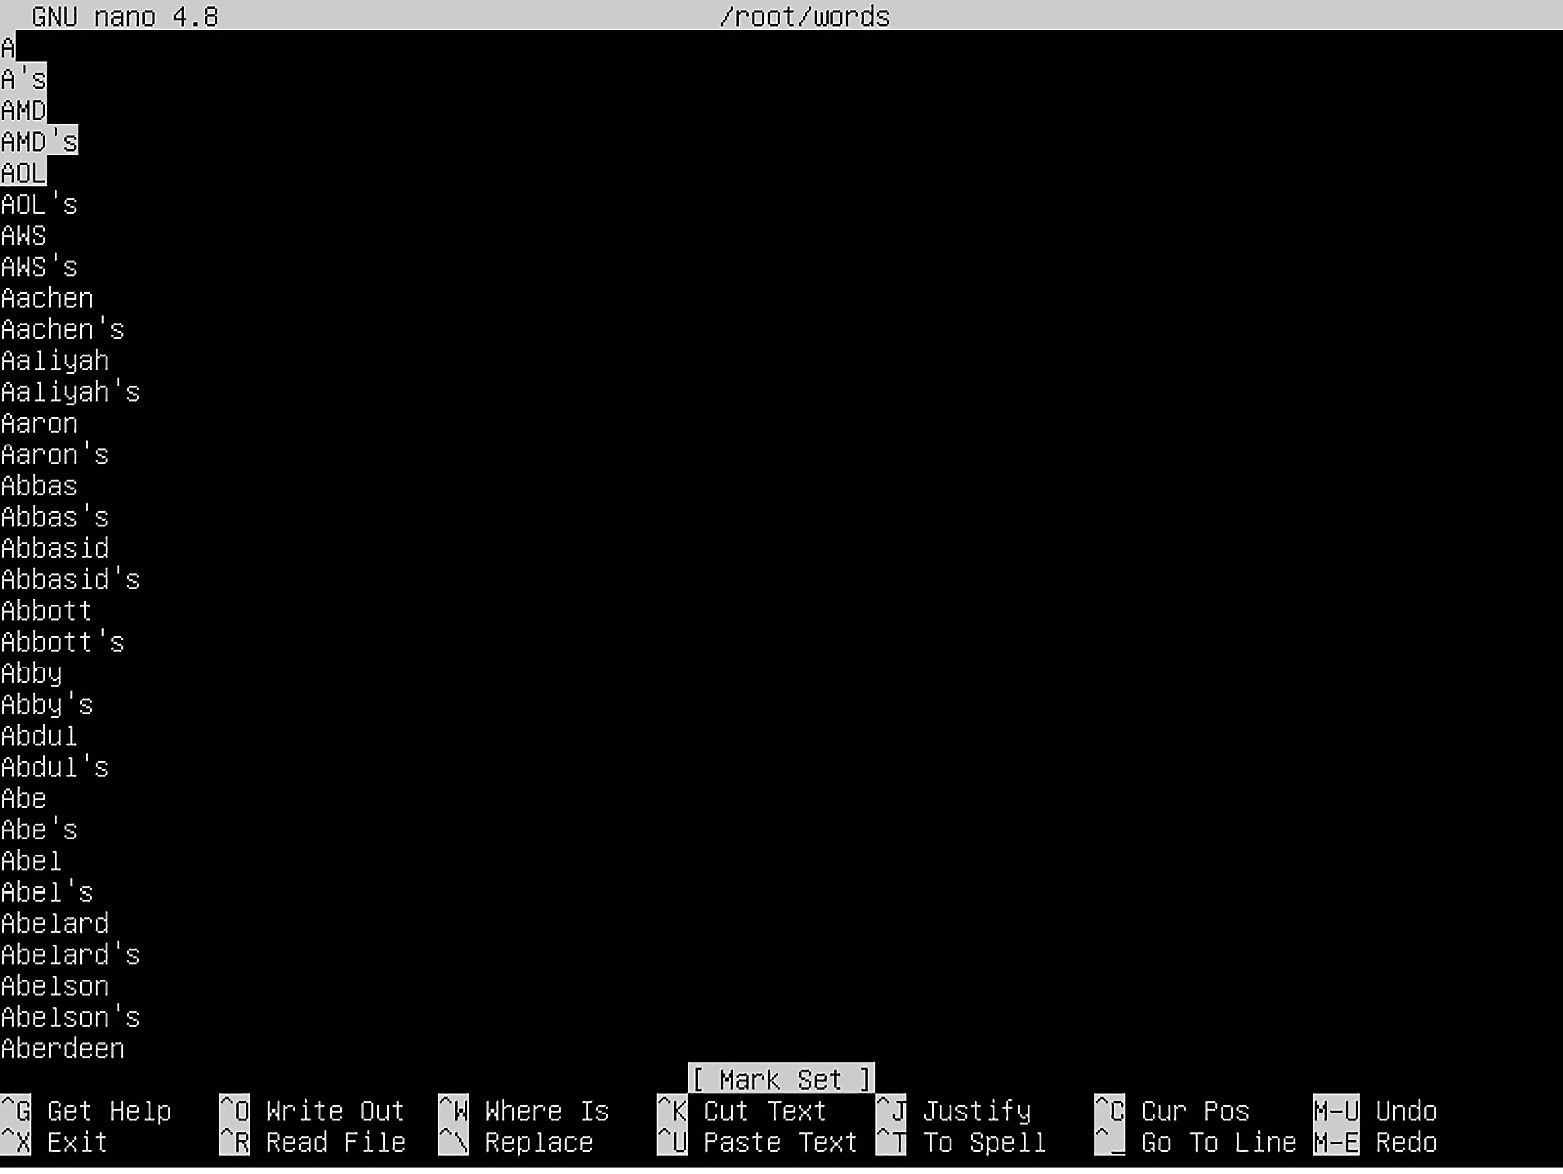
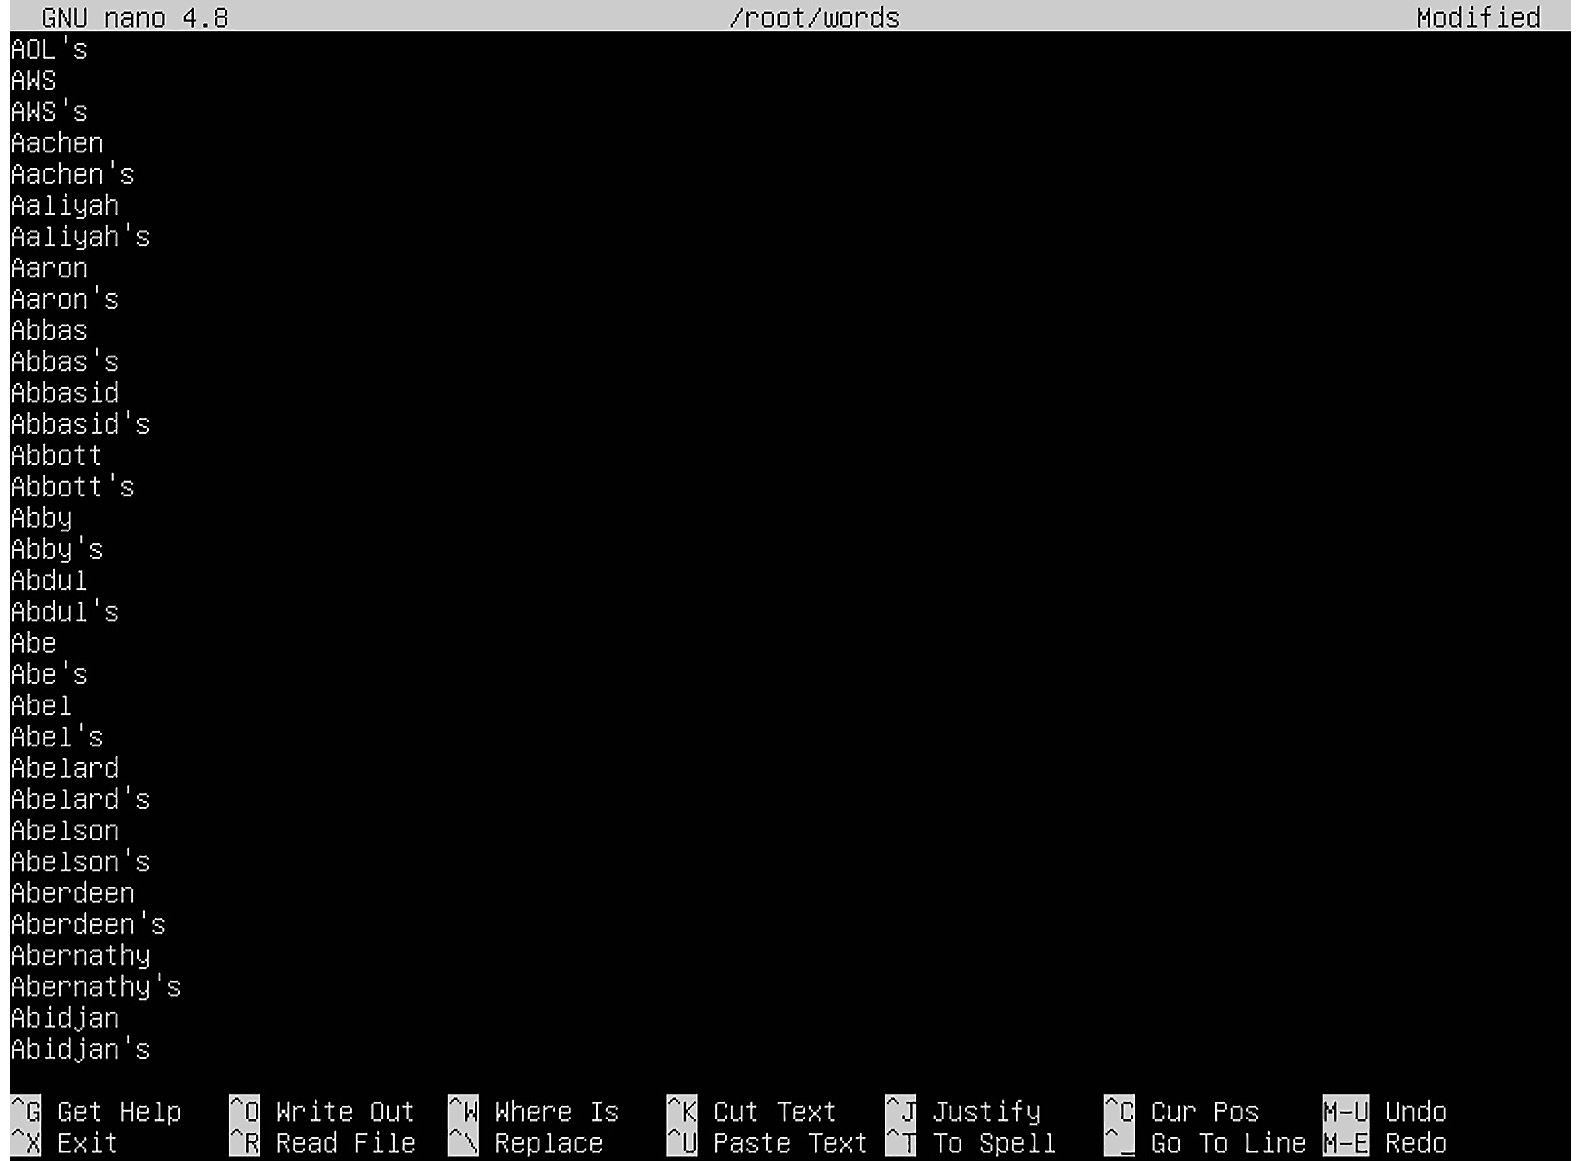
Chapter 2: Using Text Editors
Chapter 3: Using Commands and Services for Process Management
Chapter 4: Using Shell to Configure and Troubleshoot a Network
Chapter 5: Using Commands for File, Directory, and Service Management
Chapter 6: Shell-Based Software Management
Chapter 7: Network-Based File Synchronization
Chapter 8: Using the Command Line to Find, Extract, and Manipulate Text Content
Chapter 9: An Introduction to Shell Scripting
Chapter 10: Using Loops
Chapter 11: Working with Variables
Chapter 12: Using Arguments and Functions
Chapter 13: Using Arrays
Chapter 14: Interacting with Shell Scripts
Chapter 15: Troubleshooting Shell Scripts
Chapter 16: Shell Script Examples for Server Management, Network Configuration, and Backups
Chapter 17: Advanced Shell Script Examples
Other Books You May Enjoy
Customer Reviews