Clip Studio Paint by Example
By :
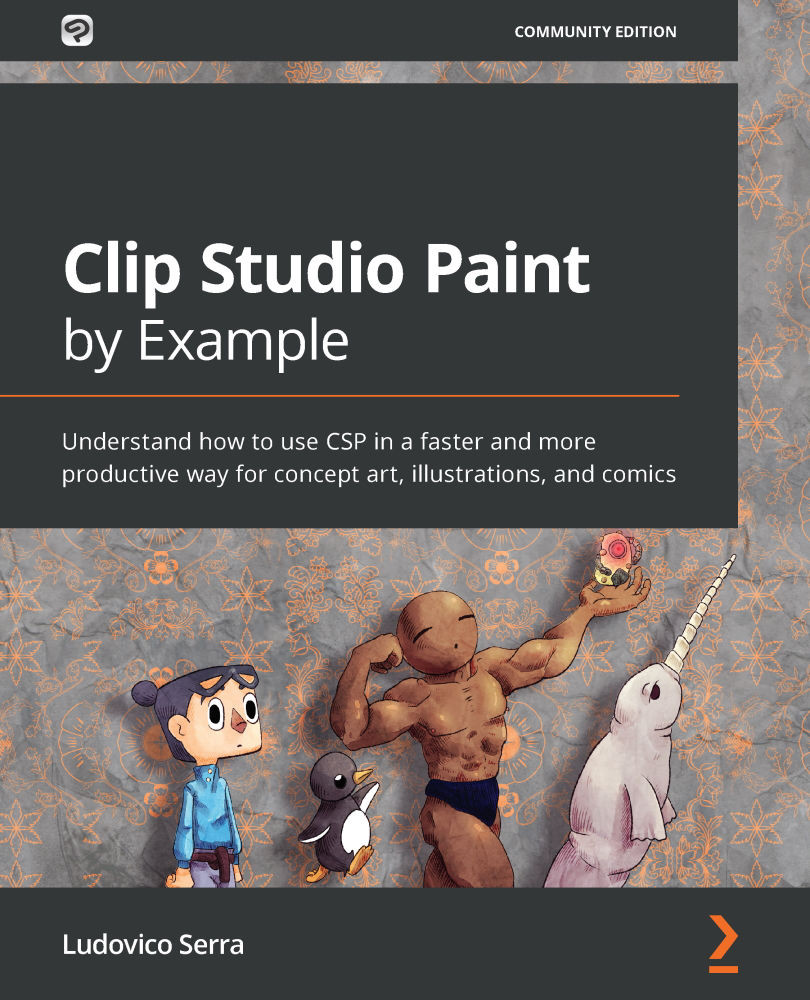
Clip Studio Paint by Example
By:
Overview of this book
Clip Studio Paint is powerful art software that can help you create artistic work with its in-built material organizer, 3D integration, and group work features. It also provides other features that can speed up the workflow of illustrators, concept artists, and comic artists. With Clip Studio Paint by Example, you’ll learn how to use CSP effectively for a wide variety of artistic purposes.
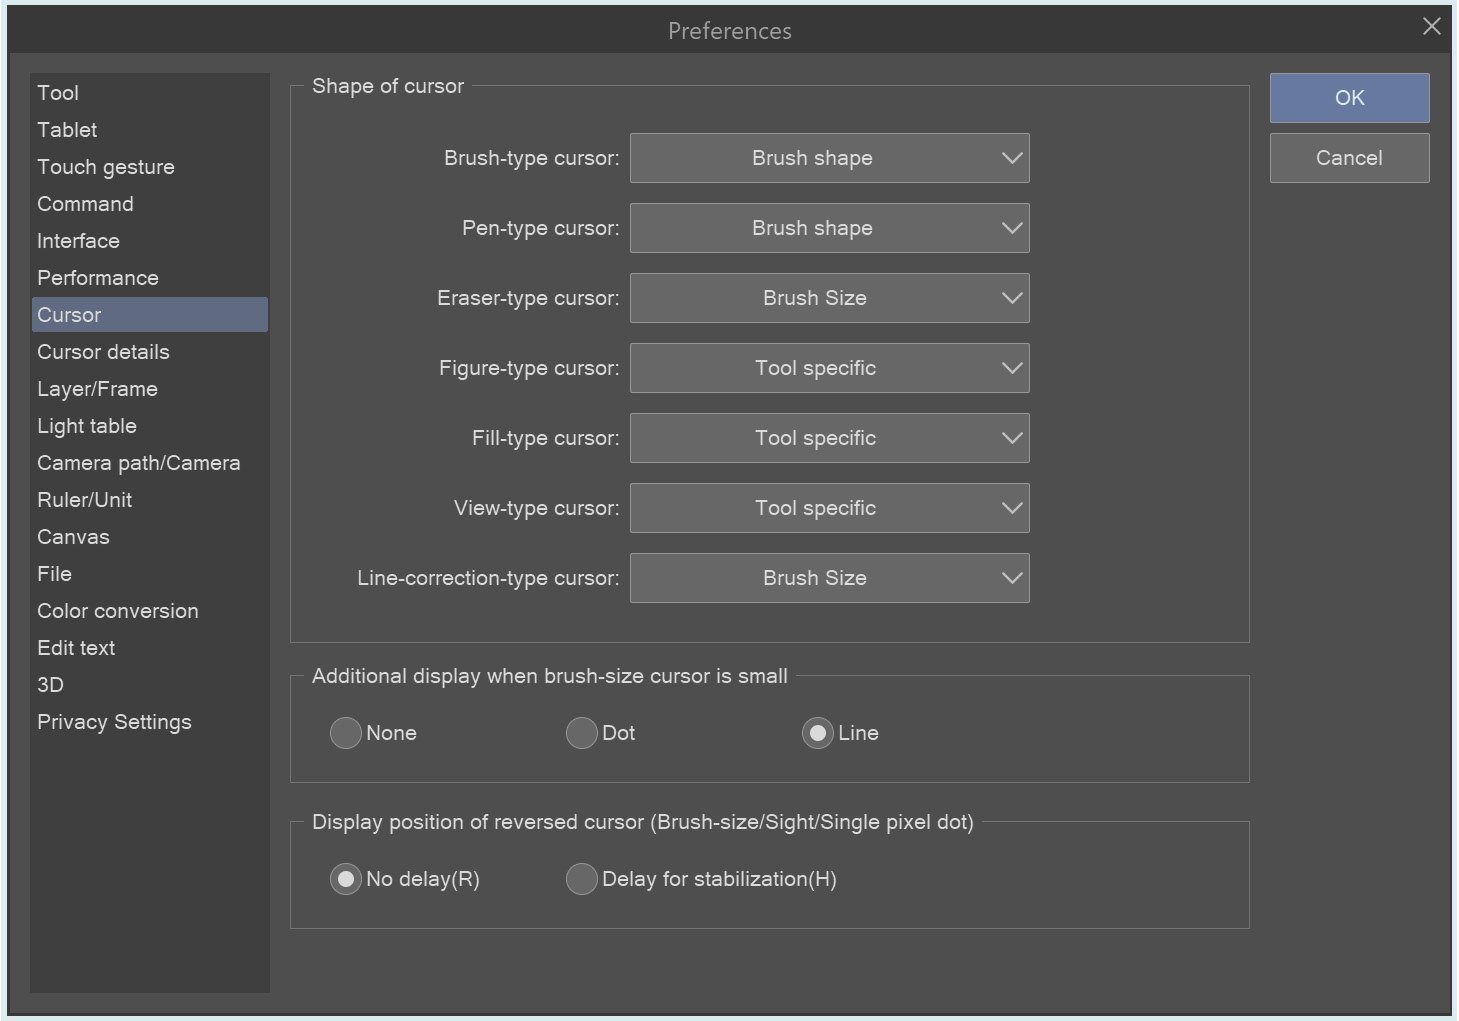
The book starts by helping you create the right workspace for concept art, illustration, and comics. You’ll create a brush, set up a canvas, and develop an auto-auction. Along with covering how to work with CS Modeler that comes bundled with CSP, this book shows you how to import and rig characters easily. You’ll then create reusable changeable scenes and a 3D human character in Blender before exploring concept art, illustrations, comics, and how to create your own portfolio. The book features a glossary with brief explanations of all the main CSP functions. The focus of the book is not on drawing or painting but on helping you enhance your artistic skills using Clip Studio Paint to create an impressive portfolio.
By the end of this book, you’ll be able to use the impressive capabilities of CSP to create beautiful digital art in a productive way.
Table of Contents (13 chapters)
Preface
Chapter 1: Up and Running with CSP
 Free Chapter
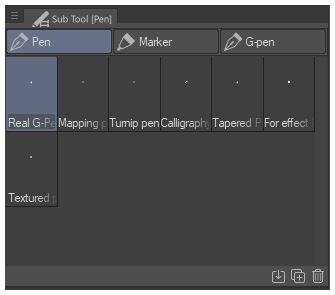
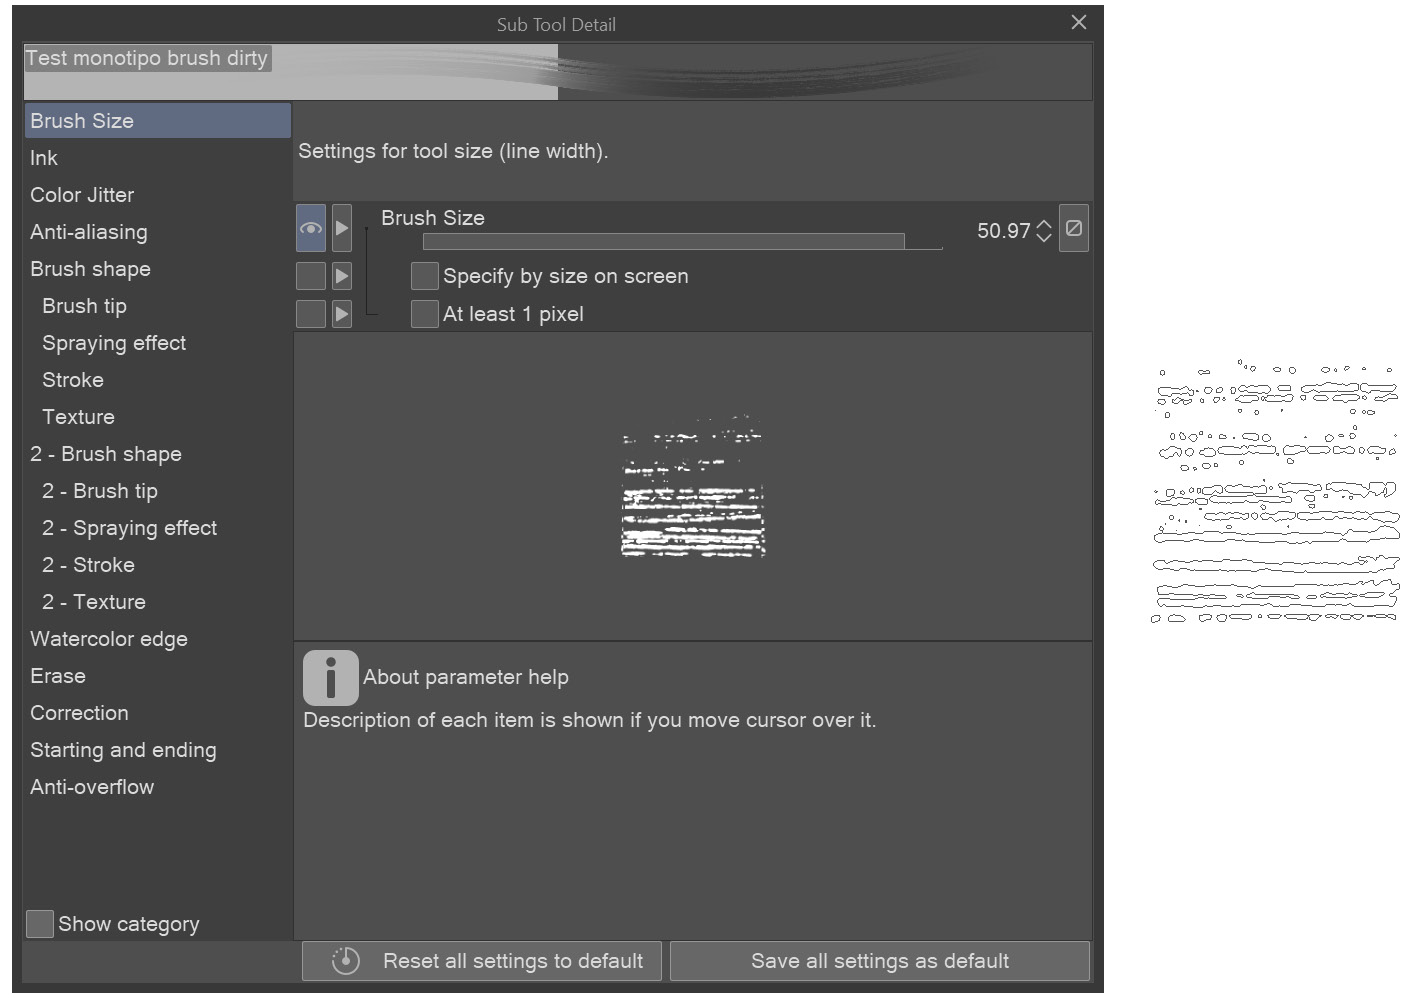
Chapter 2: Adding Brushes to CSP
Chapter 3: Creating 3D Backgrounds in CSP
Chapter 4: Using Your 3D Props to Create a Scene
Chapter 5: Implementing 3D Characters in CSP
Chapter 6: Importing 3D Characters in CSP
Chapter 7: Making Your Own Illustration
Chapter 8: Creating Your Own Comic
Chapter 9: Building Your Own Concept Art
Chapter 10: Creating Your Own Portfolio
Chapter 11: CSP Vocabulary
Other Books You May Enjoy
How would like to rate this book
Customer Reviews