-
Book Overview & Buying
-
Table Of Contents

-
Feedback & Rating

Full Stack Development with Spring Boot 3 and React
By :
Full Stack Development with Spring Boot 3 and React
By:
Overview of this book
If you’re an existing Java developer who wants to go full stack or pick up another frontend framework, this book is your concise introduction to React. In this three-part build-along, you’ll create a robust Spring Boot backend, a React frontend, and then deploy them together.
This new edition is updated to Spring Boot 3 and includes expanded content on security and testing. For the first time ever, it also covers React development with the in-demand TypeScript.
You’ll explore the elements that go into creating a REST API and testing, securing, and deploying your applications. You’ll learn about custom Hooks, third-party components, and MUI.
By the end of this book, you'll be able to build a full stack application using the latest tools and modern best practices.
Table of Contents (23 chapters)
Preface

Part I: Backend Programming with Spring Boot
 Free Chapter
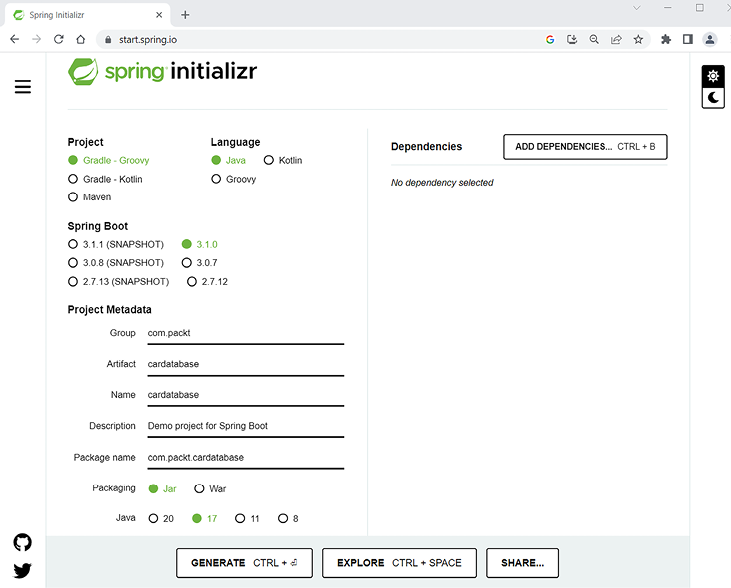
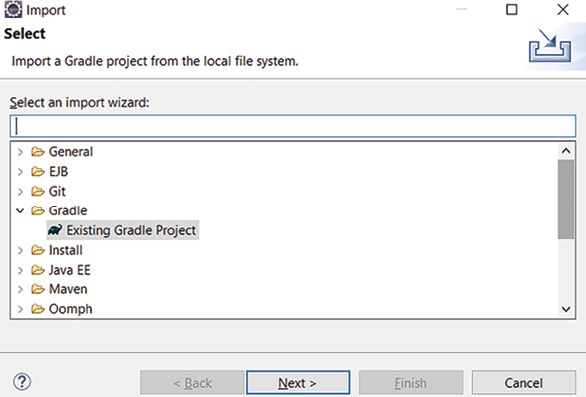
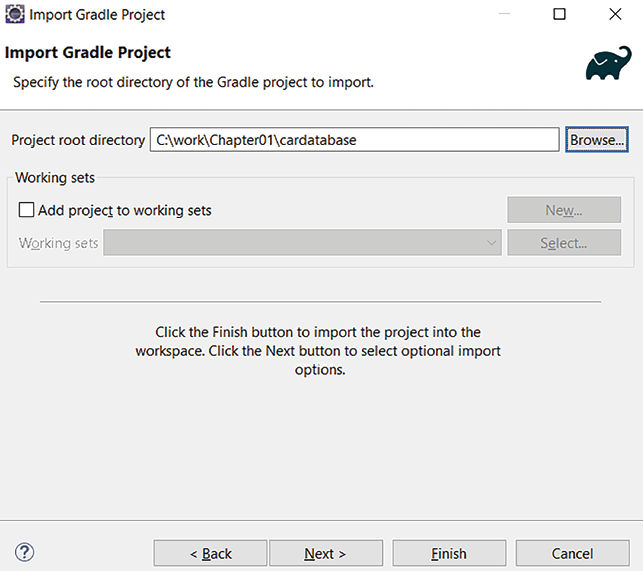
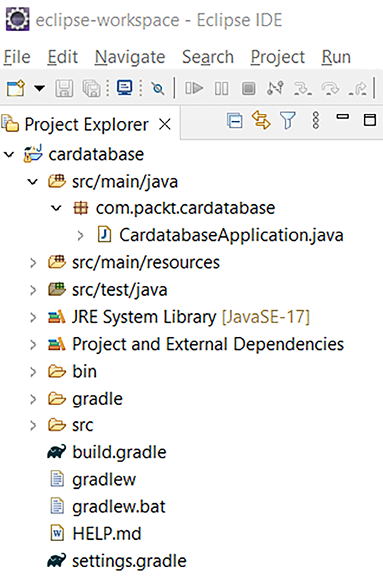
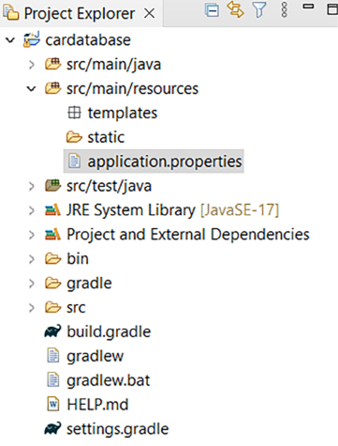
Setting Up the Environment and Tools – Backend
Understanding Dependency Injection
Using JPA to Create and Access a Database
Creating a RESTful Web Service with Spring Boot
Securing Your Backend
Testing Your Backend
Part II: Frontend Programming with React
Setting Up the Environment and Tools – Frontend
Getting Started with React
Introduction to TypeScript
Consuming the REST API with React
Useful Third-Party Components for React
Part III: Full Stack Development
Setting Up the Frontend for Our Spring Boot RESTful Web Service
Adding CRUD Functionalities
Styling the Frontend with MUI
Testing React Apps
Securing Your Application
Deploying Your Application
Other Books You May Enjoy
Index
Customer Reviews