-
Book Overview & Buying
-
Table Of Contents

-
Feedback & Rating

Essential Linux Commands
By :
Essential Linux Commands
By:
Overview of this book
The role of a system administrator is ever-evolving, with the Linux command line at its core. This makes Linux command-line mastery an essential skill to demonstrate your ability to efficiently manage and maintain systems efficiently. Essential Linux Commands addresses a diverse range of topics, including package management, file manipulation, networking strategies, system monitoring, and diagnostic tools. Each command is intricately explained to eliminate any ambiguity, ensuring ease of implementation in real-world scenarios.
This book explains how to use SELinux to maintain security, run Linux machines on AWS Cloud, and transfer and download files to remote systems. With the help of practical examples and use cases, you’ll not only gain a thorough understanding of a command’s syntax but also grasp its functional breadth and limitations. The book also explores commands frequently used by system administrators to check network card statistics and firewall rules.
Whether you’re a beginner or an experienced administrator, this book is an invaluable resource, filling in the gaps in your skill set and helping you improve your skills and expertise in Linux administration.
Table of Contents (20 chapters)
Preface

Part 1:Server Installations and Management Commands
 Free Chapter
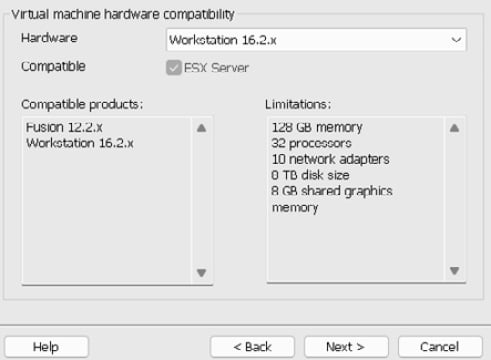
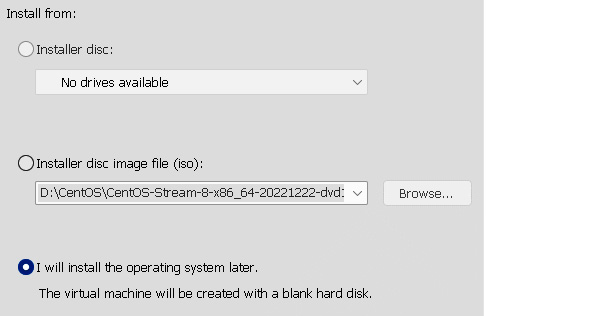
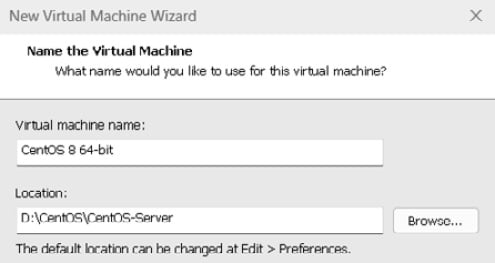
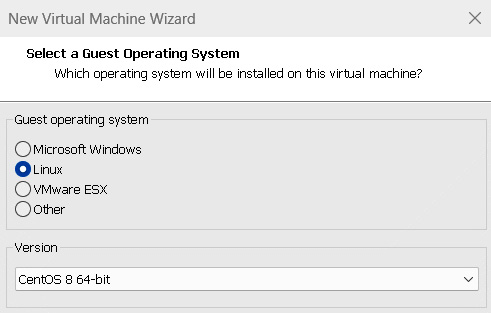
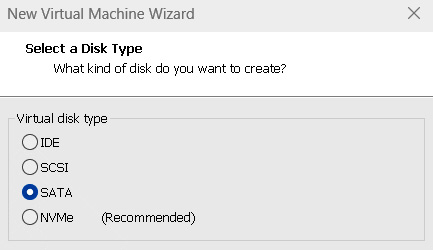
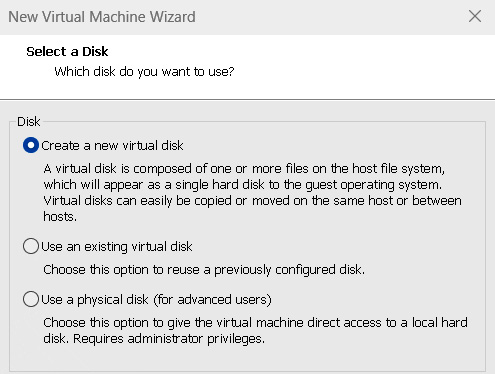
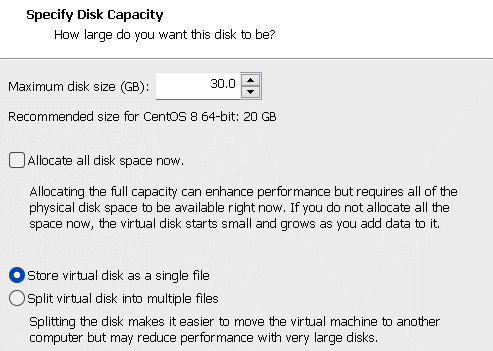
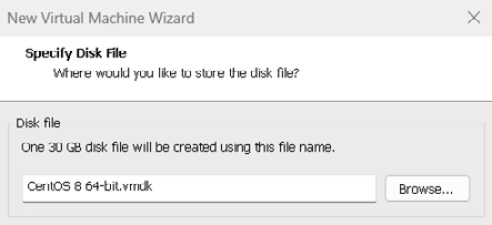
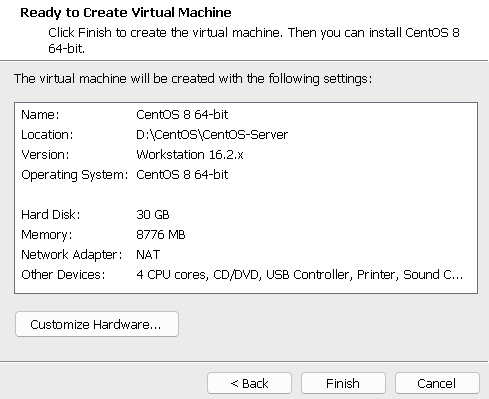
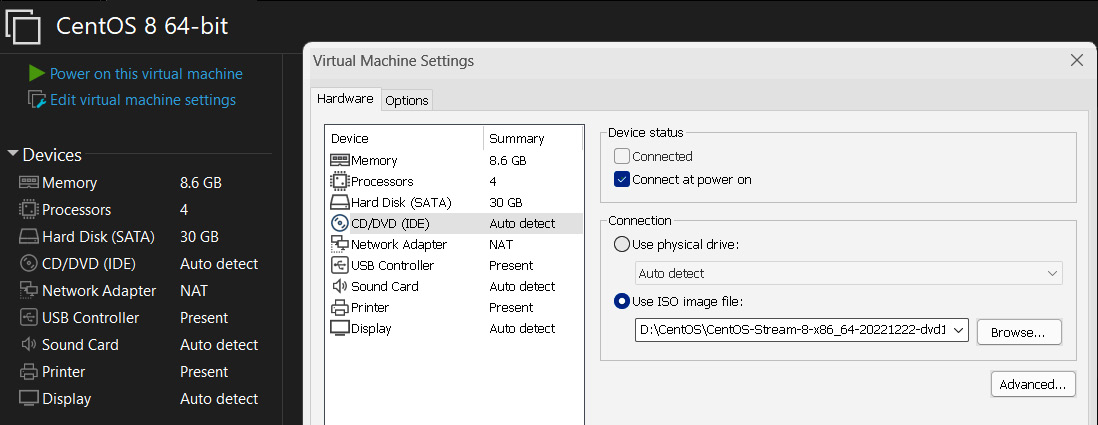
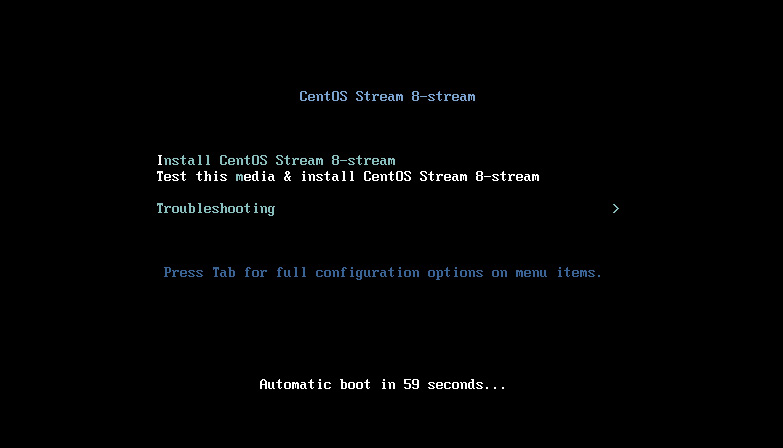
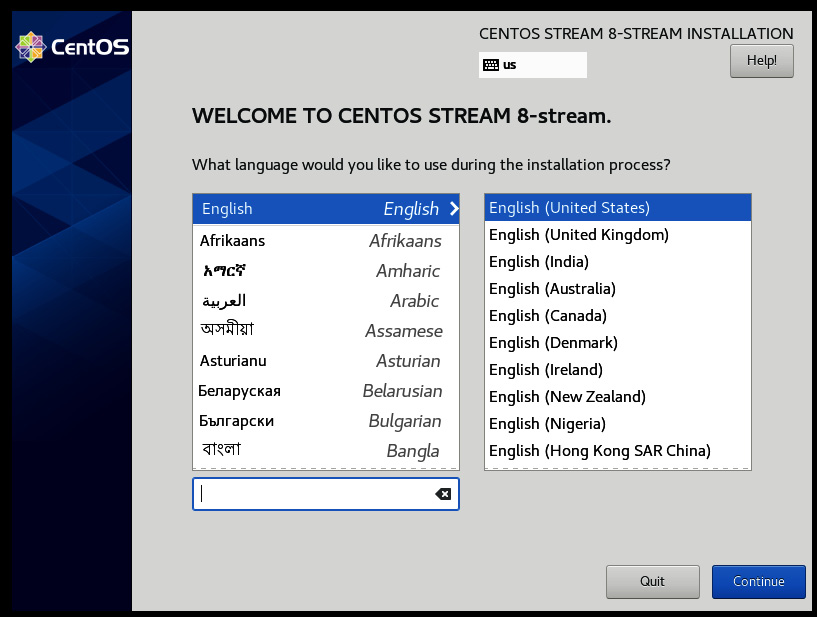
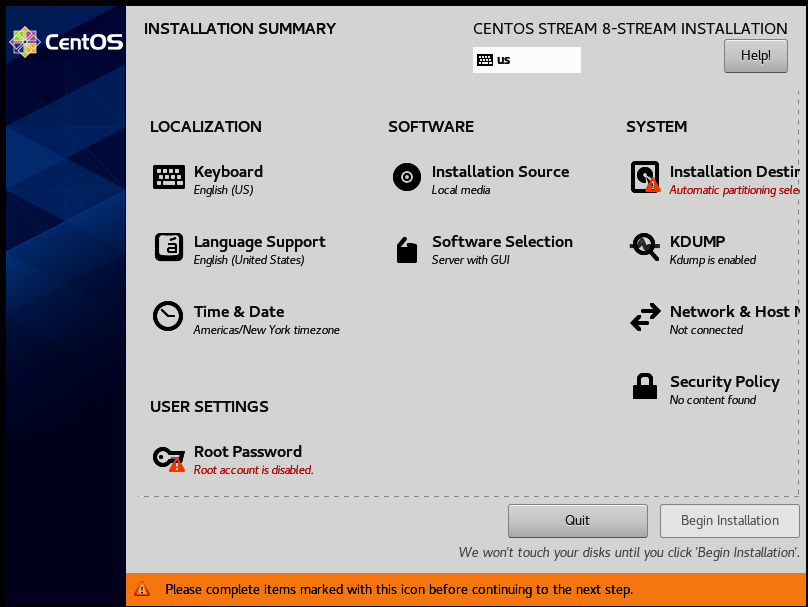
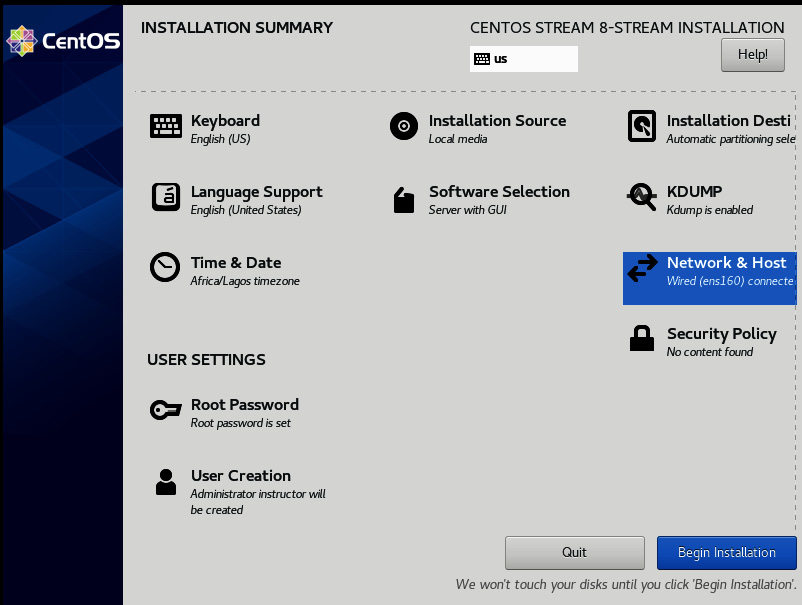
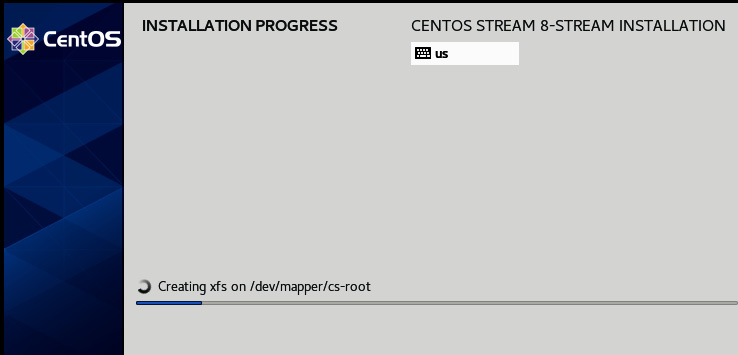
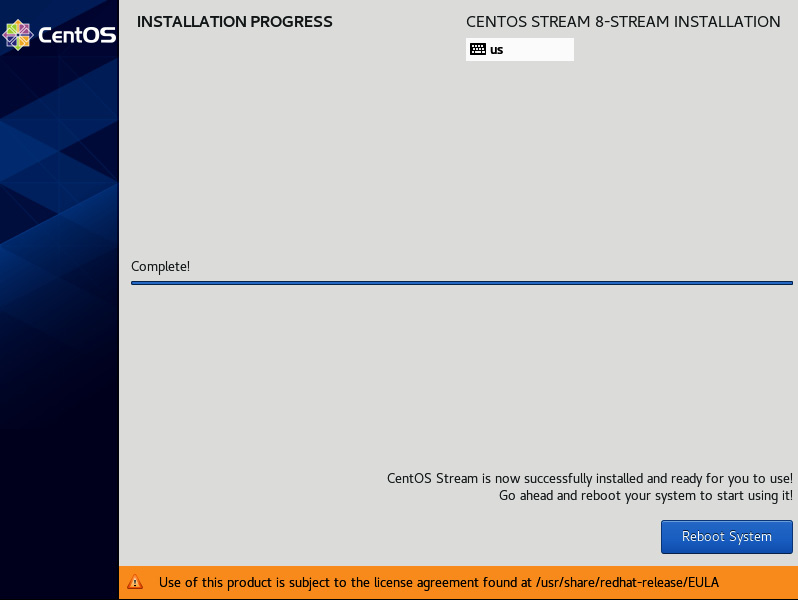
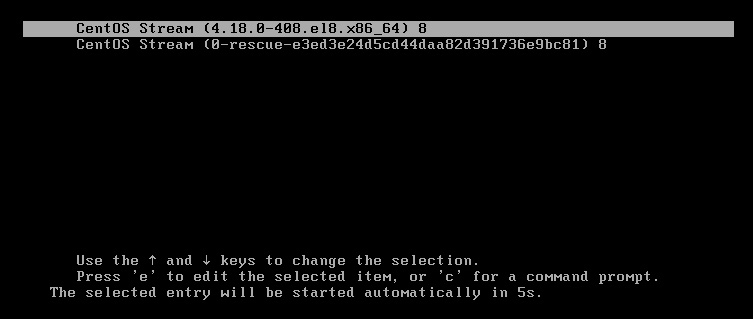
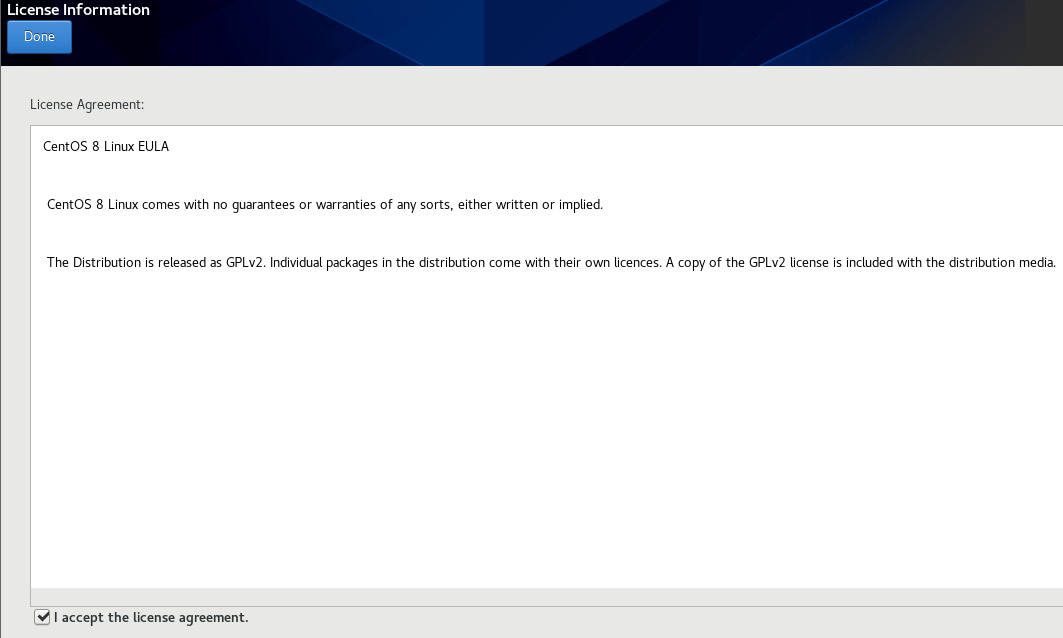
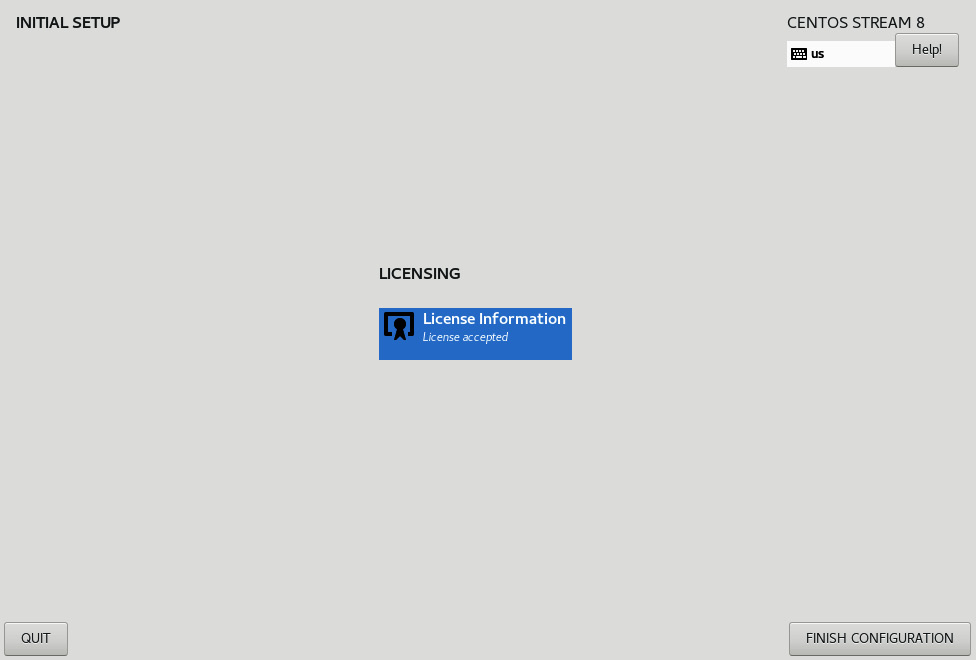
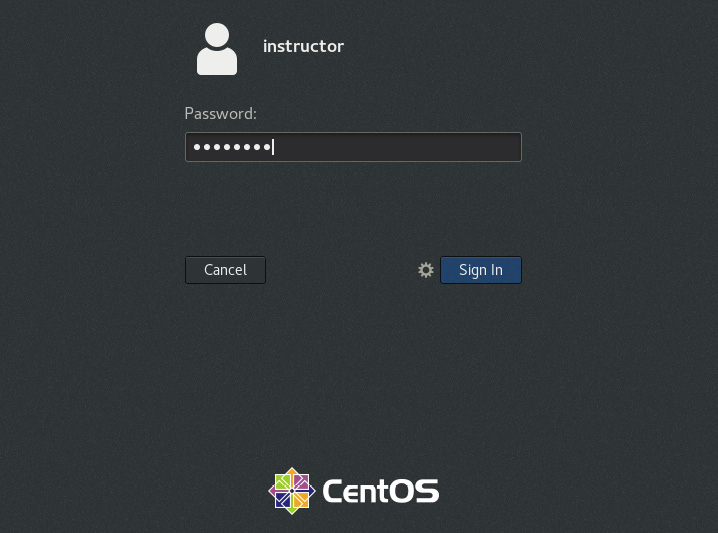
Chapter 1: Getting a CentOS Server Up and Running
Chapter 2: Linux User and Group Commands
Chapter 3: File Compression and Archival Commands
Part 2:Frequently Used Commands – Part 1
Chapter 4: Format and Disk Space Commands
Chapter 5: Linux Permissions Commands
Chapter 6: Filesystem Mount and Manipulation Commands
Part 3:Frequently Used Commands – Part 2
Chapter 7: File Content and Conversion Commands
Chapter 8: Linux SWAP Commands
Chapter 9: Linux Monitoring and Debugging Commands
Chapter 10: Linux IPTABLES and Network Commands
Chapter 11: File Transfer, Downloading, and Managing Log Files
Part 4:Linux Security and the Cloud
Chapter 12: Exploring Linux Security
Chapter 13: Linux in the Cloud
Index
Customer Reviews