Sign In Start Free Trial
Account

Add to playlist

Create a Playlist

Modal Close icon
You need to login to use this feature.
  • Book Overview & Buying Unity Artificial Intelligence Programming
  • Table Of Contents Toc
  • Feedback & Rating feedback
Unity Artificial Intelligence Programming

Unity Artificial Intelligence Programming

By : Dr. Davide Aversa , Aung Sithu Kyaw, Peters
4.3 (3)
close
close
Unity Artificial Intelligence Programming

Unity Artificial Intelligence Programming

4.3 (3)
By: Dr. Davide Aversa , Aung Sithu Kyaw, Peters

Overview of this book

Developing Artificial Intelligence (AI) for game characters in Unity 2018 has never been easier. Unity provides game and app developers with a variety of tools to implement AI, from the basic techniques to cutting-edge machine learning-powered agents. Leveraging these tools via Unity's API or built-in features allows limitless possibilities when it comes to creating your game's worlds and characters. This fourth edition with Unity will help you break down AI into simple concepts to give you a fundamental understanding of the topic to build upon. Using a variety of examples, the book then takes those concepts and walks you through actual implementations designed to highlight key concepts and features related to game AI in Unity. Further on, you'll learn how to distinguish the state machine pattern and implement one of your own. This is followed by learning how to implement a basic sensory system for your AI agent and coupling it with a Finite State Machine (FSM). Next, you'll learn how to use Unity's built-in NavMesh feature and implement your own A* pathfinding system. You'll then learn how to implement simple ?ocks and crowd dynamics, which are key AI concepts in Unity. Moving on, you'll learn how to implement a behavior tree through a game-focused example. Lastly, you'll apply all the concepts in the book to build a popular game.
Table of Contents (13 chapters)
close
close

Setting up the scene

We are going to set up a scene that looks like the following screenshot:

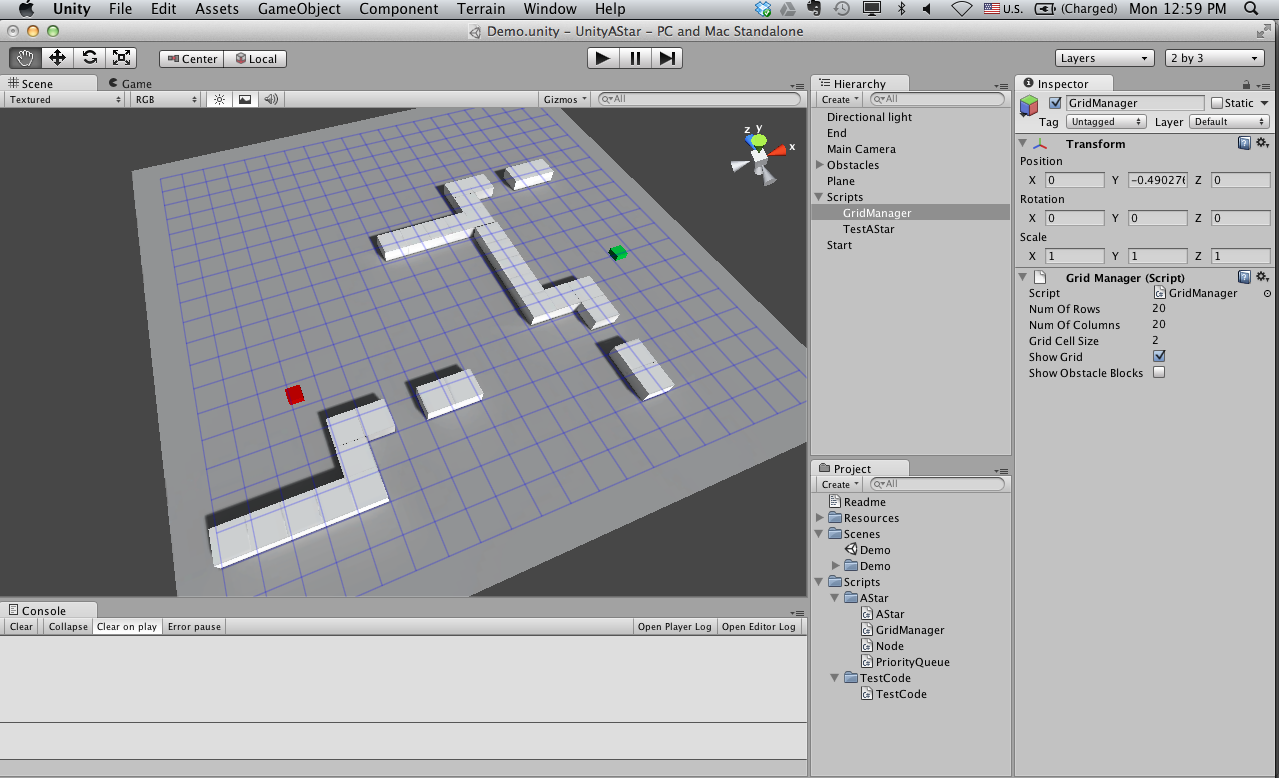
Our sample test scene with obstacles

Let's follow a step-by-step procedure to do this:

  1. We will create a directional light, the start and end game objects, a few obstacle objects, a plane entity to be used as ground, and two empty game objects in which we put the GridManager and TestAStar scripts. After this step, our scene hierarchy should be like this:
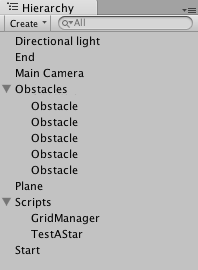
The demo scene hierarchy
  1. We will create a bunch of cube entities and tag them as Obstacle. The GridManager will look for objects with this tag when it creates the grid world representation:
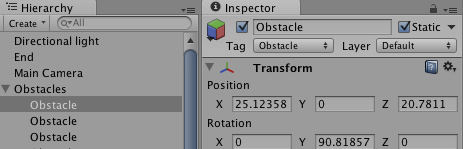
The Obstacle nodes seen in the inspector
  1. We then create a cube entity and tag it as Start:
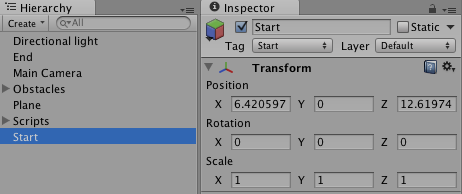
The Start node seen in the inspector
  1. Then, we create another cube entity and tag it as End:
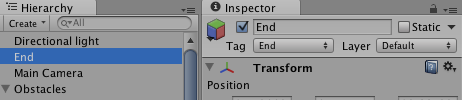
The End node seen in the inspector
  1. We will create...

Unlock full access

Continue reading for free

A Packt free trial gives you instant online access to our library of over 7000 practical eBooks and videos, constantly updated with the latest in tech

Create a Note

Modal Close icon
You need to login to use this feature.
notes
bookmark search playlist font-size

Change the font size

margin-width

Change margin width

day-mode

Change background colour

Close icon Search
Country selected

Close icon Your notes and bookmarks

Delete Bookmark

Modal Close icon
Are you sure you want to delete it?
Cancel
Yes, Delete

Delete Note

Modal Close icon
Are you sure you want to delete it?
Cancel
Yes, Delete

Confirmation

Modal Close icon
claim successful

Buy this book with your credits?

Modal Close icon
Are you sure you want to buy this book with one of your credits?
Close
YES, BUY